Mission Jacked.com
Do
The Chest Supported Row For A Bigger Back –
Use These 6 Huge Variations
Table of Contents:
What Do Chest Supported Rows Work?
What Are The Chest Supported Dumbbell Row Benefits?
Do Different Grips Target Different Areas of The Back?
Are There Any Differences In Lying Chest Row and Incline Supported Rows?
How Do I Implement the Chest Supported Row into My Workouts?
5 Day Dumbbell Workout
More Back Growing Articles
Upgrade Your Chest Supported Dumbbell Row With These 3 Intensity Techniques & Get A Thicker Back In The Process
7 Dumbbell Lat Exercises To Build A Monster Wide Back. Exercise Four Will Bury You!
Try the Best Back and Bicep Workout With Dumbbells For a Size Increase
2 Dumbbell Back Workout Exercises For Crazy Thickness
7 Lower Lat Exercises For A Beefier Wingspan
Dumbbell Pullovers For Lats - Build Width With These 4 Pullover Variations
Prone Row Your Way To A Bigger Back While Improving Your Bench Press
Do The Reverse Grip Dumbbell Row For Bigger and Denser Lower Lats
The Supinated Pulldown – A Back-Widening Present From The Lat Gods
Chest Supported Rear Delt Row
Other Exercises Under The Spotlight!
Choosing Urethane and Rubber Dumbbells For Your Home Gym
5 Day Dumbbell Workout Plan
The Chest Supported db Row
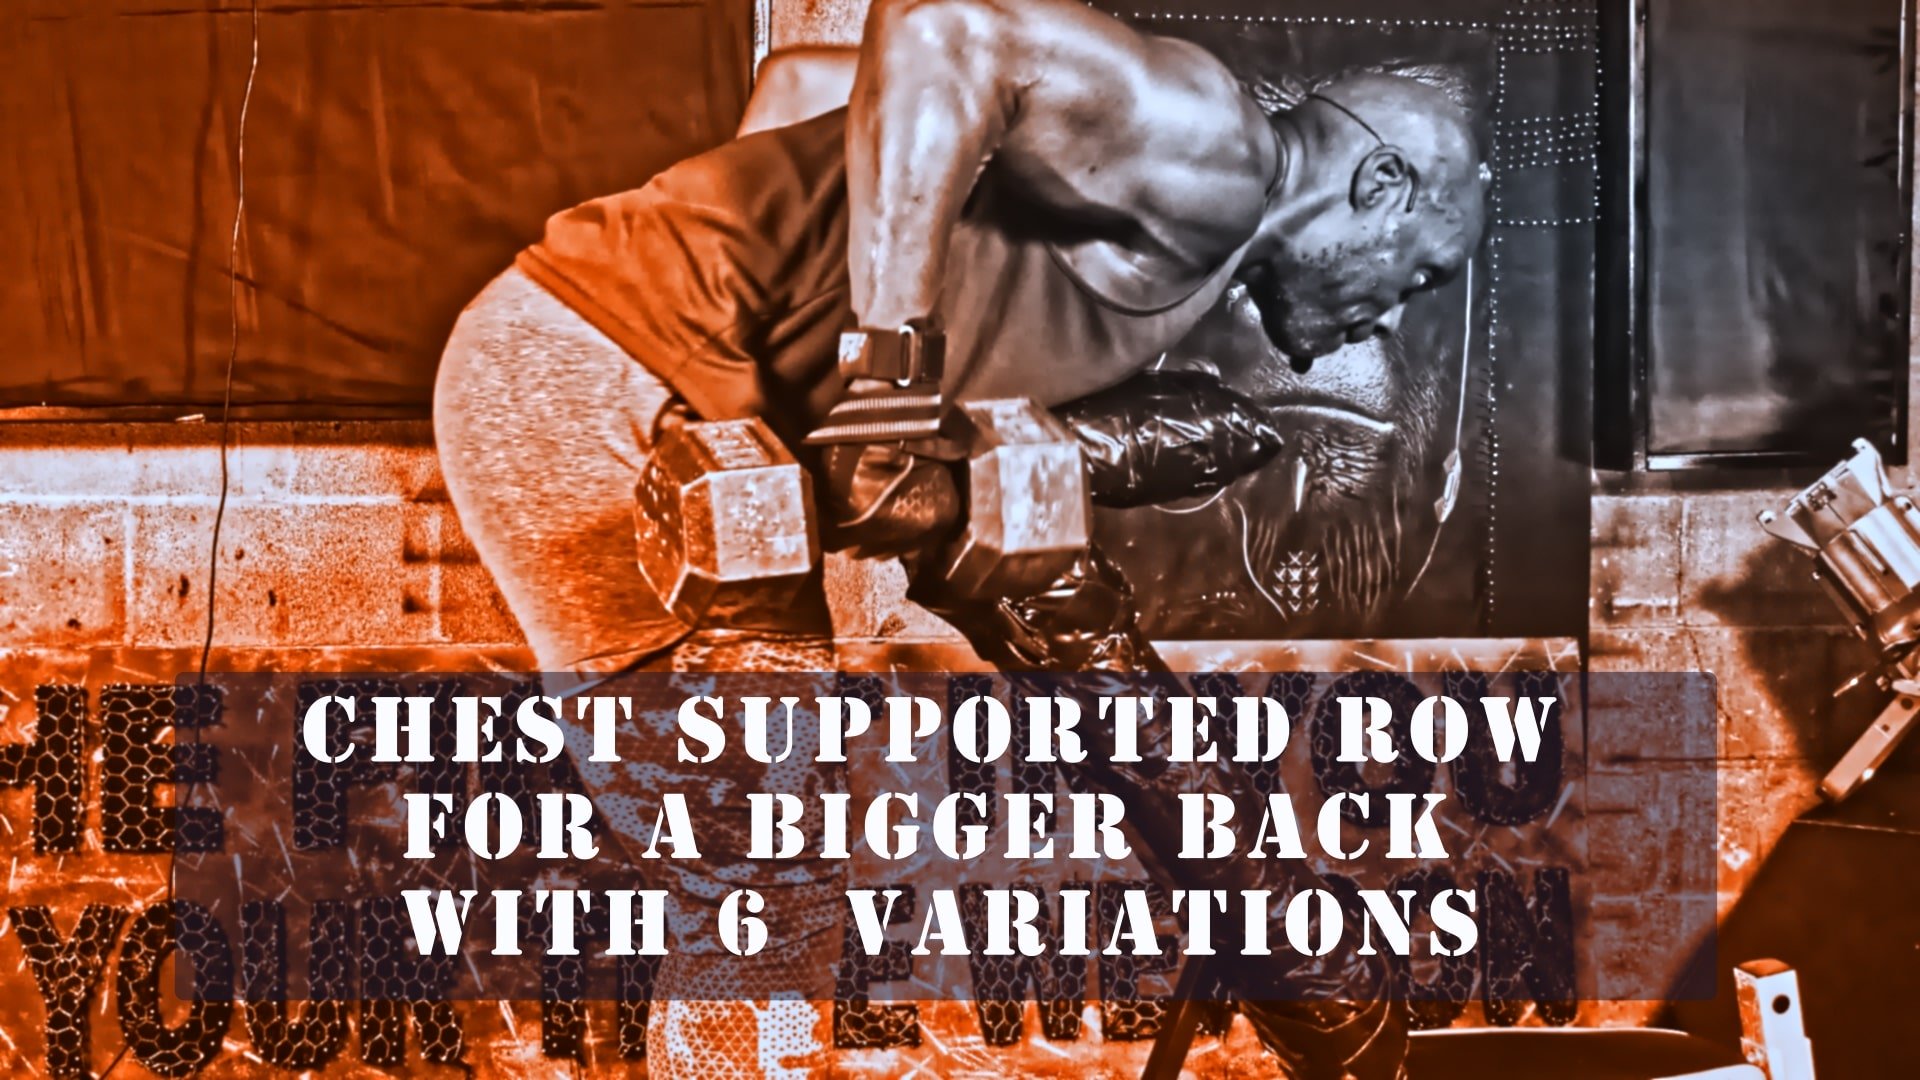
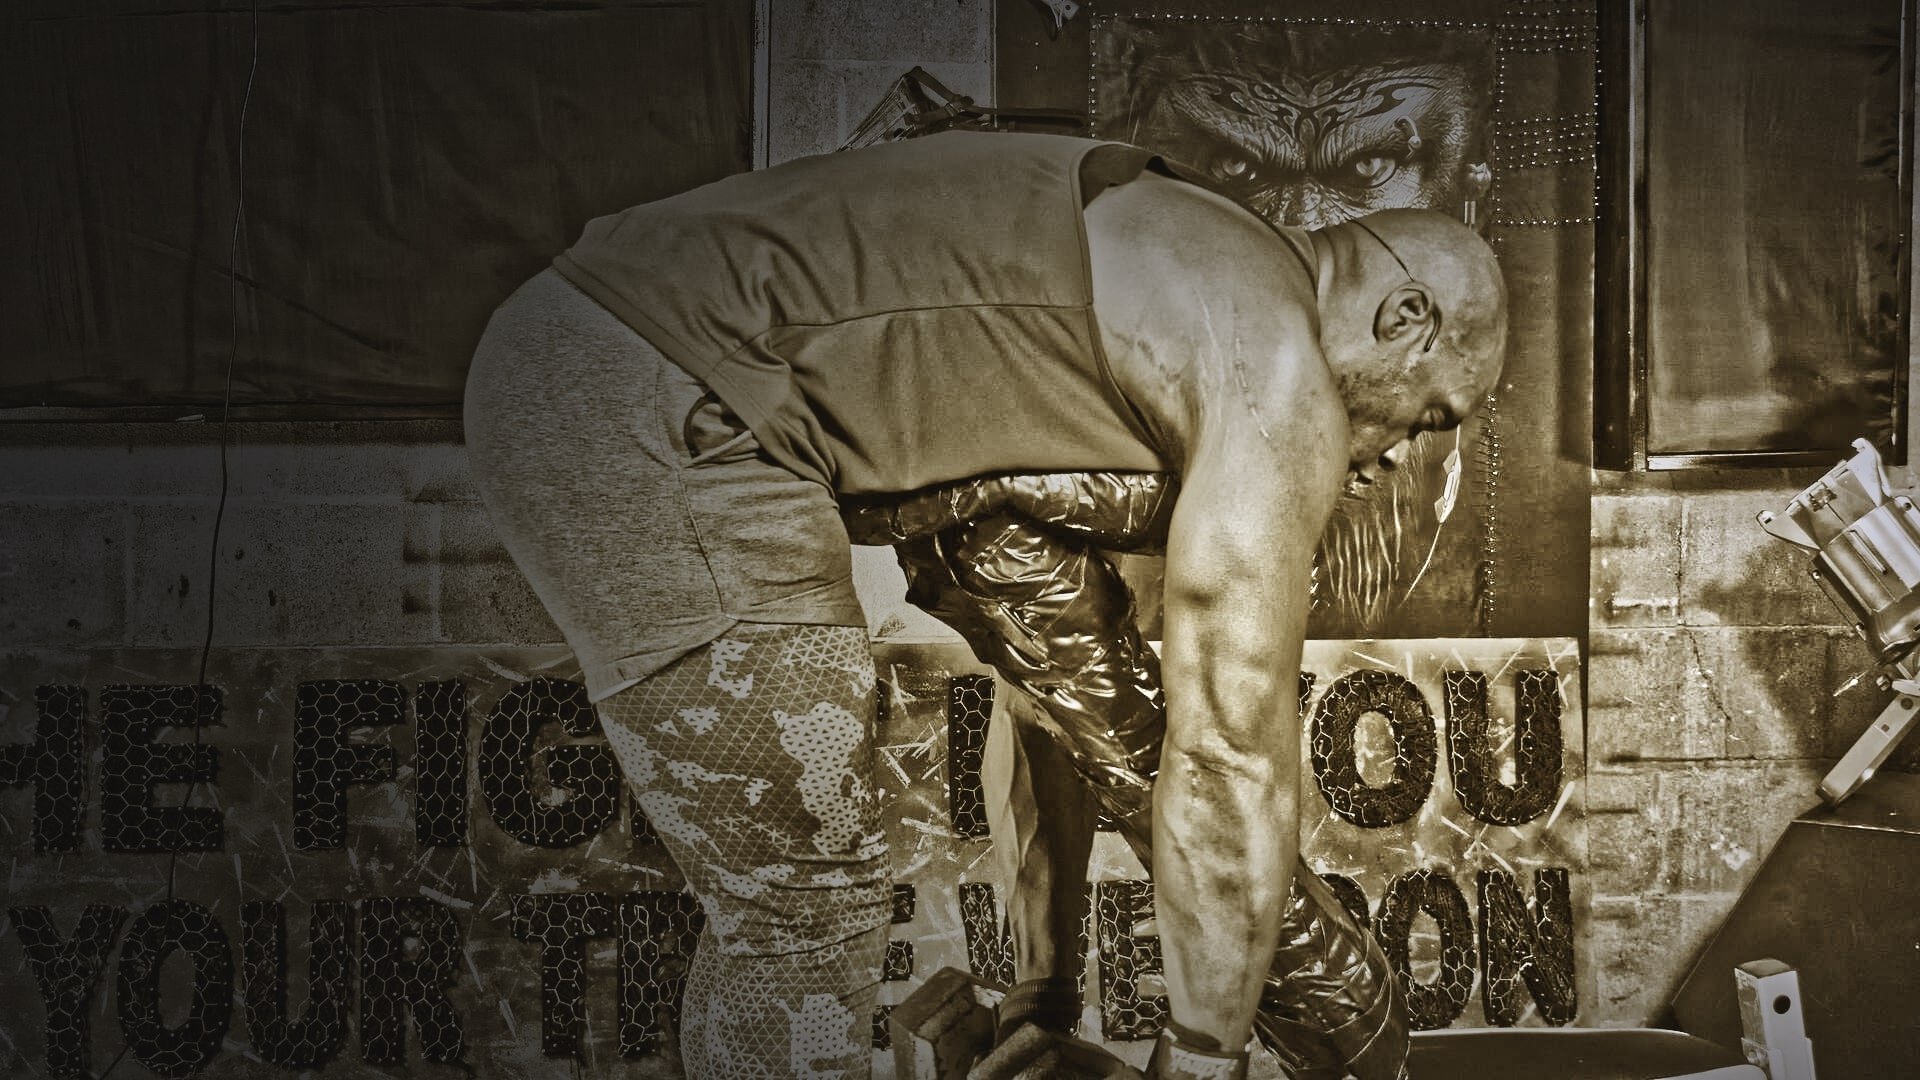
While the Chest Supported Row doesn’t grab the headlines or score as the first choice when it comes to putting thick slabs of meat on the back, it’s not an exercise that should be underrated.
Otherwise known as, the Chest Support Row, Supported Chest Row, and Chest Supported db Row, this exercise is as tough as they come, and what it lacks in superstardom, it more than makes up for with targeted venom. There are three different styles of the supported row, barbell, dumbbell, and machine; for this article, we're going to focus exclusively on the dumbbell version by leaning on an incline or lying flat.
As a modern-day descendant of the Bent Over Row and a direct off-spring of the dumbbell row, Chest Supported Dumbbell Rows takes its place as one of the strictest dumbbell movements you can add to your back workout.
What Do Chest Supported Rows Work?
As this is a compound movement, the Chest Support Row (chest supported db row) works various muscles in the upper body including the upper back, the rear deltoids, Rhomboids, Trapezius, Latissimus Dori, Biceps, and forearms.
What Are The Chest Supported Row Benefits?
There are a few benefits to doing the chest supported db row over-performing hip hinging dumbbell and barbell back exercise movements.
1: Due to tight hips or having a weak lower back, some lifters struggle to get into the bent-over-row position. This is where the Chest Supported Rows can benefit these lifters by placing less stress on the spine.
2: The chest supported db row allows for unilateral work and the use of a neutral grip.
3: Chest Supported Rows can allow for stronger pulling force production because, during a row in the hip hinge position, you are heavily reliant on stabilizing muscles and your core. When performing a Chest Support Row, you are pushing into the pad which helps to generate more force.
4: Supported Chest Rows allow you to train to failure without exercise form breaking down leading to injury. When you start to get fatigued during a set of heavy bent-over-rows, you can risk injury as form starts to loosen due to higher compressive forces which can eventually add strain to the lower back. Research Link.
If you’ve never done a chest supported dumbbell Row before, or have little idea of how to execute this movement with perfect form, in as little as ten minutes you’ll be ready to take the oars and row your way to a bigger and much thicker back.
In this Back-Building master class, we’re going to look at the Chest Support Row in all of its glory. We will cover form and execution, 6 different variations, workout examples, and a couple of advanced intensity techniques to take your Chest Supported Row to new levels.
Five Day Dumbbell Workout
dumbbell deadlift benefits
The Chest Supported Row Form & Technique Guide:
Items Needed: Incline Bench, a pad (optional), and one pair of dumbbells.
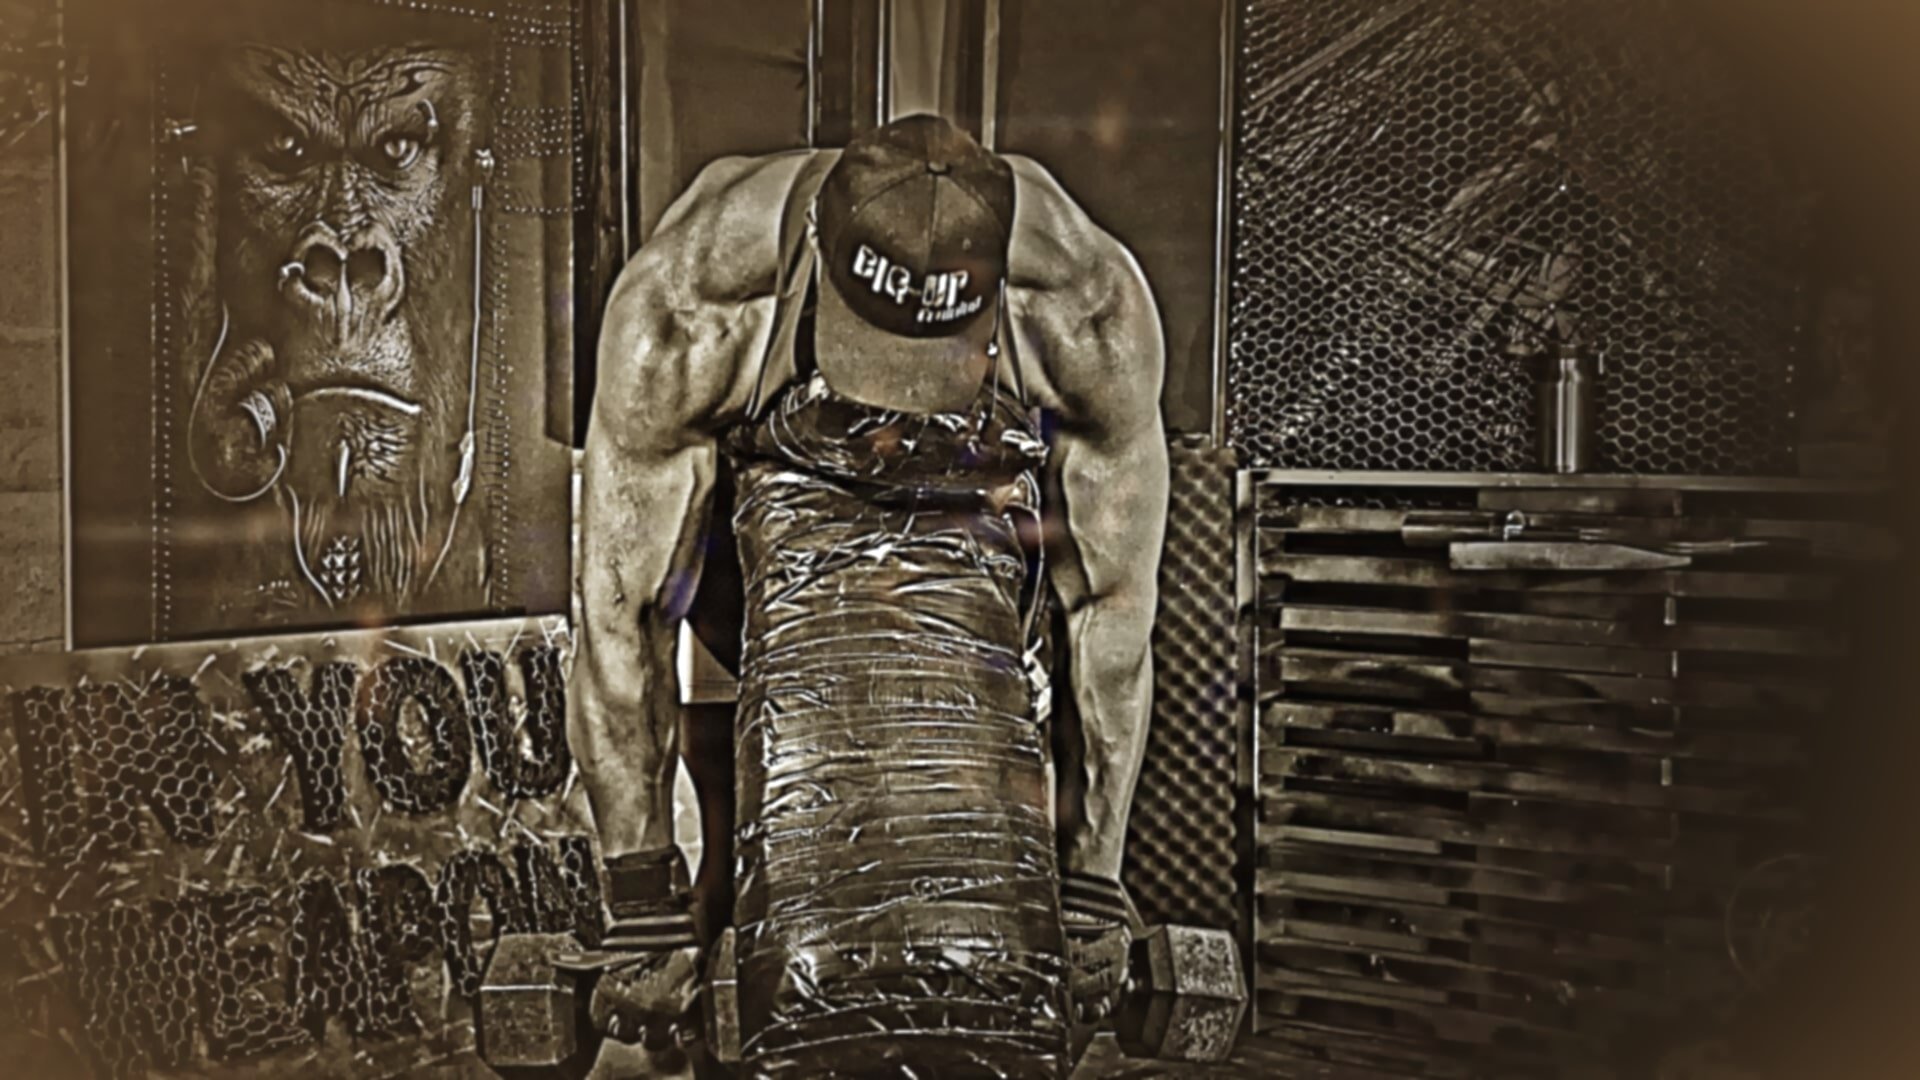
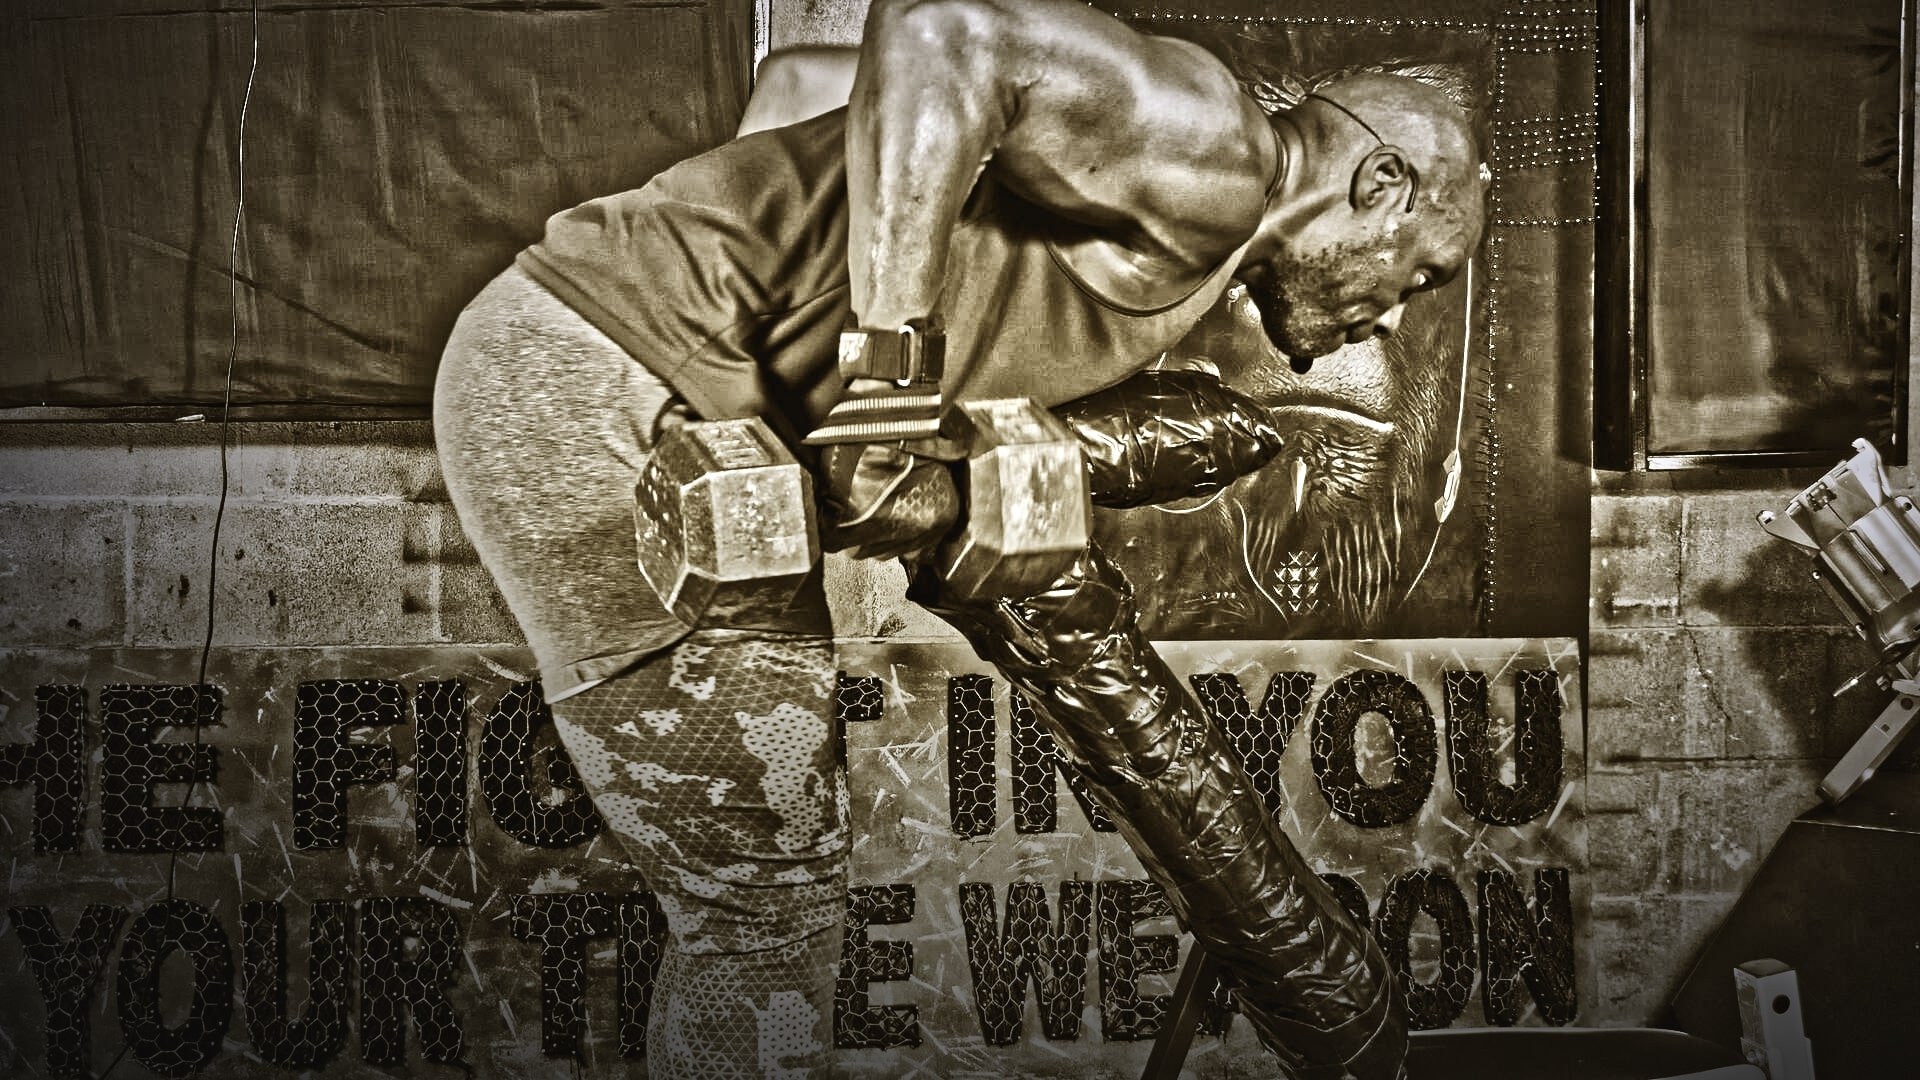
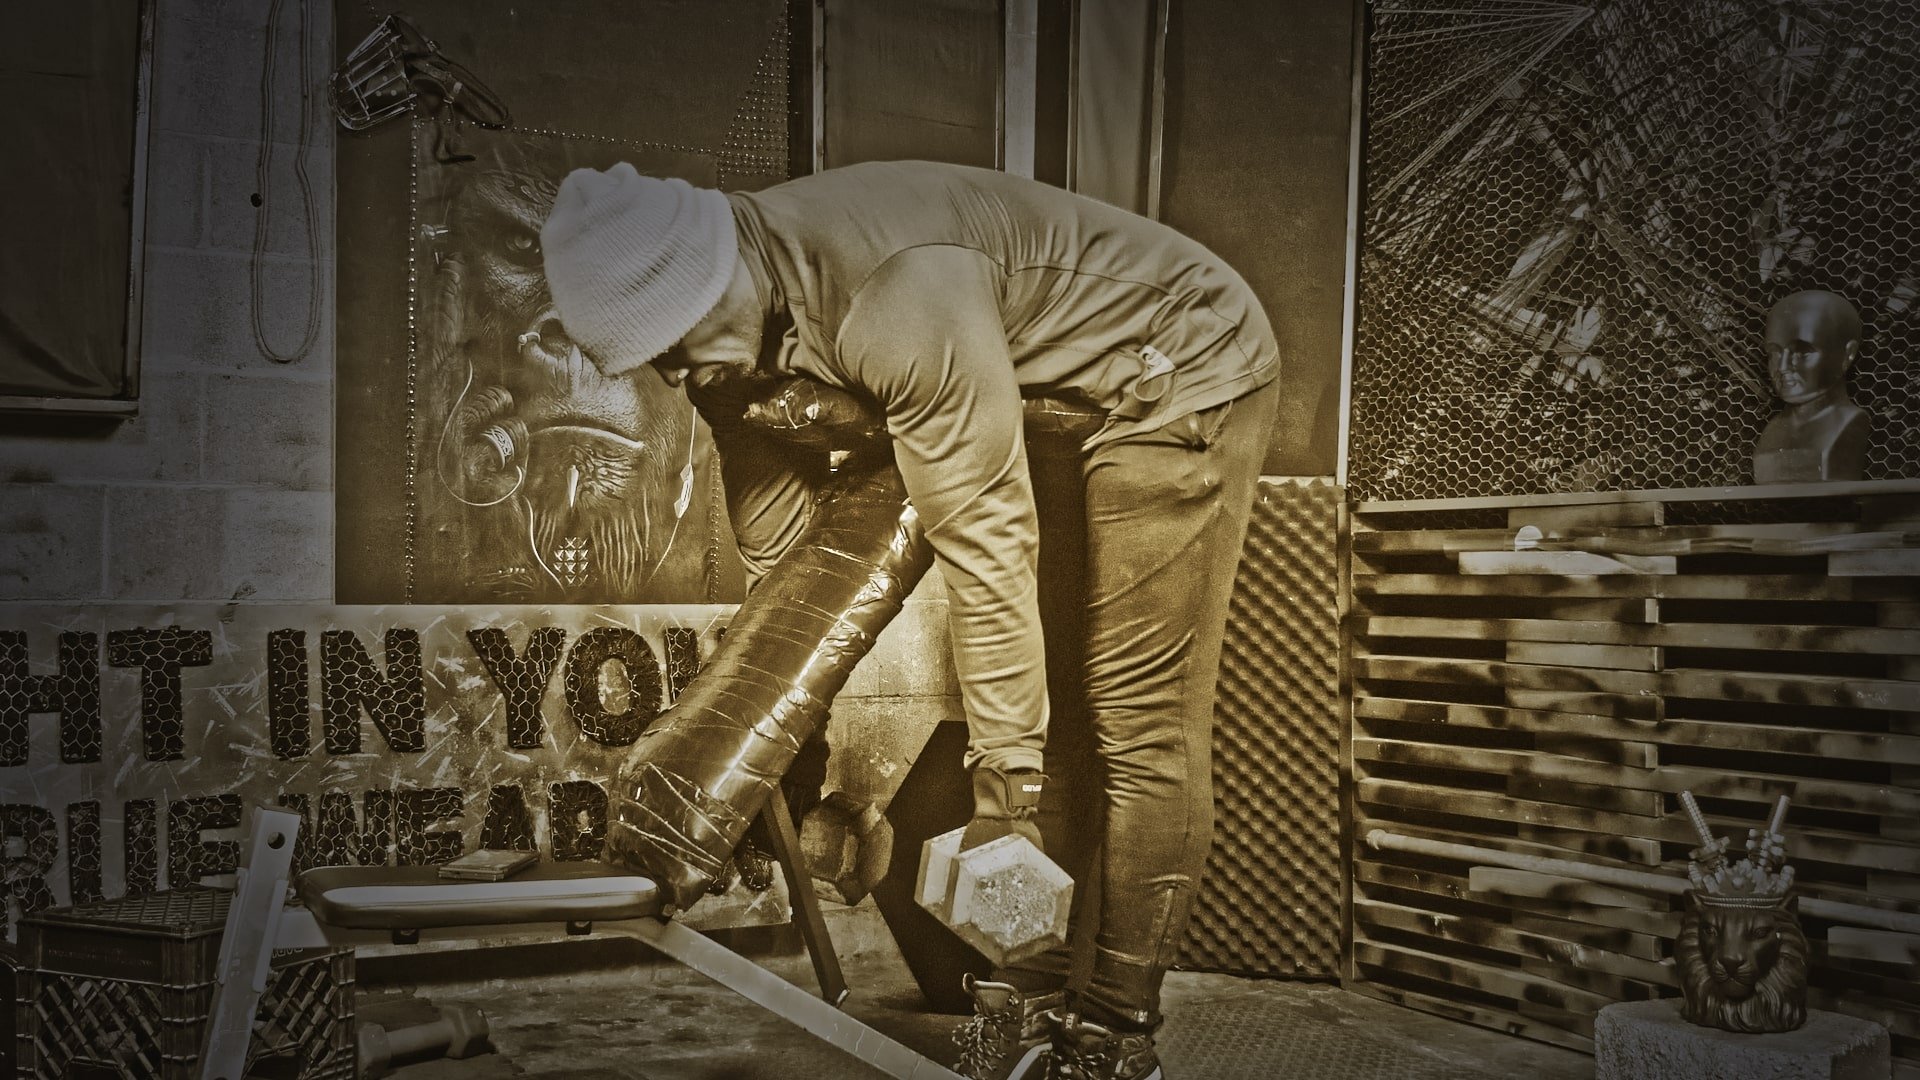
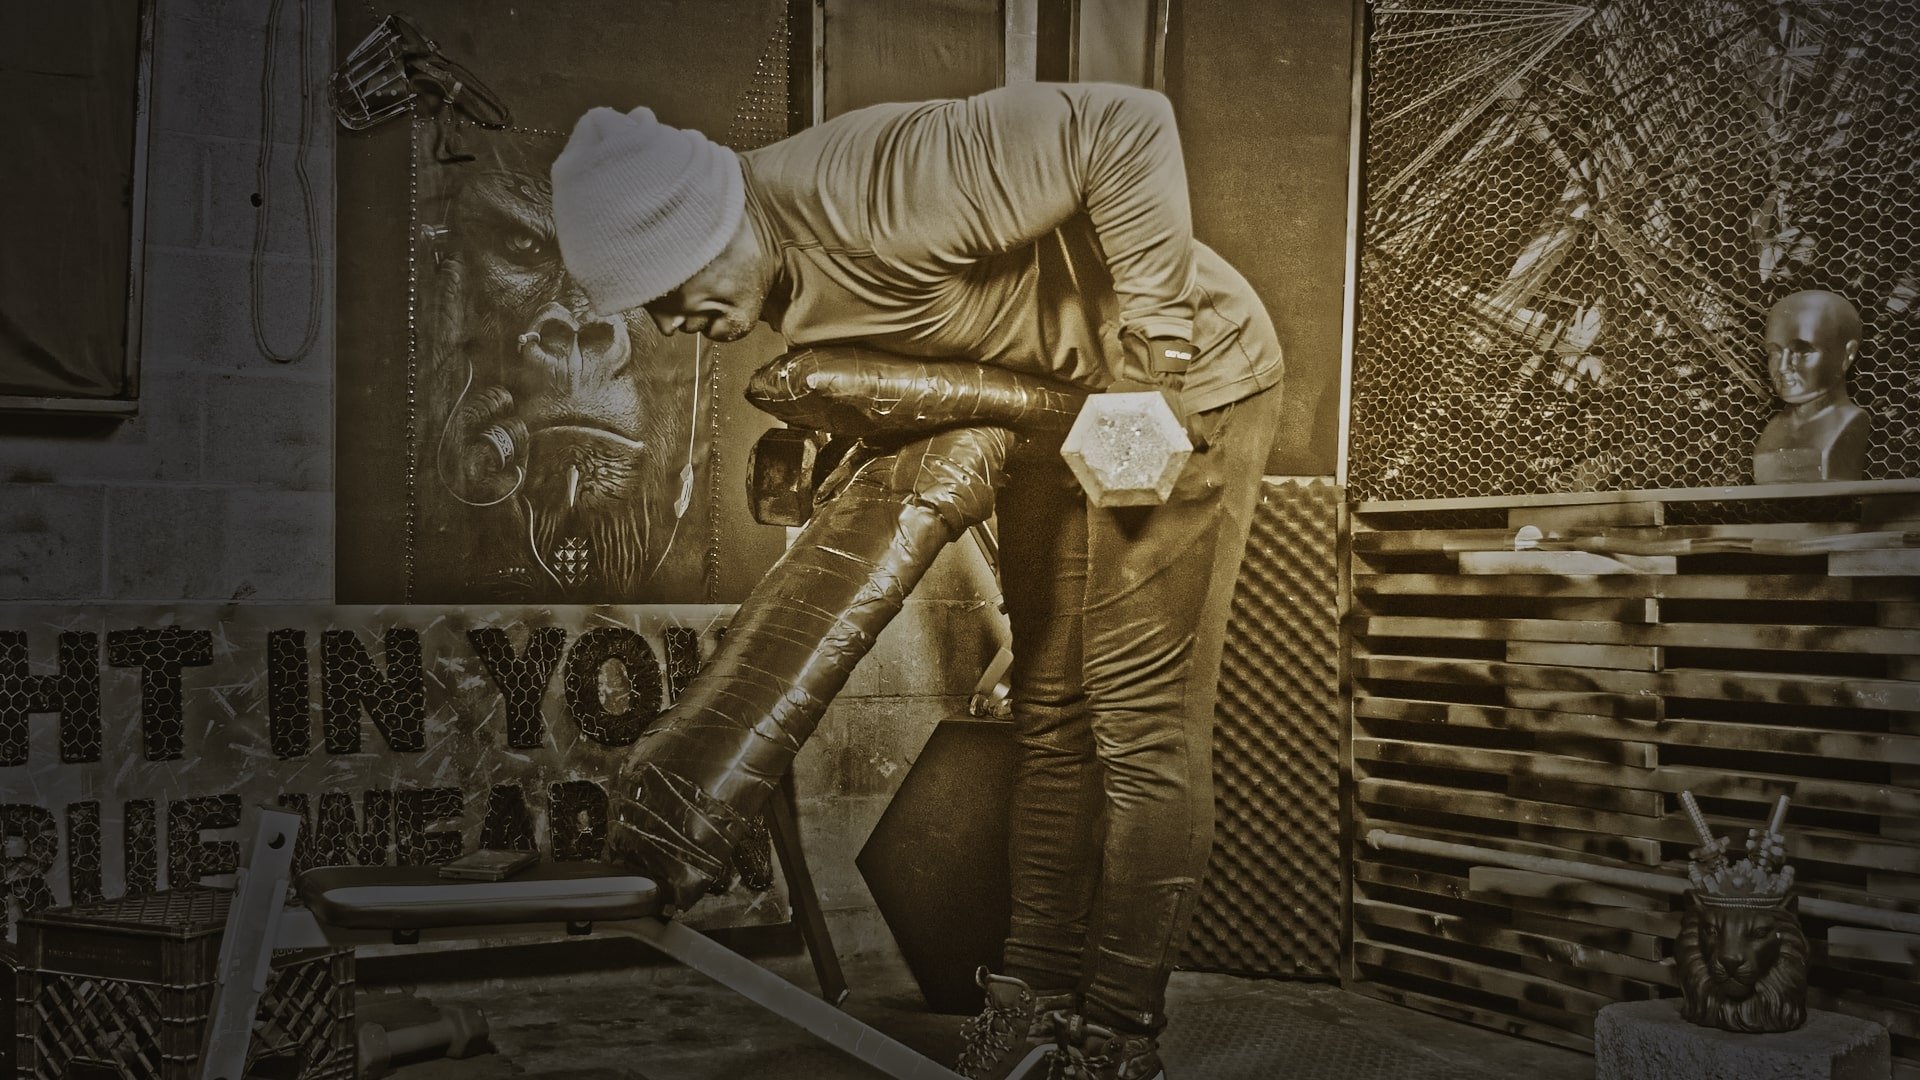
How Do You Do Chest Supported Rows? You have two choices – Option 1: Place your bench at a 60-degree gradient and row facing into the back pad of the bench, or Option 2: Place the bench at a 75-degree angle and turn it around so you are leaning over the back of the bench…You choose which one suits you.
Cue 1: With dumbbells in hand, straddle an incline bench and walk your way up until you are comfortably resting face-forward at the top of the bench.
(Option 2)Turn a high incline bench around so that you are behind it. Balance a pad on the top of the bench for comfort. Grab a dumbbell in each hand and rest your upper torso on the pad.
Cue 2: Have your palms facing you at the beginning of the movement, retract your shoulder blades by pulling them down; this will help to activate the Lat muscles and get a better mind/muscle connection. Tighten your core and squeeze your Lats.
Cue 3: Row the dumbbells smoothly into your hips and as you reach the top of the movement, rotate your palms so they are facing each other. Hold and squeeze briefly before lowering the dumbbells to the start position.
Cue 4: At the bottom of the movement, protract your shoulders so it looks as if you are hunched over. This will help to engage more upper Back muscles. Repeat all of the cues as you go through each repetition.
Do Different Grips Target Different Areas of The Back?
Yes. Due to elbows being out and away from the body, the overhand grip will target more of the upper back muscles along with the rear deltoids.
The underhand grip will typically target more of the middle and lower Trapezius muscles as it forces the elbows closer to the body, whereas the neutral grip takes the stress away from the elbows which is great if you have an elbow pain.
Five Day Dumbbell Workout Plan
The 3 Best 25 lb Dumbbells On The Market
underhand lat pulldown
Variation 1: Flared Chest Supported Row:
For this Dumbbell Supported Chest Row variant, we’re going to use an overhand grip and finish with the elbows wide to focus on the upper back muscles and rear deltoids.
Items Needed: Incline bench, pad (optional), and a pair of dumbbells.
Set up is the same as the previous supported row where you choose between straddling the bench or coming over the back of the bench.
Cue 1: Straddle the incline bench and walk your way up until you are comfortably leaning over the back pad.
Cue 2: With dumbbells hanging directly underneath the line of your shoulders and your palms in the pronated position, retract your shoulder blades by pulling them down. By doing this, you feel your Lats muscles activate. Tighten your core and squeeze your Lats.
Cue 3: Row the dumbbells up in line with your shoulders. At the top of the movement, the dumbbells should finish at about a 90-degree angle to your shoulders. Hold briefly before slowly returning to the start position.
5 Day Dumbbell Workout Plan for Muscle Growth
underhand cable pulldowns
prone row
Variation 2: Reverse Grip db Chest Supported Dumbbell Row:
This chest supported db row is a great deviation for targeting the lower Traps and Lat area.
Items Needed: Incline Bench, a pad (optional), and a pair of dumbbells.
Set up your bench at a 75-degree angle and balance a pad on the top for comfort.
Cue 1: Lean on the pad with your upper torso and turn your palms in a supinated position, making sure to have the dumbbells hanging directly underneath you.
Cue 2: Retract your shoulder blades by pulling them down and back.
Cue 3: Pull the dumbbells up and into your hip area. Hold briefly before returning to the start position.
underhand pull down
prone db row
Variation 3: Flat Chest Supported Dumbbell Rows:
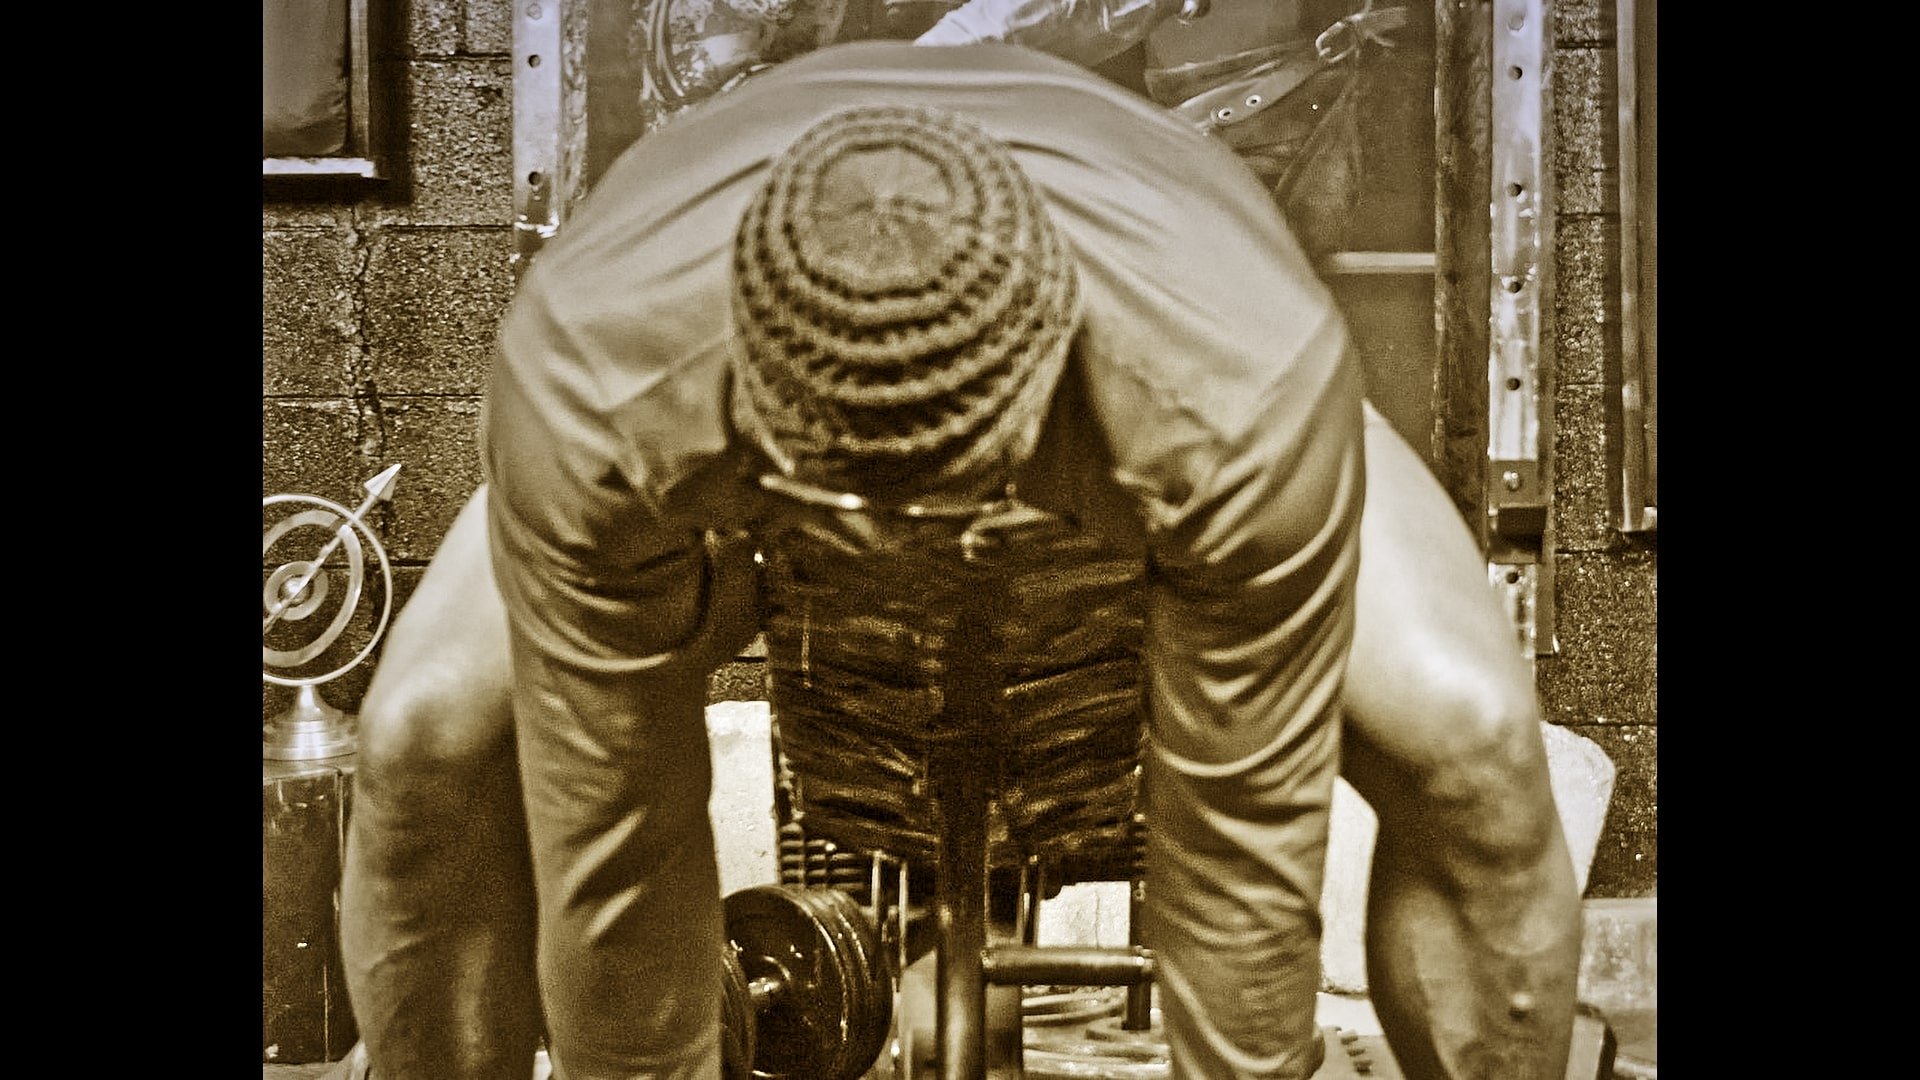
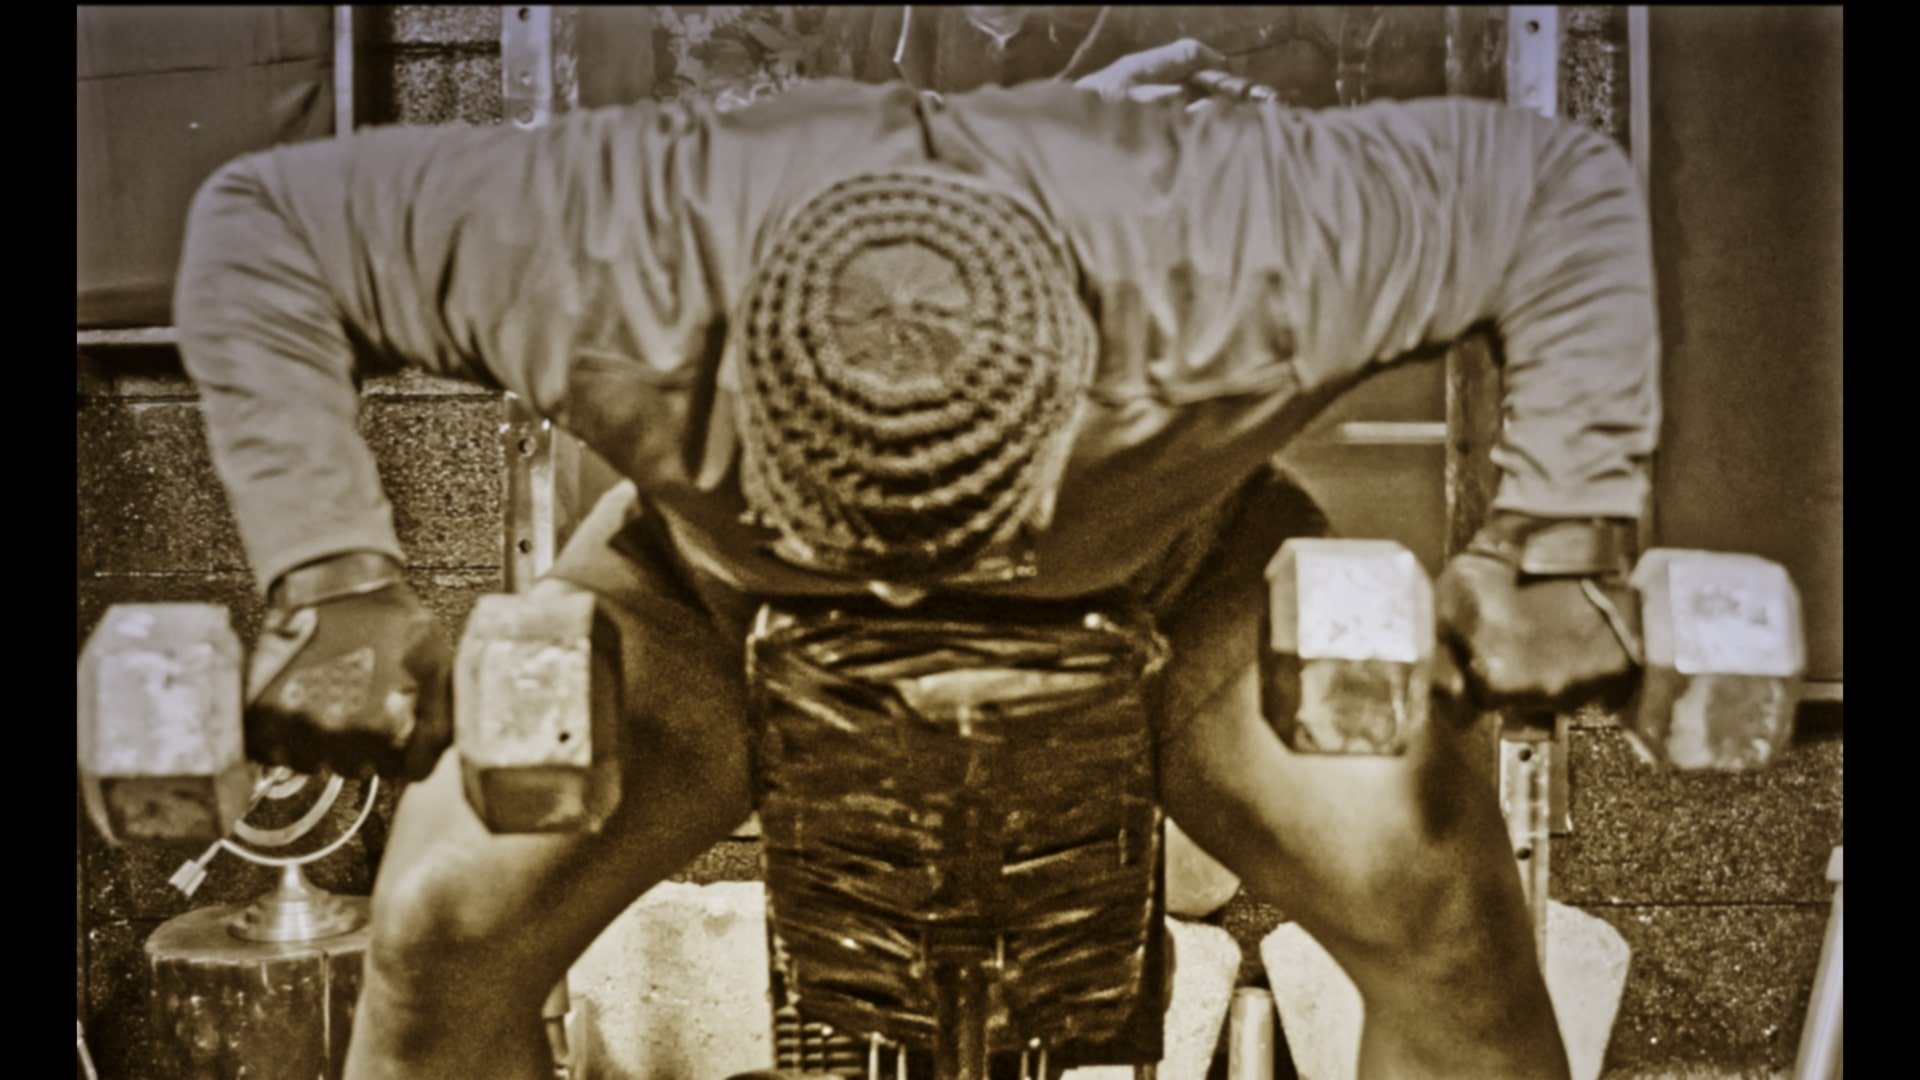
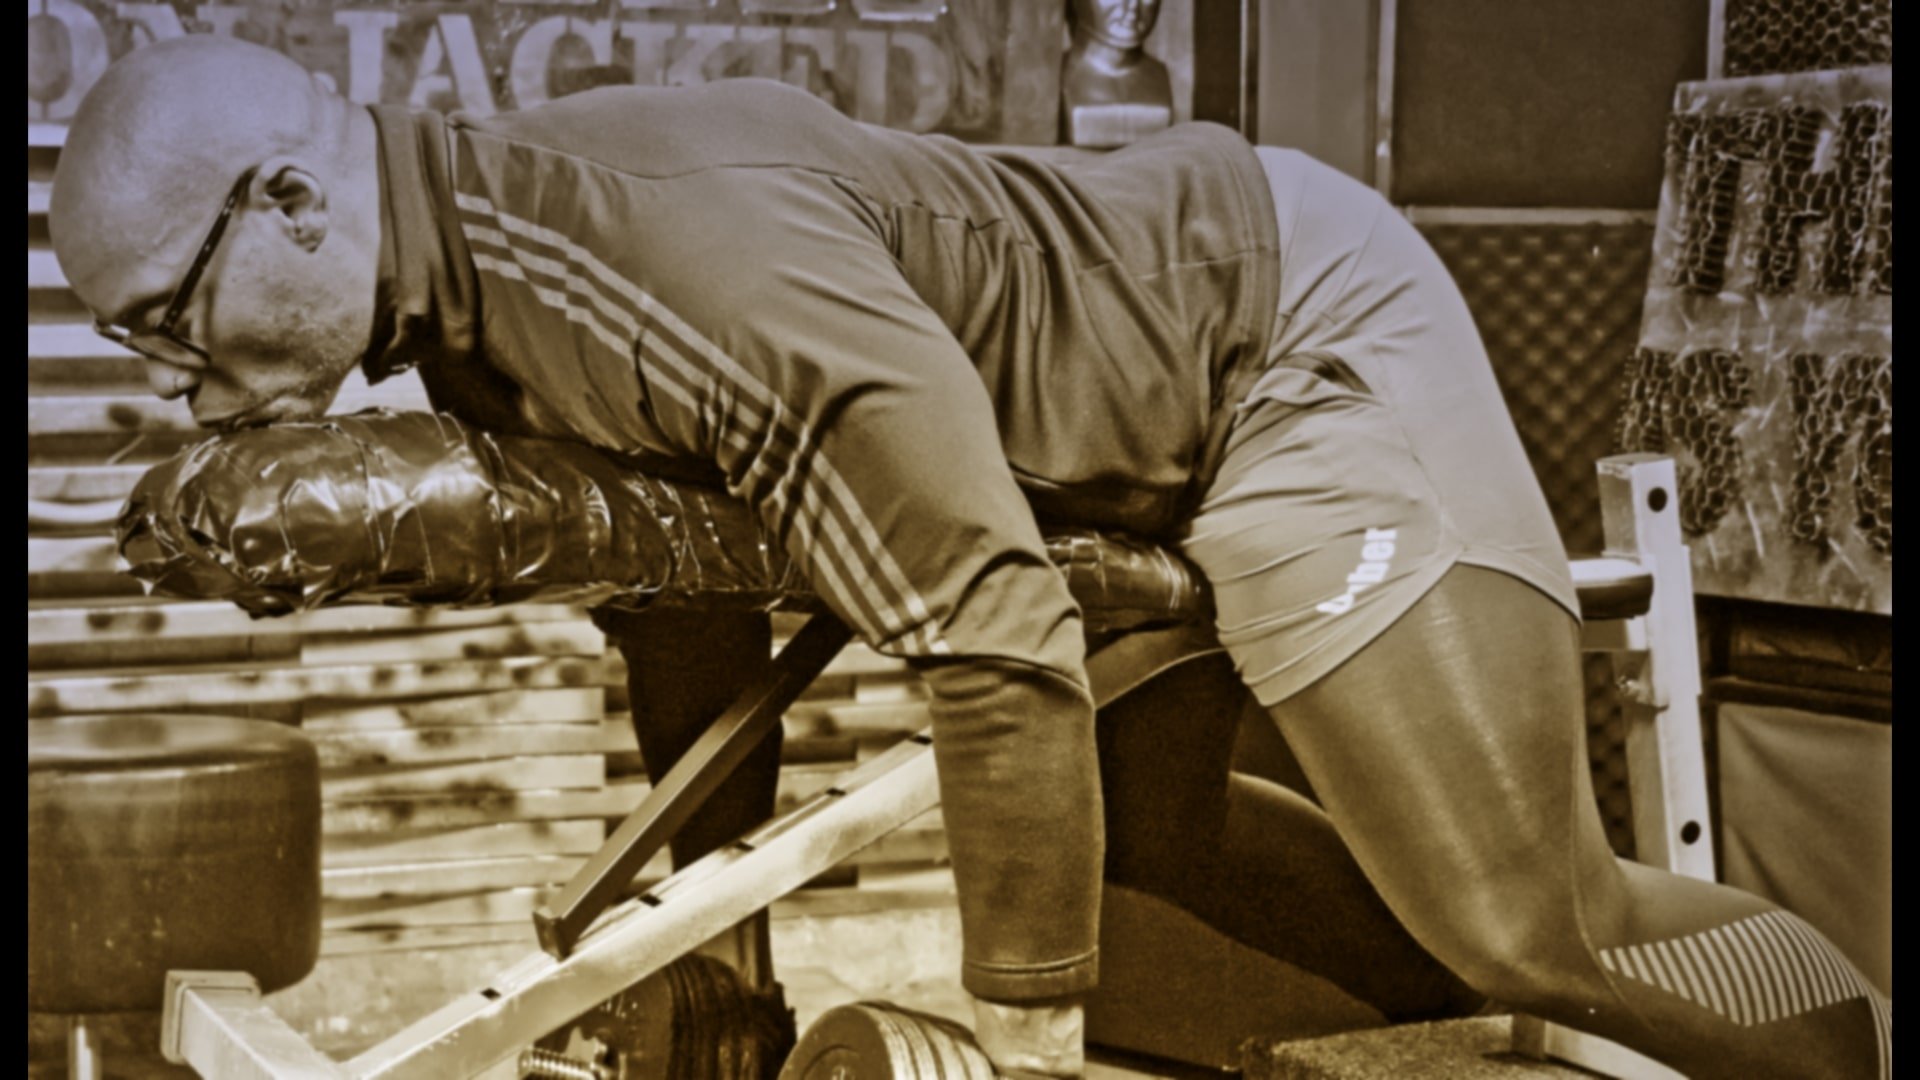
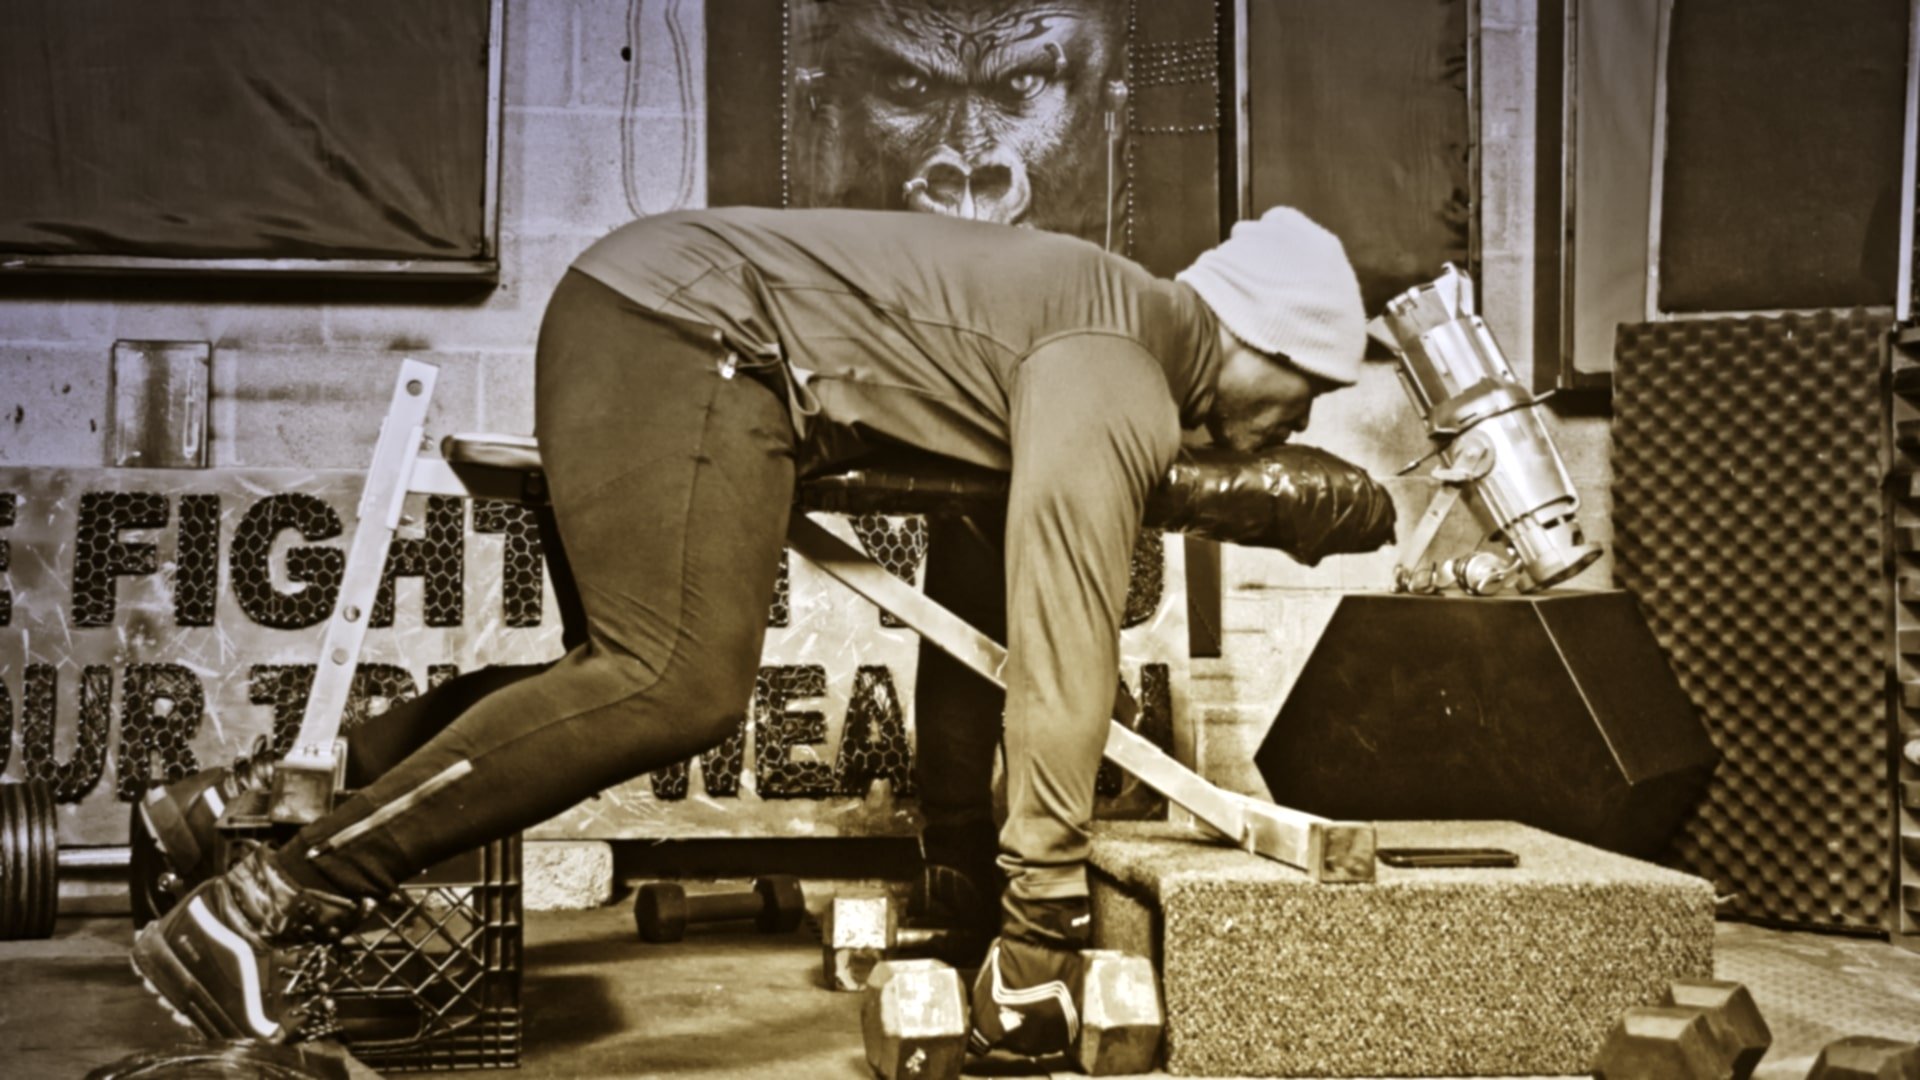
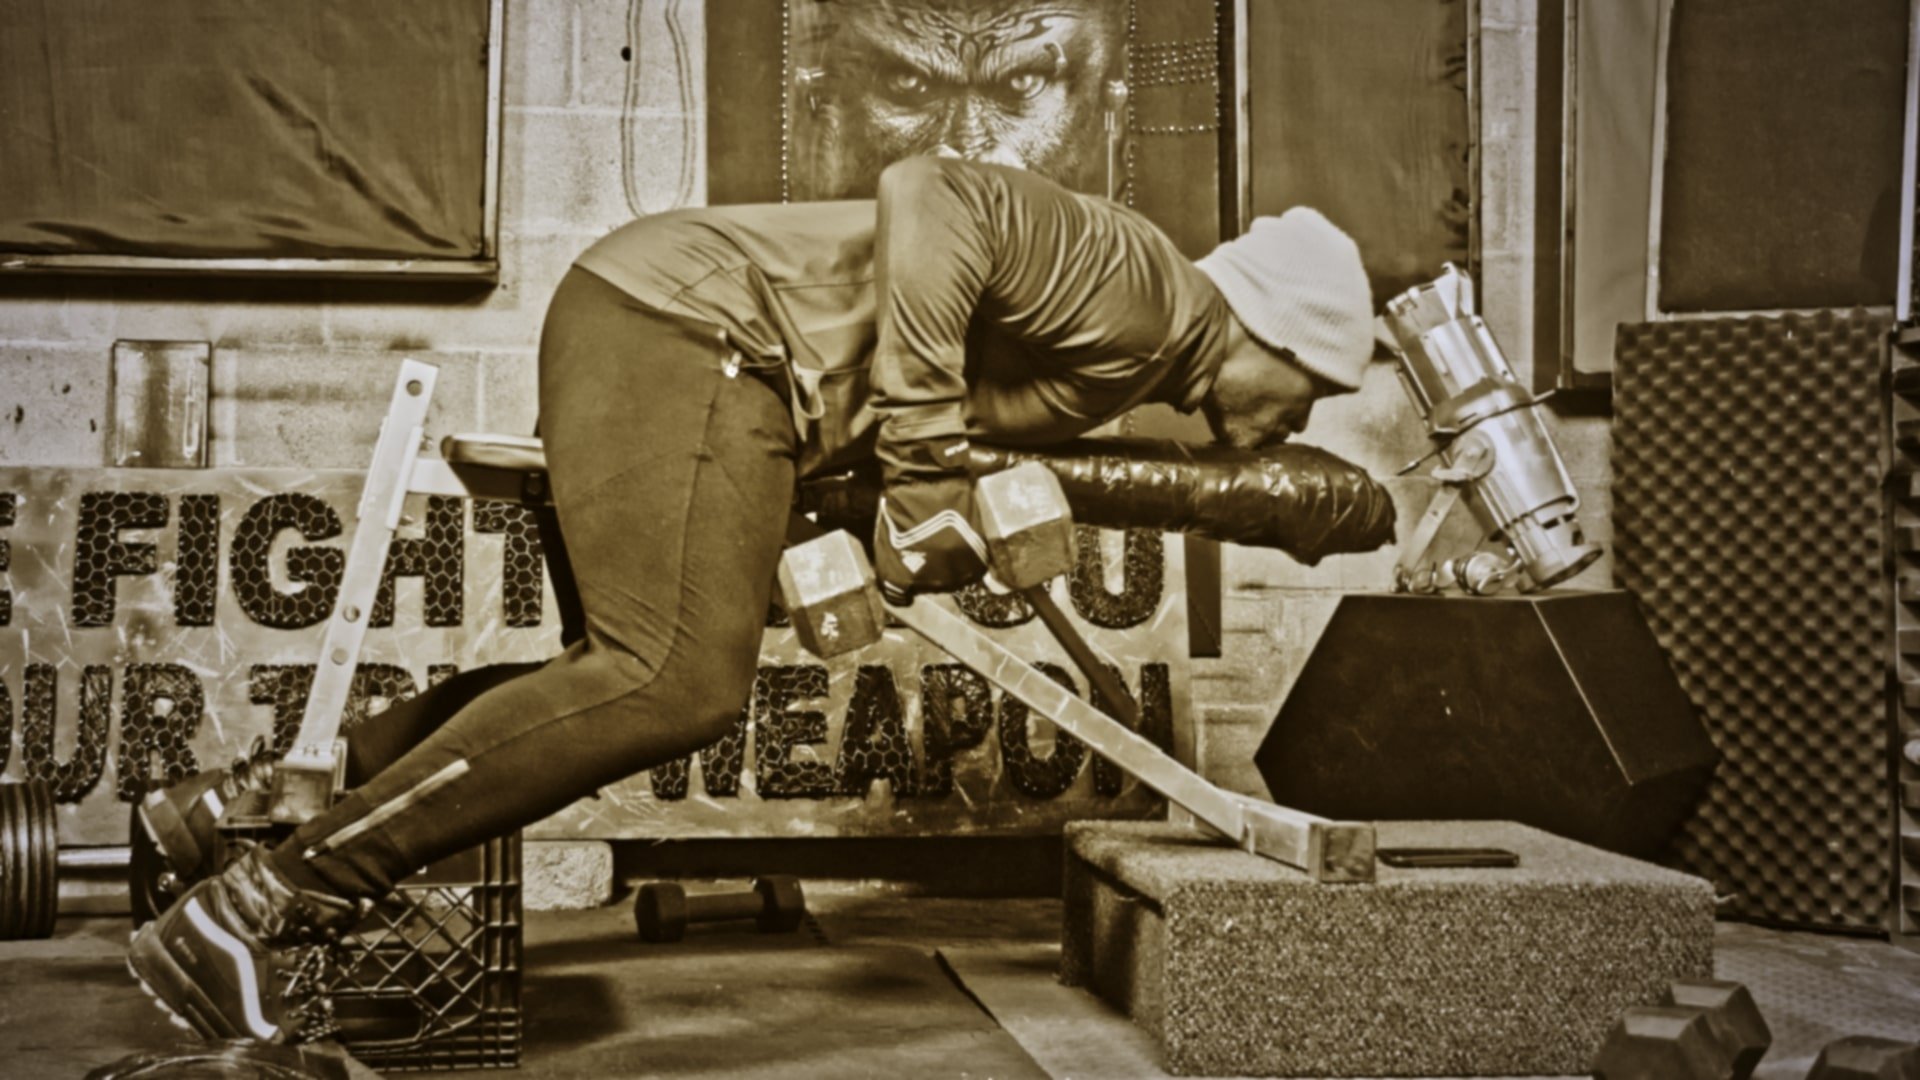
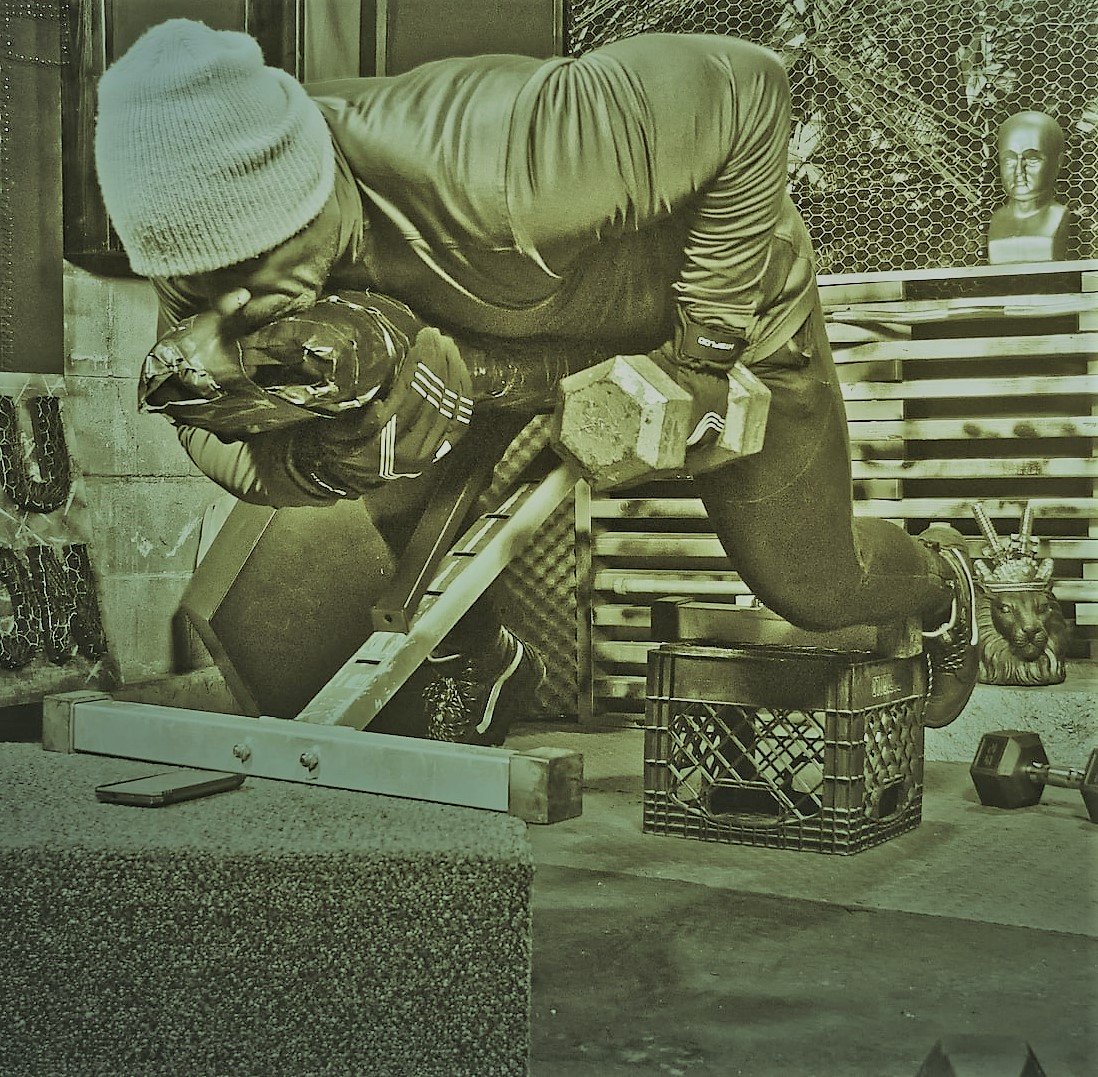
If you want to make the chest supported db row a harder exercise, lay on a flat bench. The dumbbells and your body pulling down into the pad stops much of the swaying and also limits momentum.
Items Needed: Flat bench, two crates, platforms or a few bumper plates, and a pair of dumbbells.
Setup: Place a crate, platform, or a few bumper plates under each end of a flat bench to lift it off the floor and to give you more room to operate. There needed to be enough space to be able to have your arms straight underneath you.
If you’re still having trouble getting enough rowing room, lay a thick pad in the middle of the bench to create a little more height and distance away from the floor.
Cue 1: Lay face down on the bench with dumbbells in hand and off the floor. You can choose either a supinated grip (targets the mid and lower portions of the back), pronated grip (targets more of the upper back and rear deltoid muscles), or neutral grip (somewhere in between)
Cue 2: Retract your shoulder blades by bringing them down and back. As you row the dumbbells, drive them back into your hip area.
Cue 3: Hold briefly at the top before slowly lowering the weight to the start position.
The Best 5 Day Dumbbell Workout Split For Muscle Building
Click For More Dumbbell Lat Exercises
supinated pulldown
Variation 4: Dead-Stop Flat db Chest Supported Row:
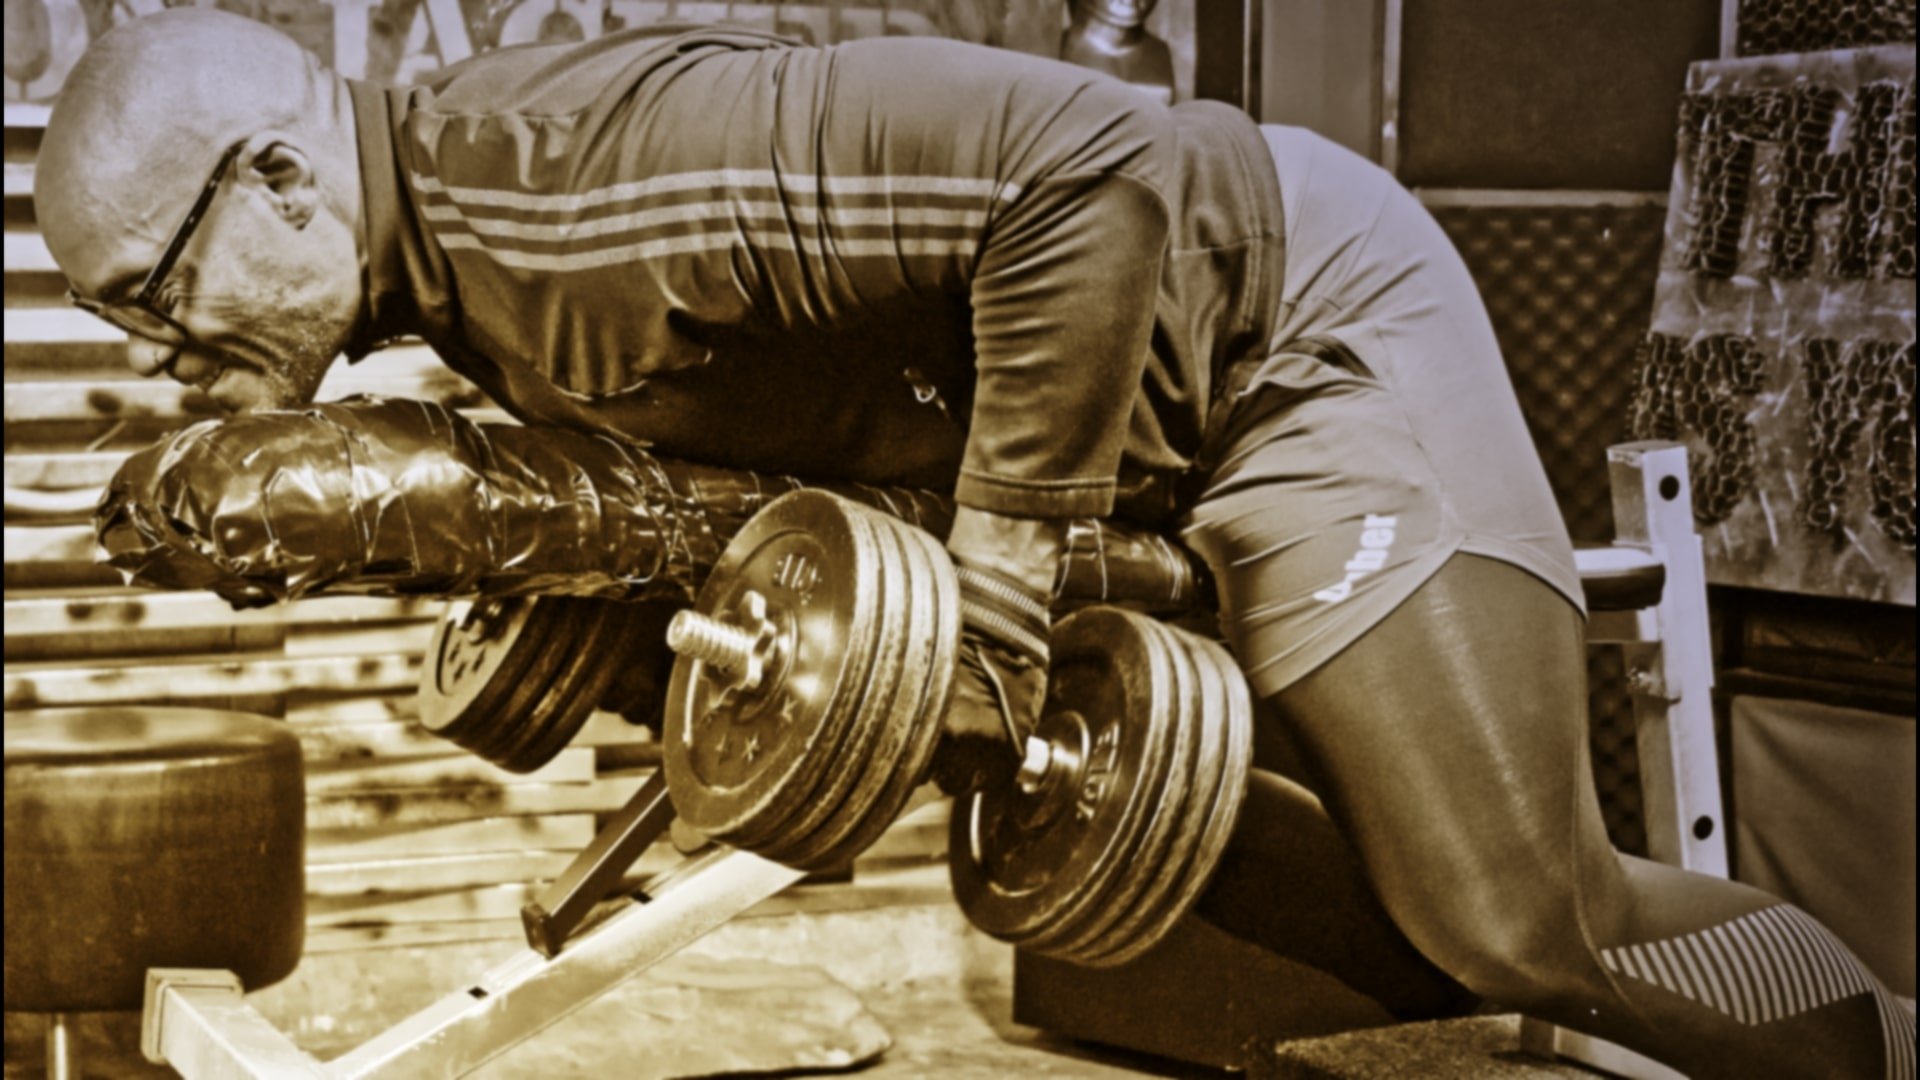
There's no cheating with this chest supported db row variant since you are laid out in the prone position with two heavy dumbbells on either side looking up at you. Your mission you choose to accept is to row the dumbbells from a dead position off the floor.
Items Needed: Flat bench, two crates, platforms or a few bumper plates, and a pair of dumbbells.
Setup: Place a crate, platform, or a few bumper plates under each end of a flat bench to lift it off the floor and to give you more room to operate. There needs to be enough space to be able to have your arms straight underneath you.
Cue 1: Position yourself on the flat bench and have the dumbbells lying lengthways on the floor on either side of you, level with the middle part of your torso.
Cue 2: Grip the dumbbells without lifting them off the floor. Retract your shoulder blades by bringing them down before rowing the dumbbells off the floor into your hip area.
Cue 3: Hold briefly at the top of the movement before returning them to the floor for the next repetition.
The Best 5-Day Dumbbell Workout Split
how to grow lats
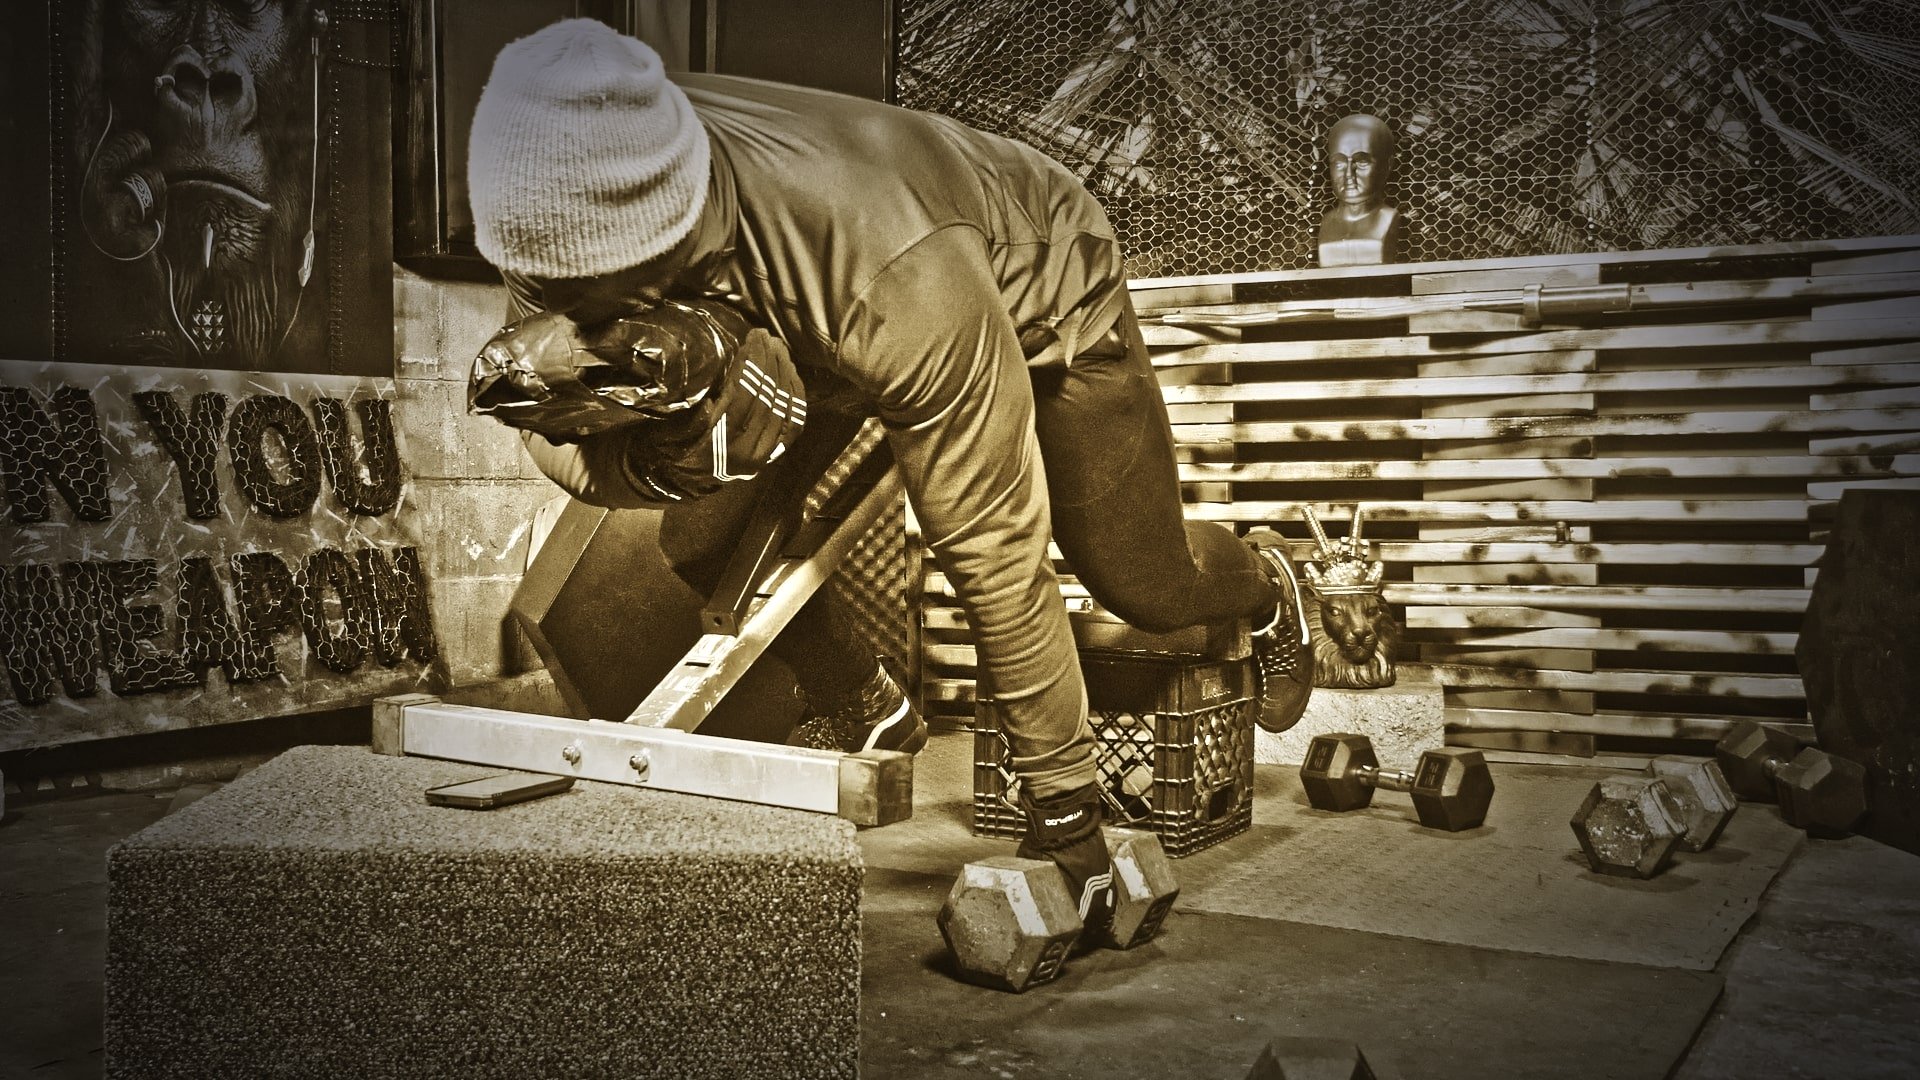
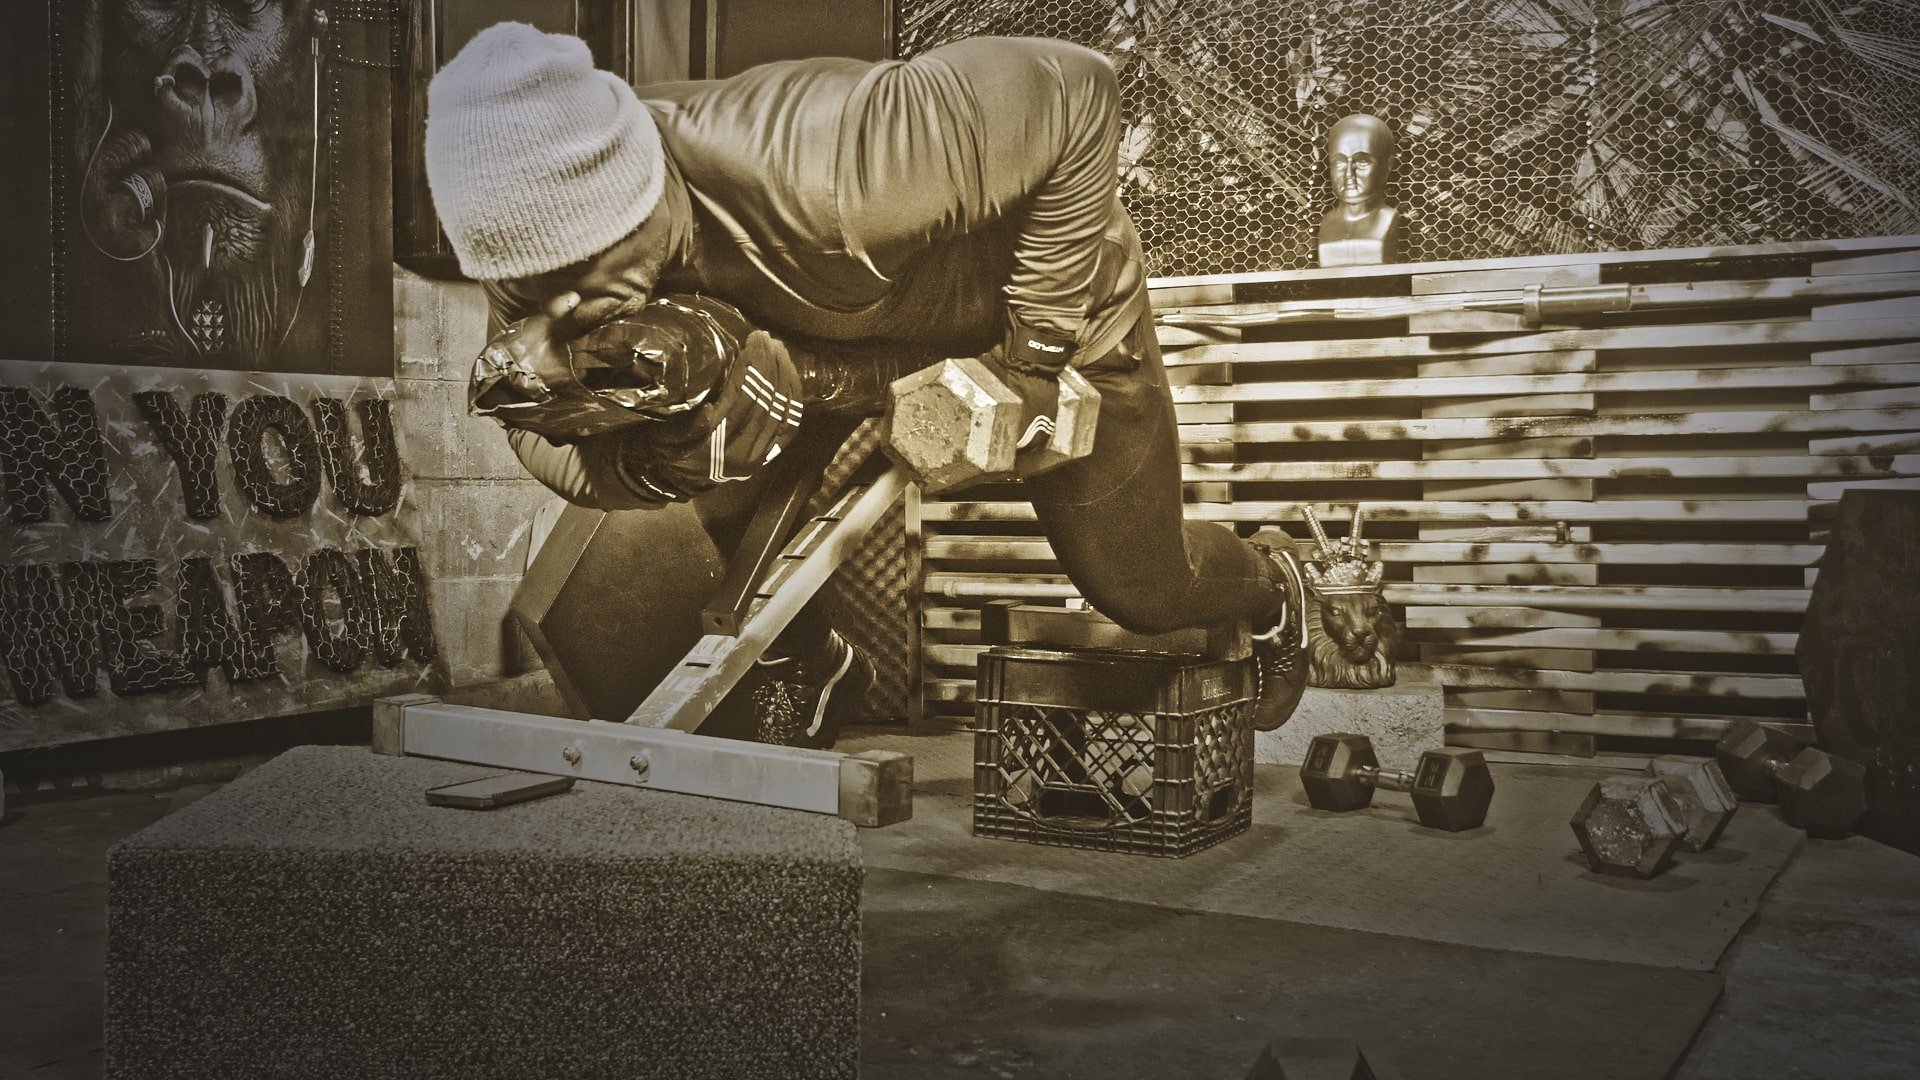
Variation 5: Dead-Stop Single Arm Flat db Chest Supported Row:
This is a slight departure from the above chest supported db row, where you’re performing the movement in a single-arm fashion. As this is a much harder exercise version than the former, use your free arm to wrap around the top of the bench to help keep you in place as you perform the row.
Want A Monster Back & Bicep Workout?
underhand lat pull down
Variation 6: Single Arm Flat Chest Supported Row:
This variation gives you a great opportunity to concentrate on form and proper execution. This version will try to have you rolled over to the opposite side that you are rowing on, the heavier the dumbbell becomes; so do everything to keep yourself glued to the bench.
Items Needed: Flat bench, two crates, platforms or a few bumper plates, and a pair of dumbbells.
Setup: Place a crate, platform, or a few bumper plates under each end of a flat bench to lift it off the floor and to give you more room to operate. There needs to be enough room to be able to have your arms straight underneath you.
Cue 1: Lay flat on the bench and have the dumbbell in one hand with your palm facing in. Wrap your free arm around the bench to help you stay in place as you begin to row.
Cue 2: With the dumbbell hanging directly underneath you, retract your shoulder blade by pulling it back and row straight into your hip area. Try to keep your torso in place on top of the pad without rolling up as you row.
Cue 3: Hold briefly at the top of the movement before slowly lowering the dumbbell back to the start position.
Are There Any Differences In Lying Chest Row and Incline Supported Rows?
While the muscles worked will be more or less the same because the force is still coming from virtually the same direction, the pressure placed on the body will vary considerably based on the angle you use.
When you are sitting upright, only when you are rowing will you feel the force on your chest. When you are lying in the flat position or set on a low incline, everything including the dumbbells and your entire body weight is pulled down.
Lying flat could be a problem for larger lifters or people with slight breathing difficulties.
When performing the exercise on a flat bench, it's much harder to cheat during a set.
In the seated position you are only being supported when you are performing the actual row.
How Do I Implement the Chest Supported db Row into My Workouts?
There are a few different ways you could implement the Chest Supported Row into your workouts. While a lot will depend on your workout split, I will share some examples.
Novice Lifter Training 3 Full Body Sessions per Week:
For this split, sandwich a Chin-up movement between two rowing exercises. Here is an example…
Monday: Barbell or Dumbbell Bent-Over-Row x 3 sets x 10 repetitions per set.
Wednesday: Wide grip Chin-Ups x 3 sets x 10-12 repetitions per set.
Friday: Chest Supported Row (Dumbbells, using a pronated grip) x 3 sets x 8-10 repetitions per set.
Intermediate Lifter Training 4 Full Body Sessions per Week:
For this workout split, alternate between a pulling movement and a rowing exercise. Here is an example…
Monday: Wide grip Chin-Ups x 3-4 sets x 10-12 repetitions per set
Tuesday: Barbell or Dumbbell Bent-Over-Row x 3-4 sets x 5-6 repetitions per set
Thursday: Chest Supported Row (Dumbbells, using a pronated grip) or Reverse Grip db Chest Supported Dumbbell Row: x 3-4 sets x 6-8 repetitions per set.
Friday: Underhand Grip Lat Pulldowns x 3-4 sets x 12-15 repetitions per set.
Intermediate Lifter Training Back Twice Per Week:
Workout One:
1: Wide grip Chin-Ups x 3-4 sets x 8-10 repetitions per set.
2: Chest Supported Row (Dumbbells, using a pronated grip) x 3-4 sets x 6-8 repetitions per set
3: Close Grip Pulldowns x 3-4 sets x 8-10 repetitions per set.
Workout Two:
1: Dead-Stop Flat db Chest Supported Row x 3-4 sets x 8 repetitions per set.
2: Wide Grip Pulldowns x 3-4 sets x 8-10 repetitions per set
3: Rack Pulls x 3-4 sets x 8 repetitions per set.
Advanced Lifter Training 5 Full Body Workouts Per Week:
Monday: Seated Dumbbell Deadlifts x 4-5 sets x 8 repetitions per set
Tuesday: Dead-Stop Flat db Chest Supported Row x 4-5 sets x 6 repetitions per set.
Wednesday: Underhand Grip Lat Pulldowns x 4-5 sets x 12 repetitions per set.
Friday: Barbell or Dumbbell Bent-Over-Row x 4-5 sets x 10 repetitions per set.
Saturday: Decline Dumbbell Pullovers or Straight Arm Cable Pullovers x 4-5 sets x 8 repetitions per set.
Advanced Lifter Training Back Twice per Week:
Workout 1:
1: Wide grip Chin-Ups x 3-5 sets x 8-10 repetitions per set.
2: Chest Supported Row (Dumbbells, using a pronated grip) x 3-5 sets x 6-8 repetitions per set
3: Close Grip Pulldowns x 3-5 sets x 8-10 repetitions per set.
Workout 2:
1: Dead-Stop Flat Chest Supported db Row x 3-5 sets x 8 repetitions per set.
2: Rack Pulls x 3-5 sets x 6-8 repetitions per set
3: Underhand Pulldowns x 3-5 sets x 10 repetitions per set.
Chest Supported Row Intensity Techniques:
If you want to take your chest supported row to a new level of intensity, here are 2 techniques to stimulate growth into your back. These techniques should not be attempted by novice and early intermediate lifters and should only be carried out up to twice per week.
Chest Supported Row Intensity Technique 1 - Rep Targeting:
For this muscle-building technique, you simply set a rep target for your Chest Supported Row and obtain that repetition goal no matter how many sets it takes to achieve.
Example: Our target is 50 repetitions with a weight that may allow you 15 reps to failure. On set one, you achieved 15 reps.
· Rest up to 30 seconds
· You perform 10 more reps to failure
· Rest up to 30 seconds
· Achieve 8 reps to failure
· Rest up to 30 seconds
· Complete 7 reps to failure
· Rest up 30 seconds
· Perform 5 repetitions to failure
· Rest 30 seconds
· Perform 5 reps to failure
· Complete!
Chest Supported Row Intensity Technique 2 - Time Subtraction Rep Targeting
A significant variation of the above rep targeting method is to do "Time Subtraction Rep Targeting." Your rest time between sets is the number of reps you have left to reach your target.
Here’s an example using a target of 50 reps with a weight that allows you about 15 repetitions to failure.
· You complete 15 reps on set one to failure
· Rest 35 seconds
· Set 2 you complete 10 repetitions to failure
· Rest 25 seconds
· Set 3 you complete 8 reps to failure
· Rest 17 seconds
· Set 4 you perform 6 repetitions to failure
· Rest 11 seconds
· Set 5 you complete 5 reps to failure
· Rest 6 seconds
· Set 6 you perform 4 reps to failure
· Rest 2 seconds
· Set 7 you complete 2 reps
· Complete.
Top 10 Best Dumbbell Chest Exercises!
Chest Support Row – AKA
1: Chest Rows
3: Chest Supported Barbell Row
11: Chest Assisted Dumbbell Row
12: Chest Assisted Dumbbell Rows
18: Chest Supported Bent-Over-Row
20: Bench Assisted Dumbbell Row
22: Bench Assisted Dumbbell Rows
23: Incline Chest Supported Row
24: Incline Chest Supported Rows
25: Incline Dumbbell Chest Supported Row
26: Incline Dumbbell Chest Supported Rows
27: Chest Row
28: Lying Supported Neutral-grip Dumbbell Row
29: Chest Supported Seated Row
32: Chest Supported Incline Row
34: Chest Supported Incline Dumbbell Row
37: Bench Supported Dumbbell Row
38: 45-degree rows
39: Chest Supported Upper Back Row
40: Incline High Row
43: Horizontal Row with Dumbbells
45: Seated Chest Supported Row
46: chest supported upper back row
49: pronated chest supported row
50: dead stop db row
51: incline chest supported db row
52: machine chest supported row
57: chest-supported dumbbell row
More Back Growing Articles
Do The Chest Supported Rows For A Bigger Back – Use These 6 Huge Variations
7 db Lat Exercises To Build A Monster Wide Back. Exercise Four Will Bury You!
Try the Best Dumbbell Back and Bicep Workout For a Size Increase
2 Back Dumbbell Workout Exercises For Crazy Thickness
Dumbbell Pullovers - Check Out These Four Variations For Lats
Now you’ve mastered the Chest Supported Row, let’s pop the exercise into the best home gym workout program. Click The Image Below!
Other Exercises Under The Spotlight:
Incline Curls – The Baddest Sit Down Exercise In All of The Bicep Kingdom
Split Squat Your Way To better Legs
Rear Delt Fly Your Way To 3D Shoulders
Master The Dumbbell RDL in 5 Easy Steps – Try These 10 Variations
db Skull Crushers: Get Big Results With These 2 Variations!
Mission Jacked L.L.C
Address: 9407 NE Vancouver Mall Dr
STE 104 #1269
Vancouver, WA 98662 USA
Email: mission@missionjacked.com
