Mission Jacked.com
Get Jacked With This Full Body Workout With Dumbbells
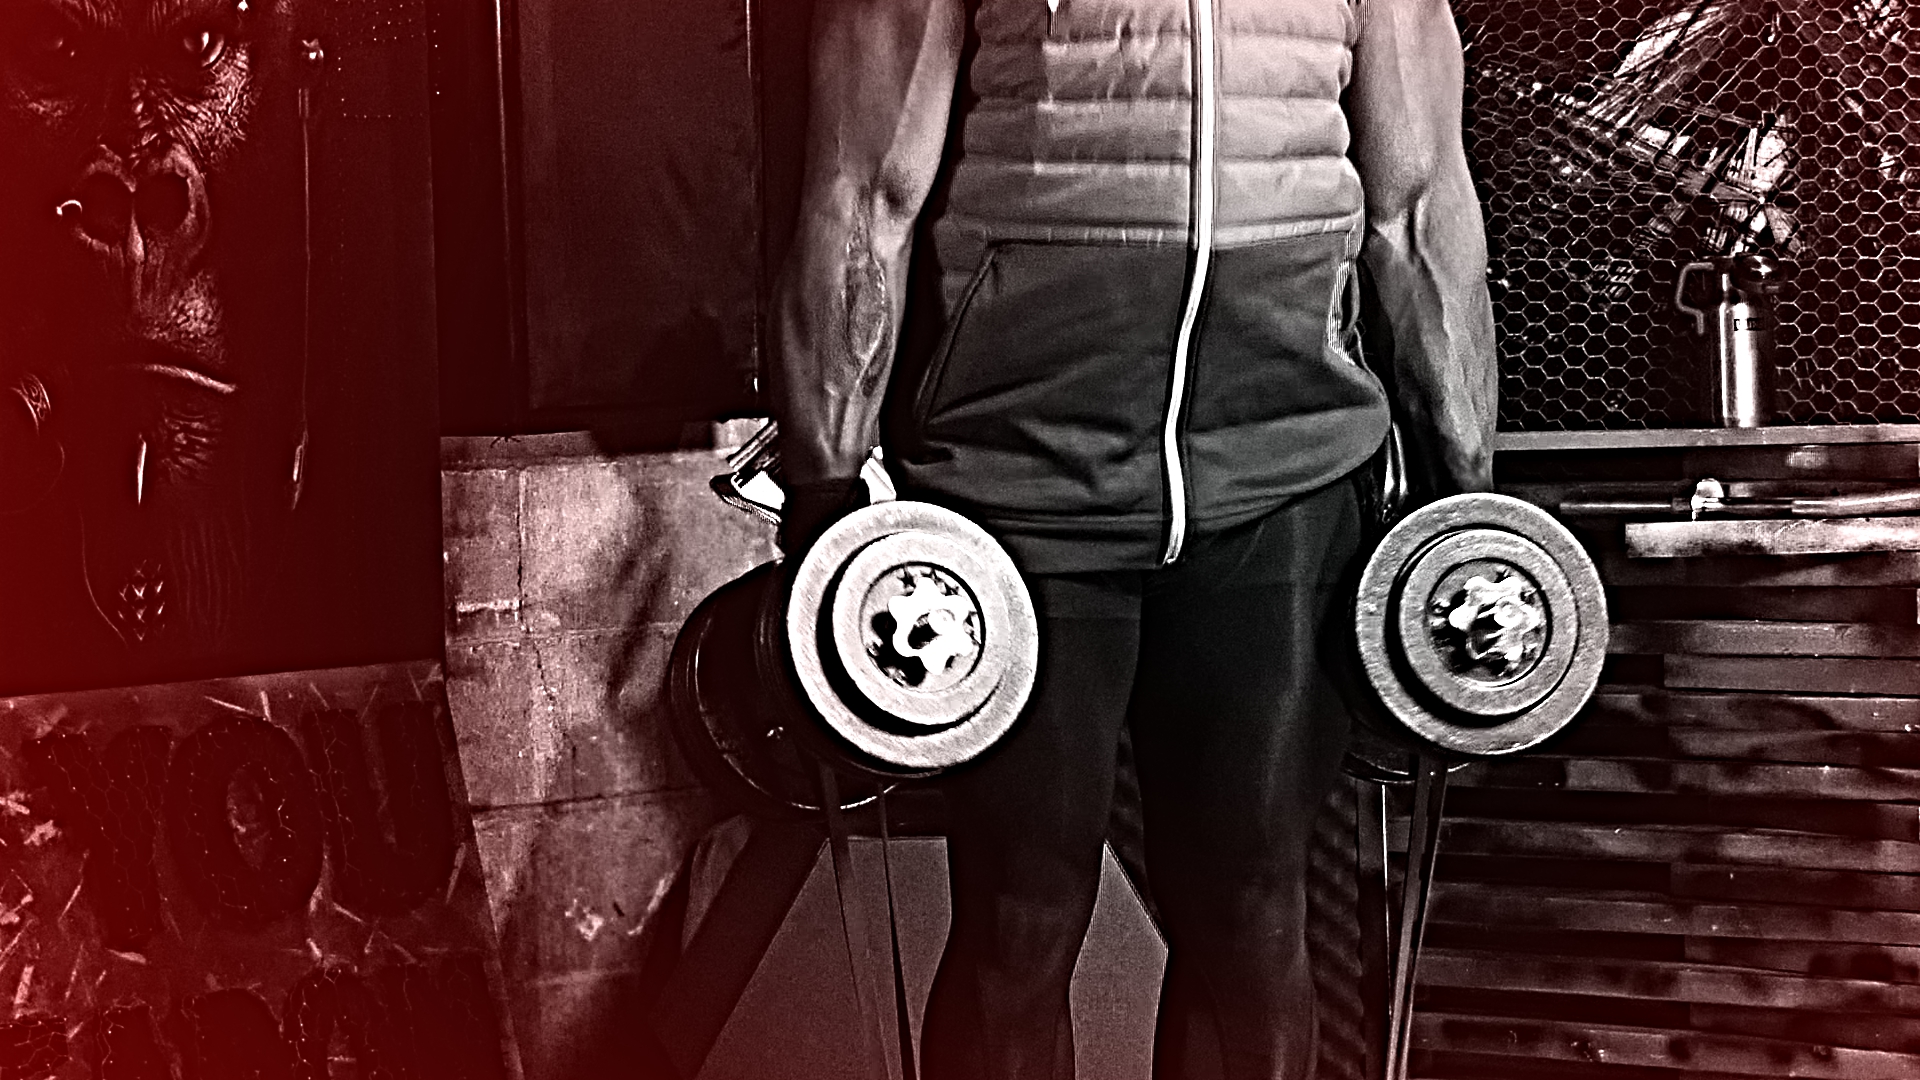 Here’s a full body workout with dumbbells that will kick your ass and build muscle.
#muscle #dumbbellworkout #fullbodyworkout
Here’s a full body workout with dumbbells that will kick your ass and build muscle.
#muscle #dumbbellworkout #fullbodyworkoutStuck doing the same old full body workout with dumbbells and not seeing any results? Just before you throw in the towel, keep on reading because I’m about to share with you a workout session that will help to stimulate new muscle growth and take your physique to the next level.
Hi, I’m Psymon H., and in case you don’t know, I’m the man behind Mission Jacked.com, the resource for getting jacked with dumbbells and minimal equipment.
Building a head turning physique with nothing more than dumbbells can be a tough task even for the most dedicated lifter; but mix your hard work and "never say die" attitude with my knowledge and outside the box approach, and we’ve got a really good base to build a great physique.
Now let’s get to work.
In this article we’re going to cover some serious ground. By time I’m finished with you, you’re going to be ready to kick ass and take names. First, I’m going to upgrade your exercise arsenal with movements you may not have done before, because this is about kicking “comfort” in the nuts as being comfortable doesn't build muscle.
Second, while it’s great having new exercises to play around with, it’s better to have these new movements placed inside a workable training protocol to maximize results. At this point, I would advise you bookmark this page because I’m going to be throwing a lot of information your way, and you may have to read certain areas more than once, (but trust me, it will all be worth it.)
Last but not least, we’ll return to the list of exercise movements and add some cues and pictures so you can hit the ground running in your next full body workout with dumbbells.
DB RDL
The 3 Best 25 lb Dumbbells On The Market
Full Body Workout With Dumbbells Exercise List
Here's a list of the exercise movements we'll be covering...
Quads/Hamstrings & Glutes: The Spring-Loaded Lunge
Back: Seated Dumbbell Deadlifts
Chest: Anti-fly Single Arm Floor Press
Delts: Seated Butterflies
Biceps: Standing Dumbbell Drag Curl
Triceps: Tricep Kickouts
Calves: Single Leg Calf Push-Ups
Additional Items Needed:
While this is a full body workout with dumbbells, you will need a few other items to complete this workout, but these items are optional.
· Adjustable bench
· Upright post, anchor or a power rack
· One pair of heavy resistance bands
· One light resistance band
The Training Protocol For This Full Body Workout With Dumbbells
For this full body workout with dumbbells session, we’re going to use the very easy and efficient “auto-regulation” training protocol. If you are already familiar with this protocol, the only other information you’ll need before scrolling down to the exercise cue section is the reps per set which will be 10 repetitions per set, aiming to leave 2 reps in reserve.
If you’re new to auto-regulation training, stick with me because this is an extremely effective way of building muscle while managing overall fatigue that accumulates over time.
When you use auto-regulation training, your fatigue is being managed on your performance within a given set.
This means that sometimes you lift more and sometimes less weight for the same amount of reps per set and reps in reserve, because naturally, you'll push yourself when you’re in an optimal state to perform and when you’re not, you pull back.
One important note to make about auto regulation training is that this protocol uses Reps in Reserve as a tool to measure the intensity of effort. If you're new to reps in reserve, don't worry, you'll soon get the hang of this convenient way of tracking workout intensity and measuring how hard a set feels and how many more repetitions you could have achieved to failure.
In addition, this full body workout with dumbbells has variables you can control, which help you to develop the skill of rating your workout performance set by set. For example, to help you discover your exertion level on this workout session, you’re asked to perform 10 repetitions per set, aiming to leave no more than 2 reps in reserve, which will ensure you are achieving maximum motor unit recruitment.
After the first set of 10 reps has been completed, you'll assess your performance with the specified 2 reps in reserve in mind. You do this by asking yourself a simple 'yes' or 'no' question after each set: "Am I above or below the Reps in Reserve target?"
If you undershoot your reps in reserve target, for example, you have 3 or more reps in the tank after set one; you will add weight to set two. If you overshoot the reps in reserve target where you have 1 or fewer reps in reserve, you will remove weight for set two. You repeat this same process after each set is completed.
If, after careful consideration, you assess your performance as the same reps in reserve prescribed, i.e., you're not higher or lower than the 2 reps in reserve, then you keep the same load for the following set and ask yourself the same question again after completing the next set.
This way of training will help you continuously assess your performance with a "reps in reserve" benchmark in mind. At first, you may have difficulties rating your reps in reserve as a standalone measurement of performance, but because there's a rep-per-set yardstick given for each workout, you only need to assess whether you're higher or lower than the reps in reserve target.
The major advantage of this protocol is that it teaches you how to become a really efficient self-coach. It’s advised that you make a note of every working set so over a four week cycle, you can follow your progress and make the necessary adjustments.
As the weeks move on, what you thought were two repetitions in reserve on week one may eventually feel more like a three or four reps in reserve by week four.
In the above scenario, it doesn't matter if you're always above or below the reps in reserve benchmark; the key is to measure your performance set-by-set and be in a position to adjust the weight accordingly.
Let’s turn our attention to the best way to execute each exercise on our list.
The Dumbbell Deadlift: 5 Variations to Beef Up Your Physique
dumbbell rdl
Full Body Workout With Dumbbells Exercise & Cues
A helpful tip when performing any pull exercise in this full body workout with dumbbells session is to use wrist straps to help maintain a good grip. There’s nothing worse than your grip giving out before you’ve fully work the muscle.
Full Body Workout With Dumbbells Exercise One:
The Spring-Loaded Lunge
 |
 |
Target Muscle Groups: (Primary Muscle) Quads, (secondary muscle groups) Glutes, and Hamstrings.
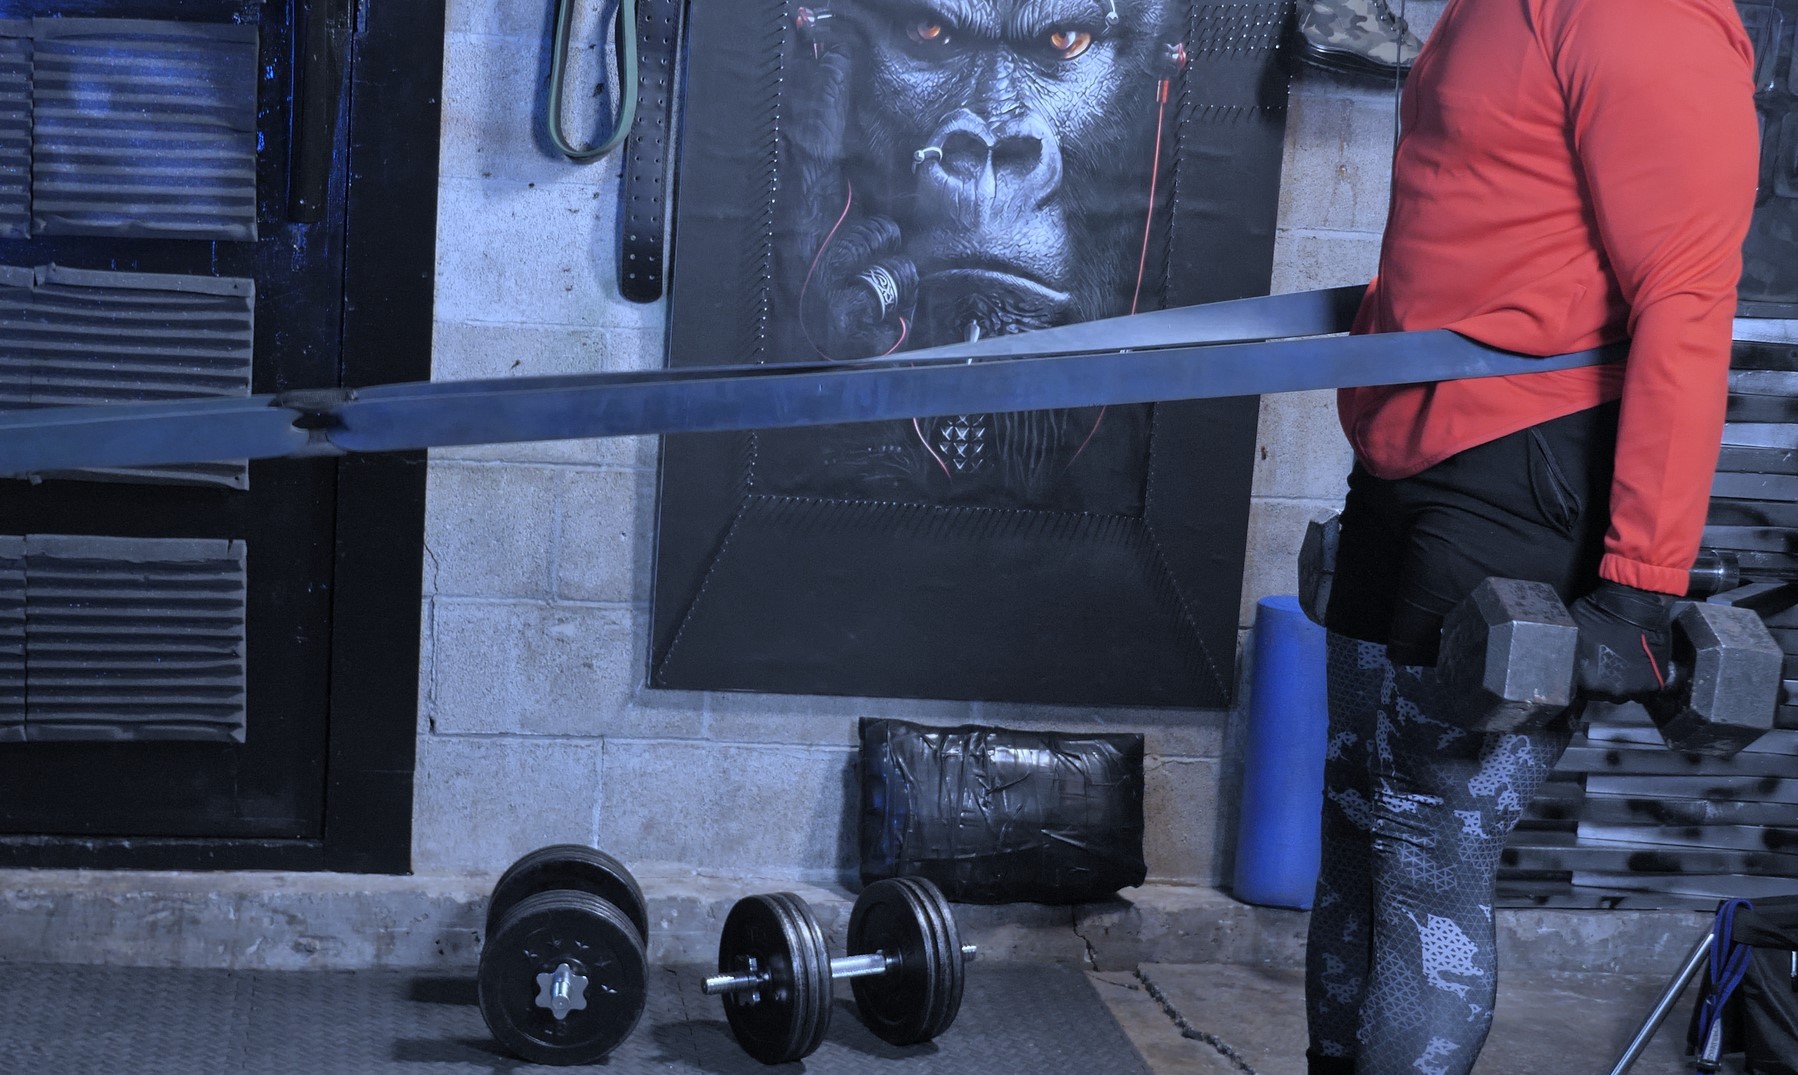
Imagine taking a standard dumbbell lunge and adding an additional force vector to the exercise movement; now you have one of the best dumbbell leg exercises at your disposal. While this movement stimulates growth in the Quads, it also batters the Hamstrings and Glute muscles with extra venom. While the focus is on the use of dumbbells, don’t be put off by the fact that you will also need two heavy resistance bands, a sturdy upright anchor and Velcro or a wrist strap (optional).
Loop the first band to an upright anchor at hip height and use a wrist strap or Velcro to attach the second band. This exercise does come with a warning – Please make sure the upright anchor is secure and the Velcro strap can take the pressure of the two bands under tension. If you don't have Velcro or a heavy wrist strap, you can loop the second band around the first band to create a knot, but this can be a bitch to undo after you’re done.
Cue 1: With the first band attached to the anchor, step inside the second band and have it resting around your Hips. Grab both dumbbells and step back until there is a good amount of tension in both bands. At this moment, you should feel as if you would be catapulted across the other side of the room if you were to lift both feet off the ground.
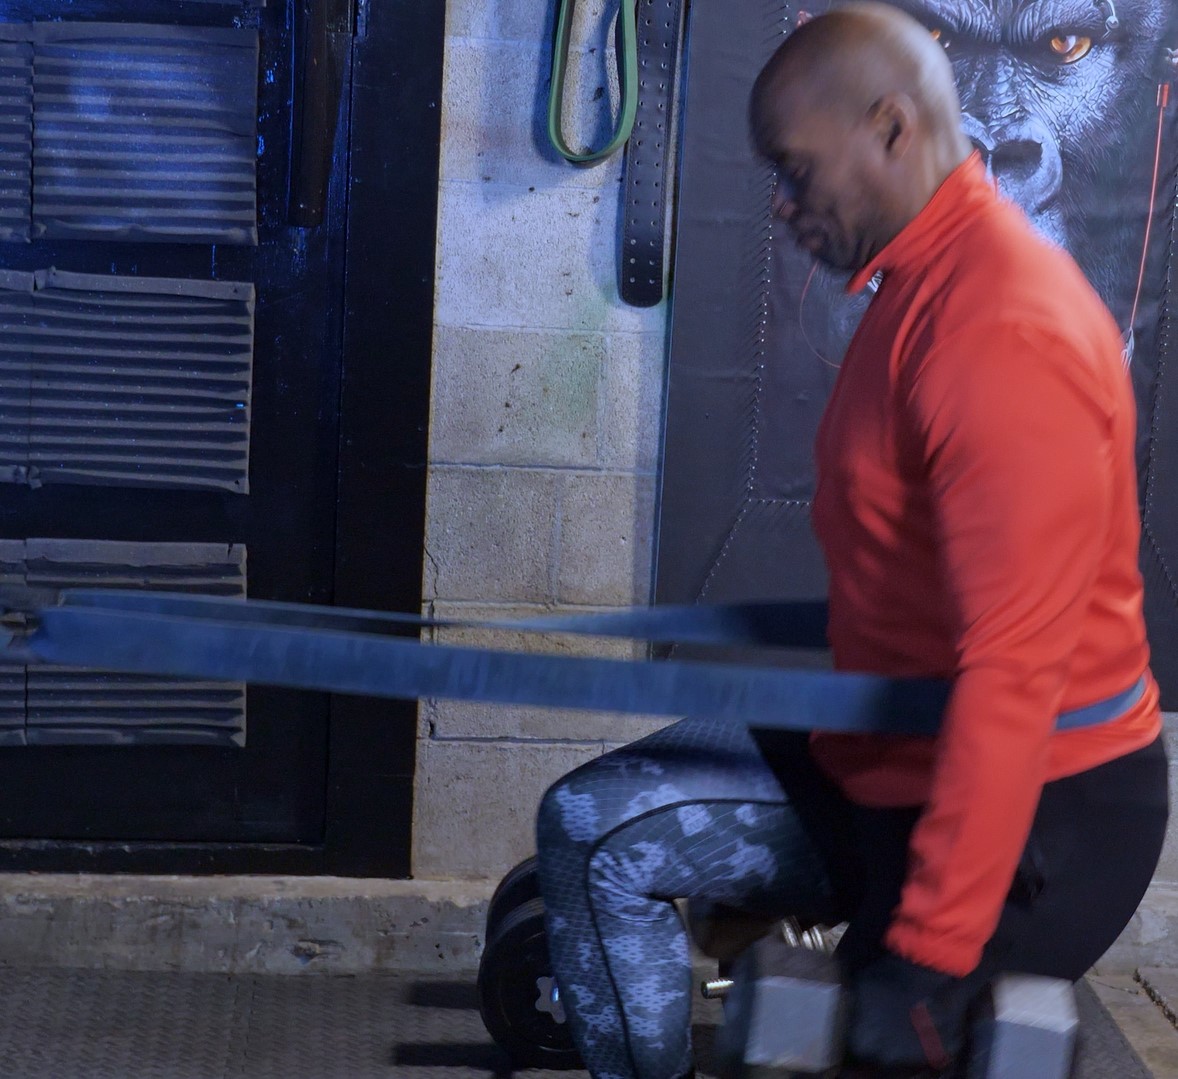
Cue 2: (The Start of The Movement) Take a step forward into a front lunge with your front leg at a 90 degree angle, making sure to take your time with foot placement as not to lose your balance. Maintain a straight/upright Back while concentrating on the contraction of your front Quad and your rear Glute.
Cue 3: Once you are in the down position, push back against the band as you begin to bring yourself to the standing position.
You can concentrate on doing one leg at a time and once you master the movement, you can alternate legs during the set.
While the dumbbells offer the usual stress on your Quad muscles, the bands offer serious tension to both ends of the movement. When you step forward into the lunge, you feel the band accelerate, and as you step back into the standing position, you can feel yourself fighting the band tension as well as the gravity from the dumbbells.
Your speed of repetition matters from start to finish. Make sure you slow the movement down to maintain control as this can become dangerous if you go too fast. When it comes to a kick-ass dumbbell leg workout to initiate growth, the Spring-Loaded Lunge is one of my favorite movements.
Full Body Workout
With Dumbbells Exercise Two:
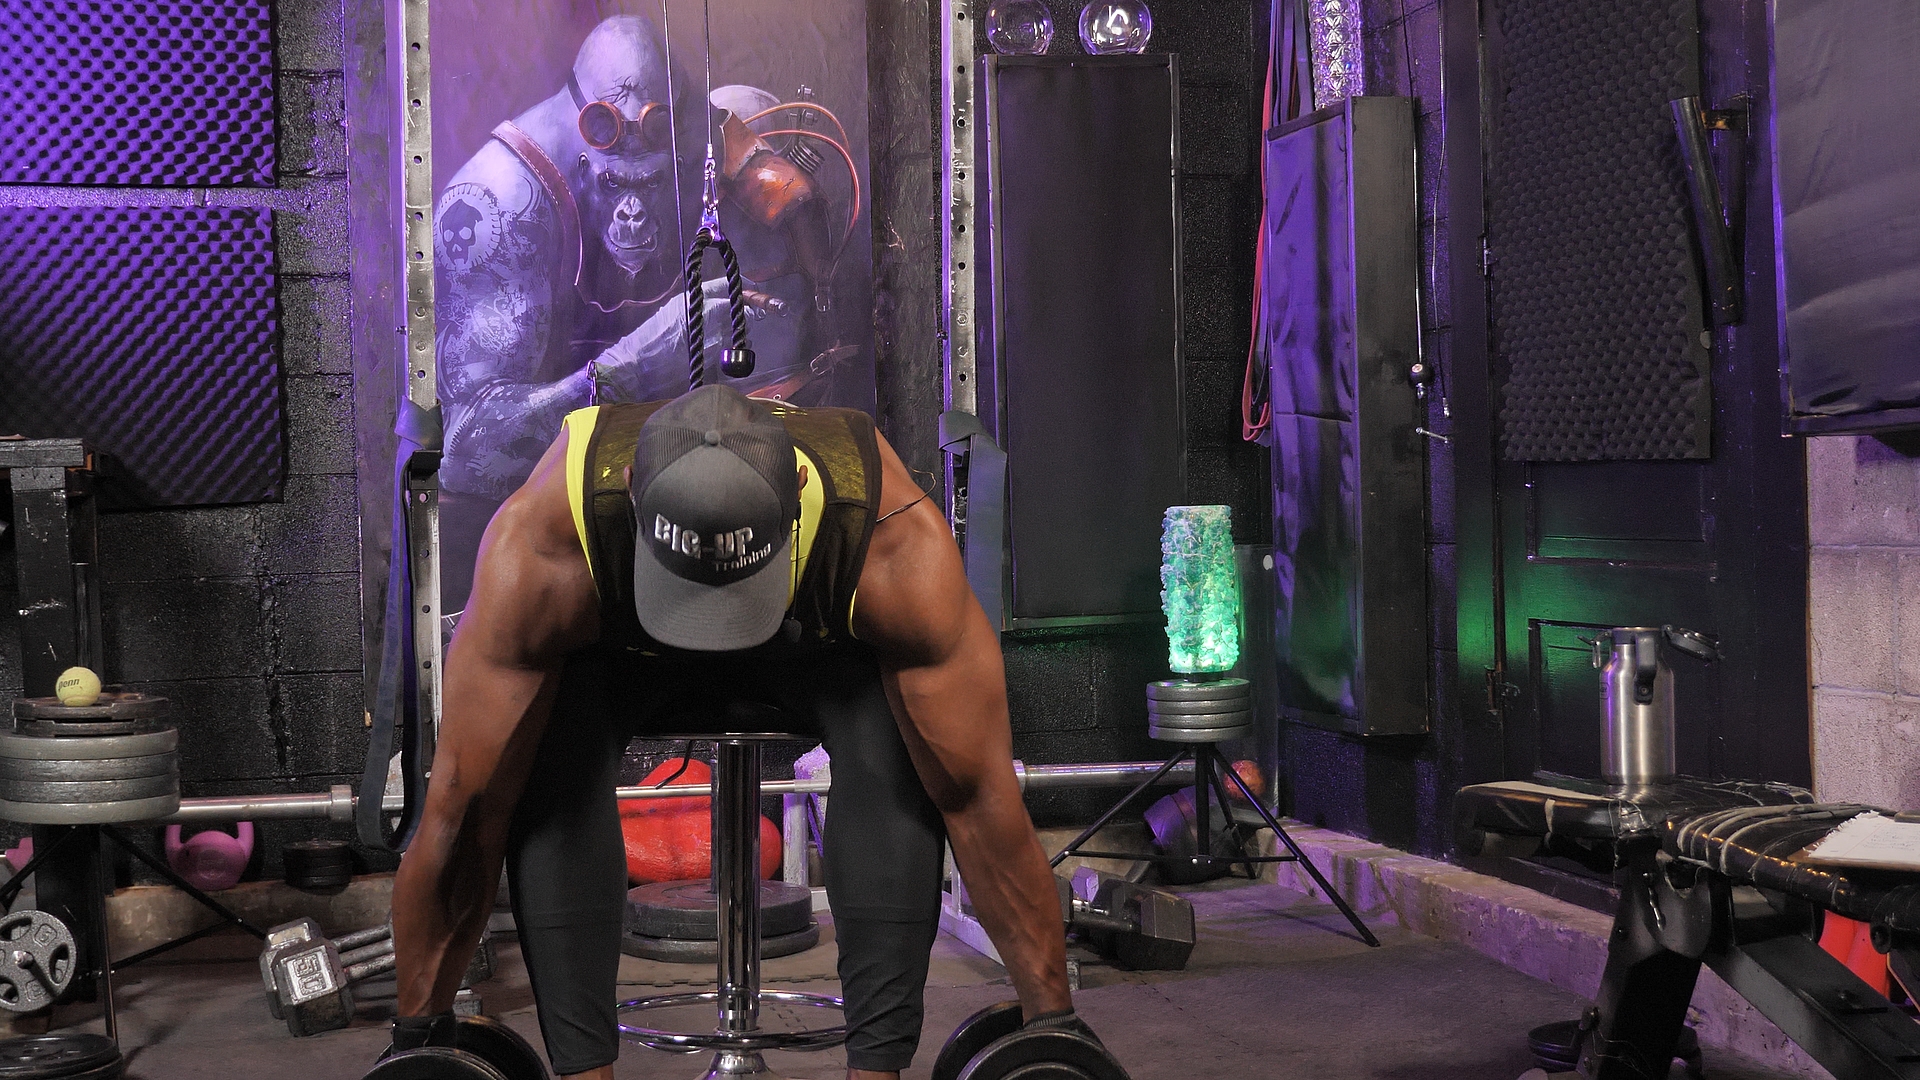
The Seated Dumbbell Deadlift
 Seated Dumbbell Deadlifts Seated Dumbbell Deadlifts |
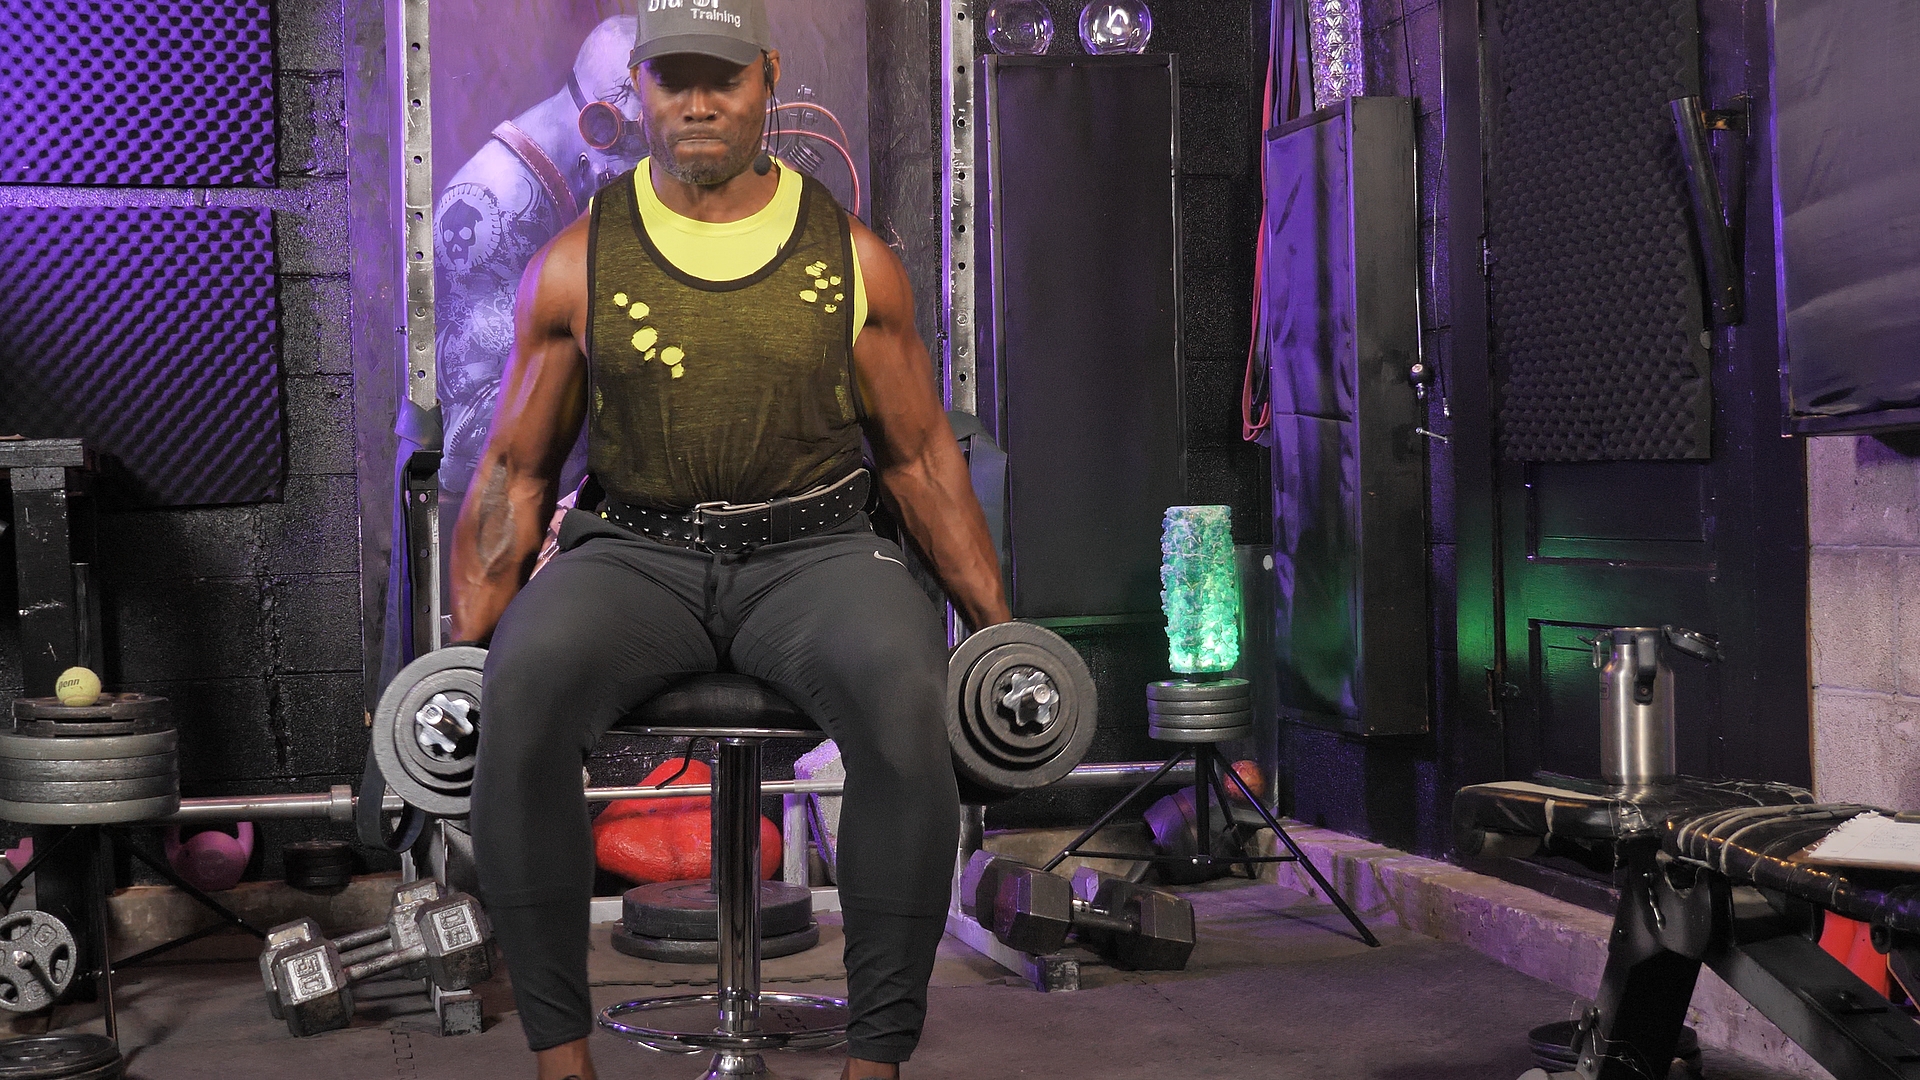 |
Target Muscle Group: The Entire Back Area
Of the entire dumbbell back exercises, this is the one movement that can quickly empty the gas tank and drain the battery; and that’s why we made this the second movement of this full body workout with dumbbells.
Items Needed: Two dumbbells, a flat bench, and a block or platform.
Setup: If you have long arms or simply want to extend the range of motion, place a block or platform under the seated end of the bench.
Cue 1: Sit at the edge of a flat bench with your knees at a right angle to your ankles. Place a dumbbell on the outer side of each foot.
Cue 2: With palms facing each other, lean forward so your chest is almost touching your thighs, and grip the dumbbells making sure your back remains flat. As you lift them a few inches off the ground, compress your shoulder blades as hard as you can, which will activate your Lats.
Cue 3: As you slowly pull yourself up, you should feel the stress in your Lats from retracting your shoulders. When you get into the fully upright position pull your Elbows in and squeeze the Back Muscles before slowly returning the dumbbells to the start position. Once the dumbbells touch the floor, reset everything by retracting your shoulder blades and tensing your core before pulling for the second repetition.
Full Body Workout
With Dumbbells Exercise Three:
The Anti-Fly Single Arm Dumbbell Floor Press
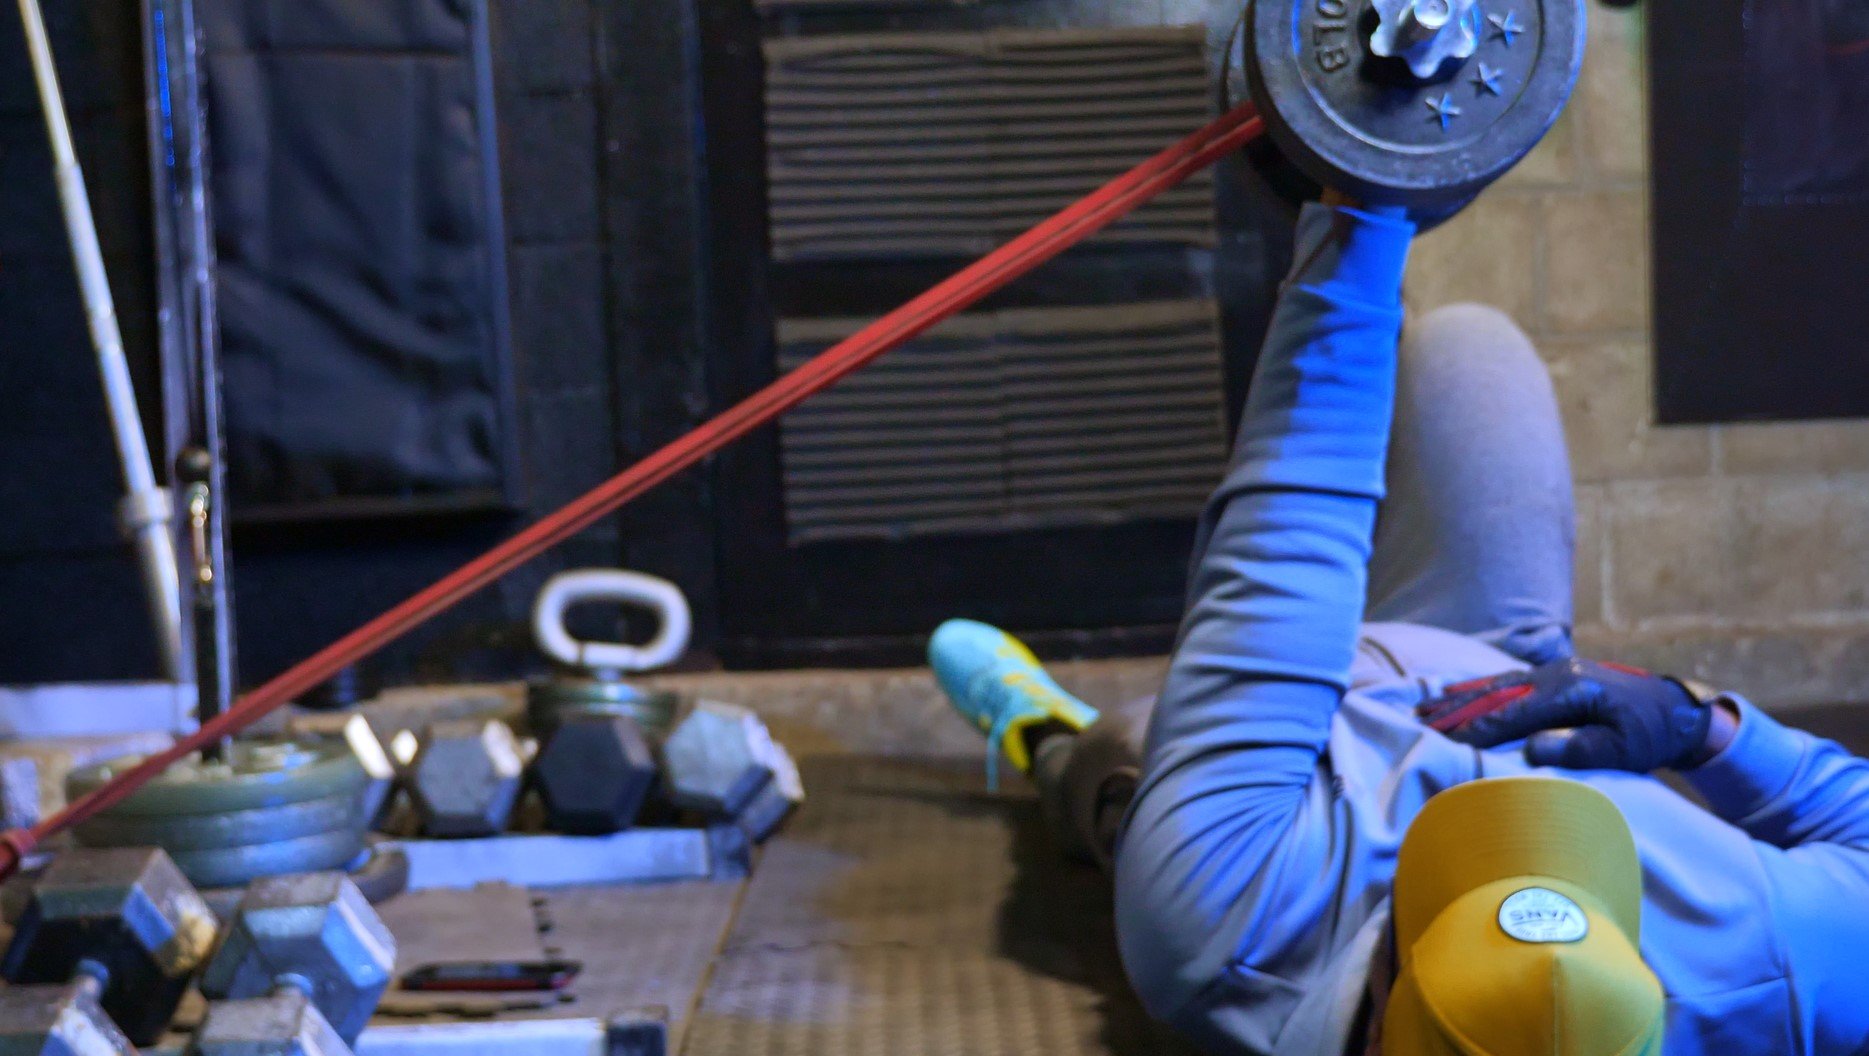
I call this a two-for-one movement because while you’re actively pressing a dumbbell, you are also attempting to bring the dumbbell to the centerline of your body as you fight the tension of the resistance band.
Target Muscle Group: Chest
Items Needed: Light to medium resistance band, upright anchor, and one dumbbell.
Cue 1: Attach a light to medium band to the bottom of an upright anchor and place a dumbbell nearby.
Cue 2: Lay across from the band, so it's level with your upper Chest. To pick up both the band and dumbbell safely, roll in towards them and use your non-working arm to help you get them in place. For safety purposes, have the band in the palm of your hand instead of having it wrapped around the handle of the dumbbell.
Cue 3: Take a palm facing in grip and shuffle out until you feel a little tension in the band. Retract your shoulders and pin them into the ground while tensing your core.
Cue 4: Start by pressing the dumbbell up while trying to pull it across the centerline of your Chest.
Cue 5: Slowly lower the dumbbell to the start position and repeat.
Full Body Workout
With Dumbbells Exercise Four:
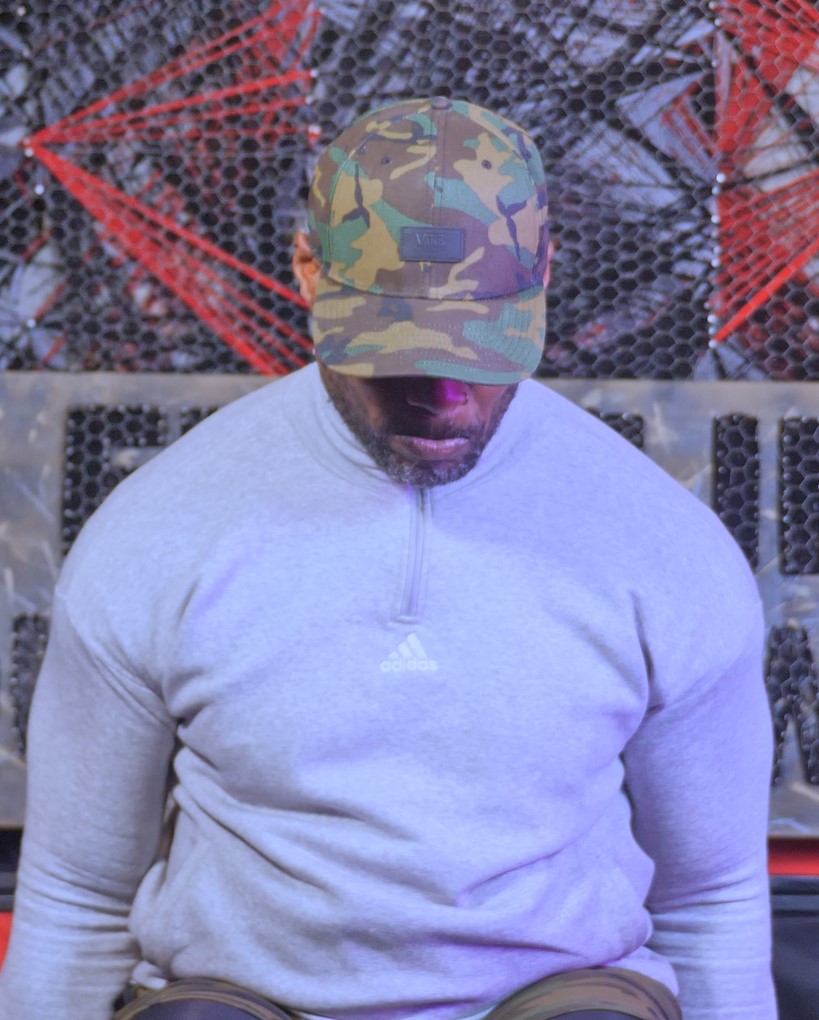
The Seated Butterfly
 The Seated Butterfly The Seated Butterfly |
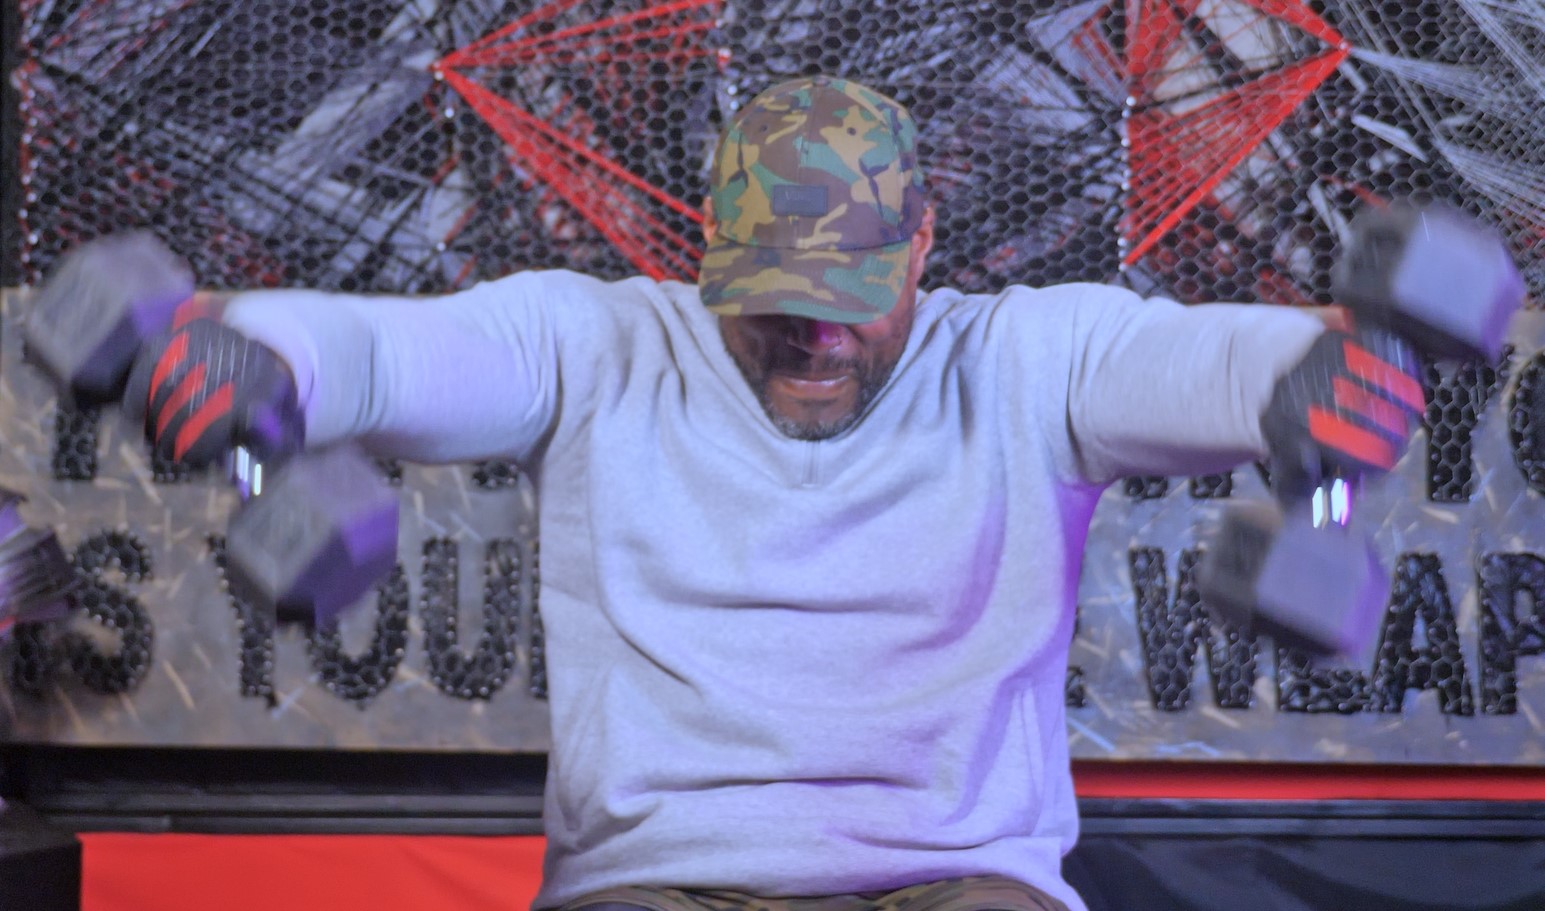 |
Ever wondered why most top level swimmers, especially those who participate in the Butterfly stroke have wide and often well-developed shoulders? It’s the hard hours they put into working and developing that stroke. We’re going to take a leaf out of their training to grow our Deltoids and upper Back. For safety, it’s advised you start light until you get used to the movement.
Target Muscle Group: Side & Rear Delts, Upper Back, Mid & Lower Traps
Items Needed: Pair of dumbbells and a bench.
Cue 1: Set your scapula by retracting your shoulder blades before you lift dumbbells out to the side.
Cue 2: Start with palms slightly facing up with straight arms. As your arms reach shoulder height, tip the dumbbells as if you are pouring water from a jug.
Cue 3: Make sure to bring the dumbbells down in front of you at a 45 degree angle to the start position.
Cue 4: At this point you can initiate additional mid and lower Trap involvement by protracting your shoulders. Once the dumbbells are back in the start position, reset yourself by retracting your shoulder blades before setting off for the next repetition.
Full Body Workout
With Dumbbells Exercise Five:
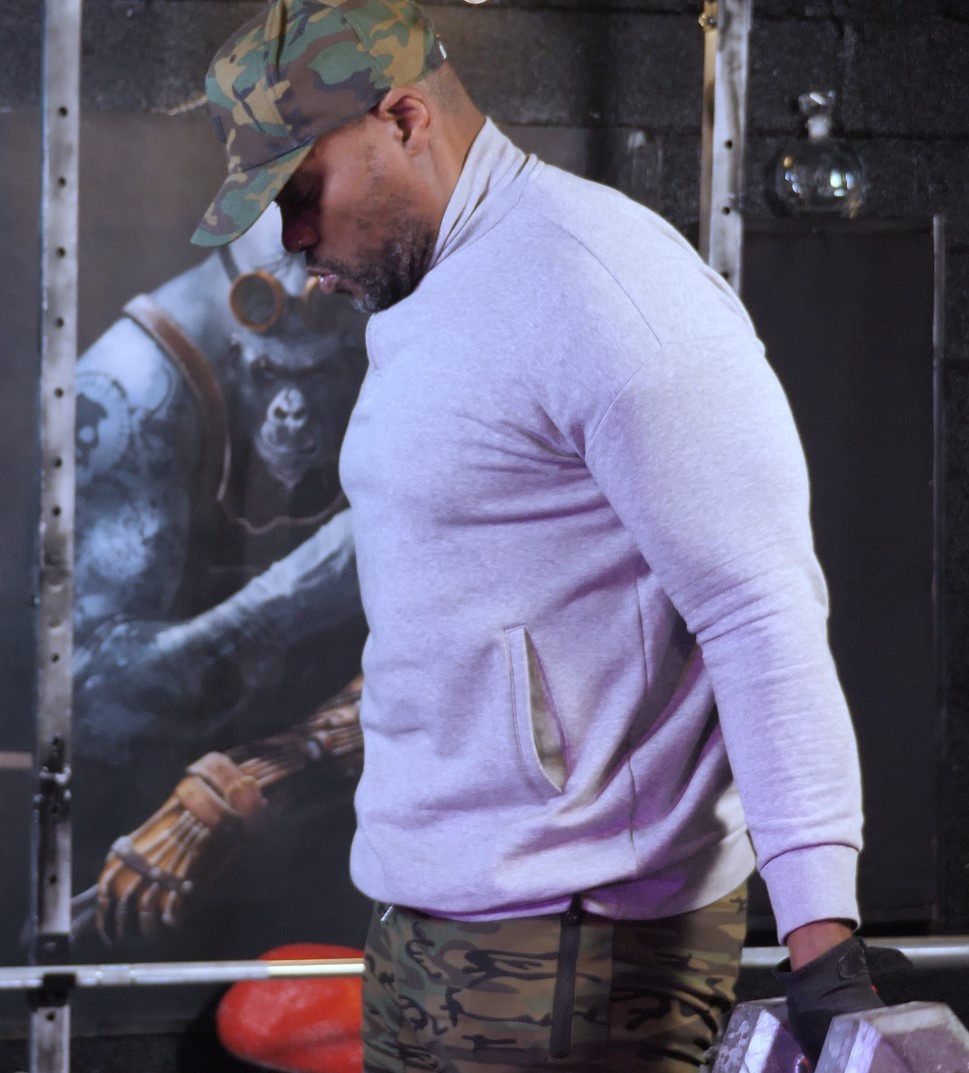
Standing Dumbbell Drag Curl
 |
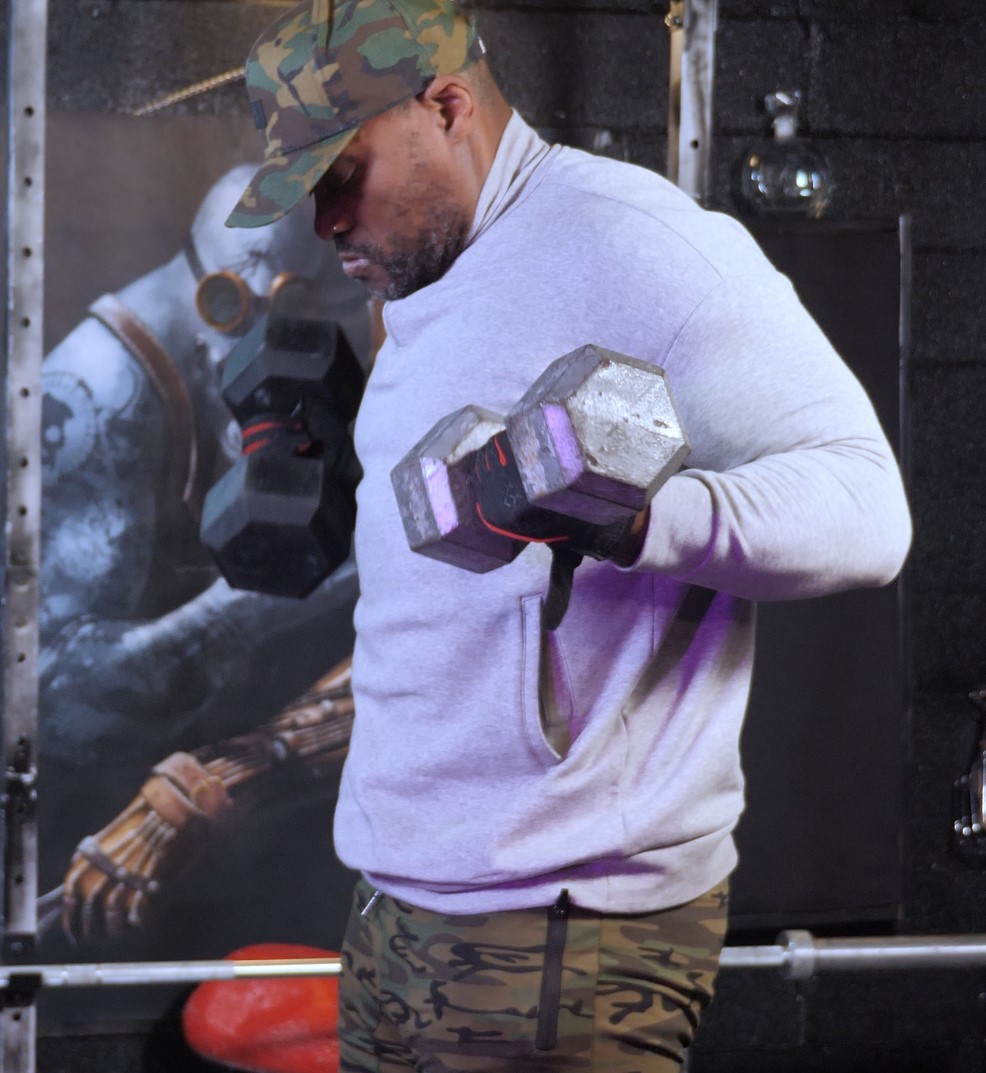 |
One of the best ways to add extra tension to the Long bicep head is to eliminate all movement at the shoulder. By retracting your Shoulders and pulling your Elbows back until you really feel your Lats, you are going to put the extra stress where it needs to go – right on your Biceps.
Target Muscle Group: Biceps
Items Needed: A pair of dumbbells.
Cue 1: Retract the shoulder blades and start with dumbbells behind the line of the body by pulling your Elbows back.
Cue 2: Slowly curl the dumbbells up trying to keep them in line with your torso. Concentrate on keeping the dumbbells square on and not tilted inwards. Briefly pause at the top of the movement before returning to the start of the exercise.
Choosing The Best Dumbbell Set With Rack 5 50 lb. Combo
Full Body Workout
With Dumbbells Exercise Six:
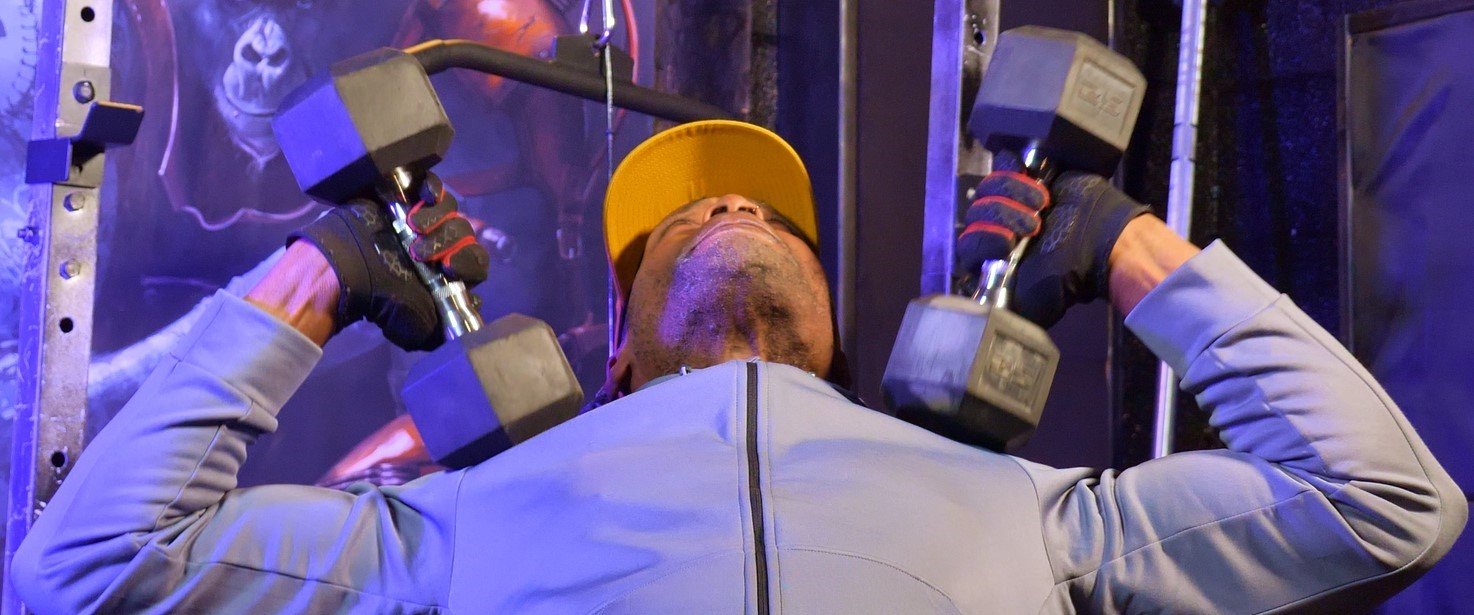
Incline Tricep Kickouts
 |
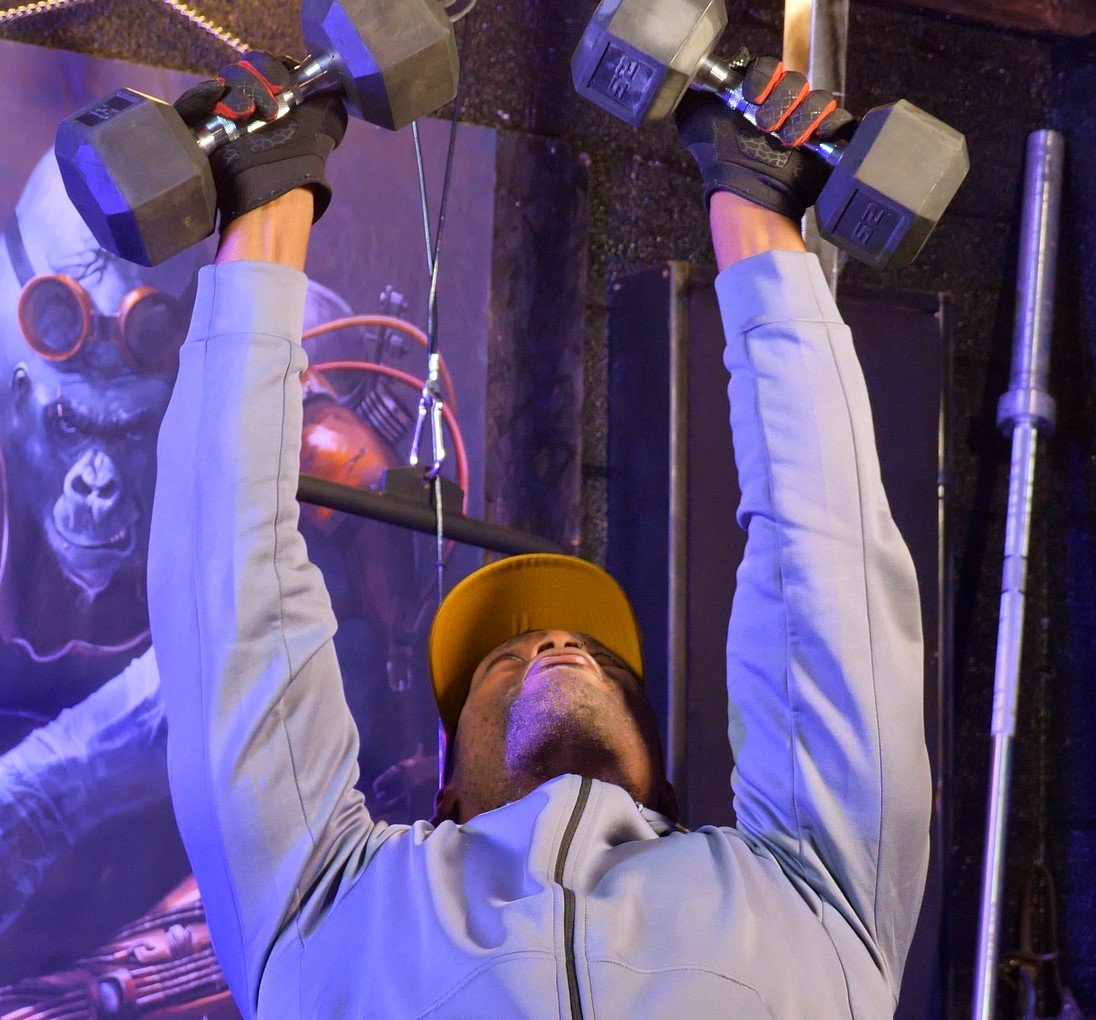 |
A great alternative to the Seated Dumbbell Tricep Extension, this exercise movement fully lengthens the Triceps and puts more stress where it needs to go.
Target Muscle Group: Triceps
Items Needed: Incline bench and a pair of dumbbells.
Cue 1: Use a high incline bench set at a 60 degree angle, and set your elbows so that they are flared out to the side with dumbbells lightly resting on your upper Chest.
Cue 2: Slowly extend your Elbows until your arms are straight and almost overhead. When you get to the top of the movement, rotate your thumbs up to put extra stress on the Triceps.
Choosing Urethane and Rubber Dumbbells For Your Home Gym
Full Body Workout With Dumbbells Exercise Seven:
Single Leg
Calf Push-ups
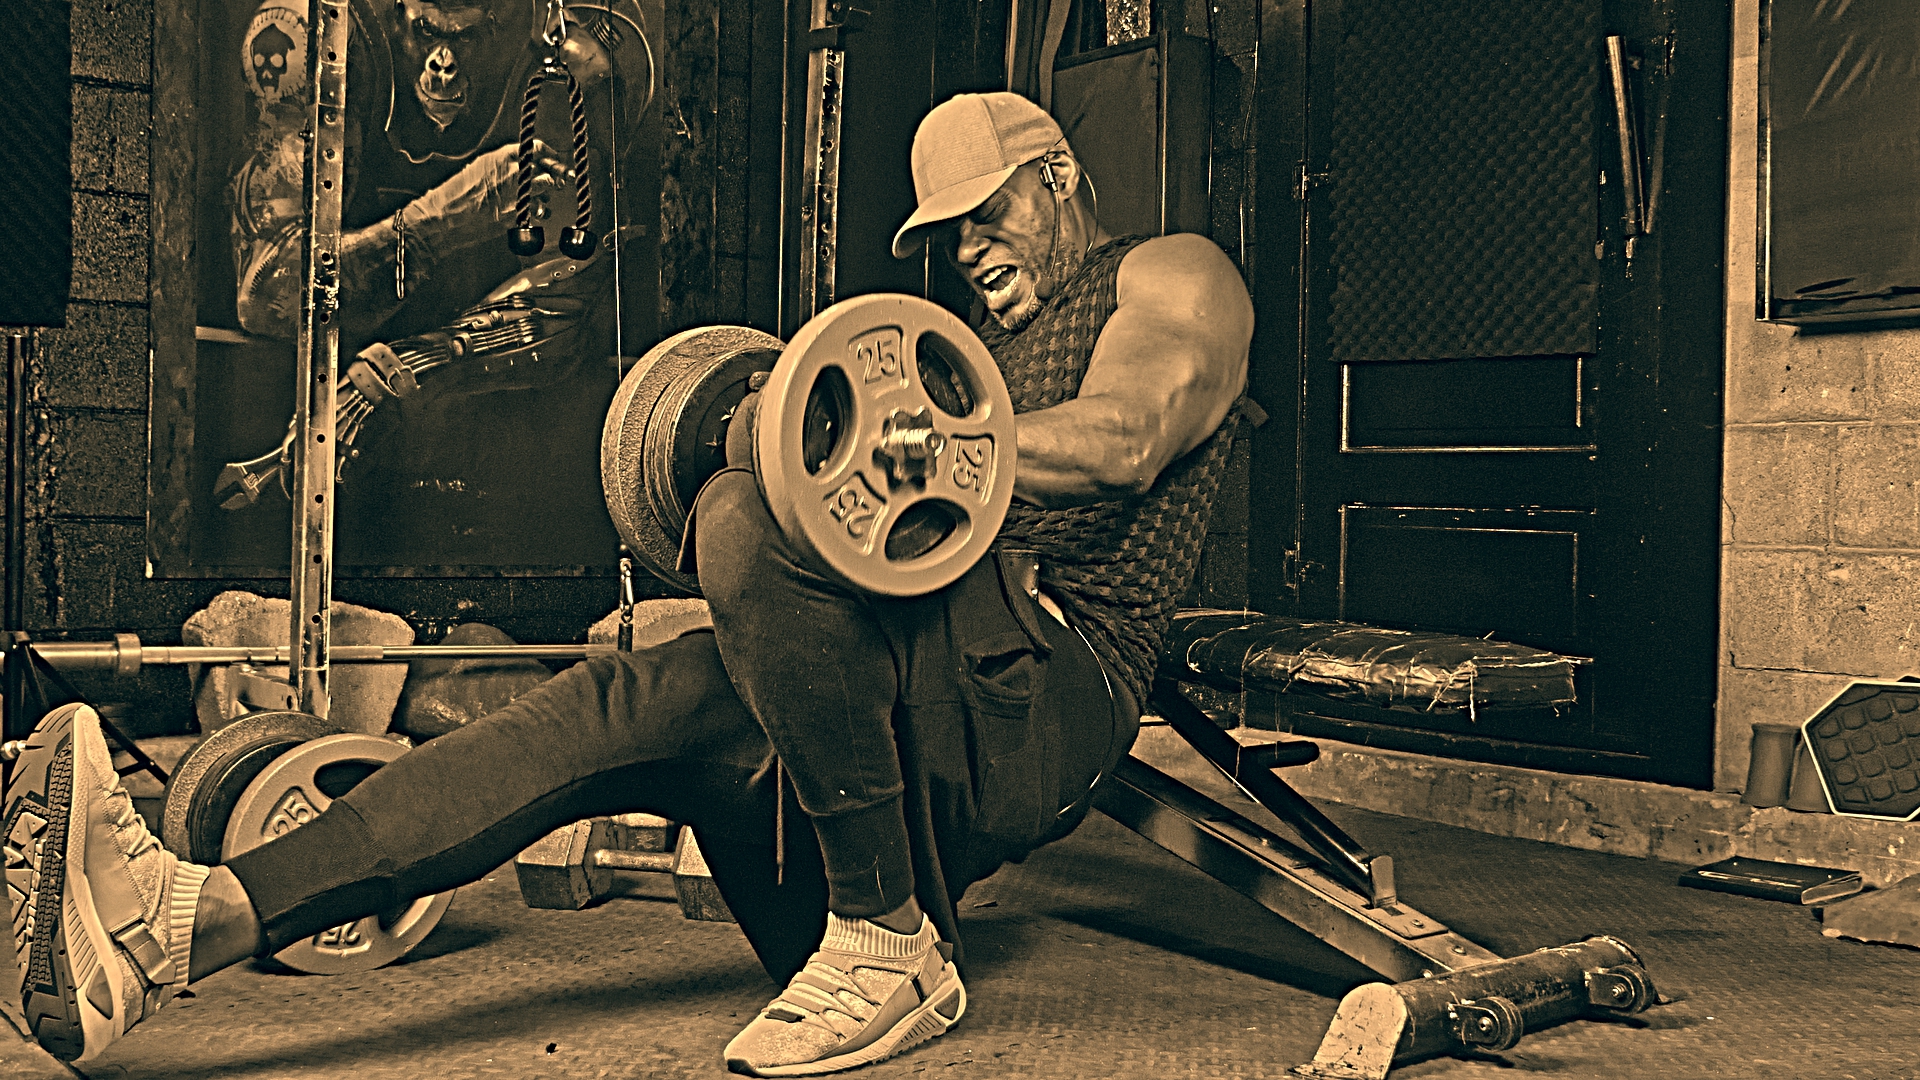
For this underground movement, we’re going to focus on the Soleus area which is best worked when the knee is in a flex position. If you’re looking for something a little different than the Seated Dumbbell Calf Raise to add to your dumbbell leg workout, look no further than the Single Leg Calf Push-up. This exercise may feel very cramp-like, but it works an absolute charm when it comes to hitting the Soleus area with full force.
Items Needed: One dumbbell and a flat bench.
Cue 1: Place the dumbbell on the knee of your working leg and begin by sitting on the very edge of a flat bench. Use the hand on the operating side to support the dumbbell and keep it in place. At this point, your knee should be at a right angle to your ankle.
Cue 2: Keeping your working leg in place, slide yourself off the bench so that you are in a hip thrust position. Use the elbow on your non-working side to support you before stretching out your non-working leg and lifting it off the floor.
Cue 3: Start by having the foot of your working leg flat on the floor, and then begin to lift your heel up as far as you can. Briefly hold at the top of the movement before lowering your foot all the way to the floor, so it is flat. Repeat for the desired amount of repetitions before swapping legs.
Sets
You can start with 3-4 sets per exercise and over a four week period work your way up to a maximum of 5 sets per exercise. If you train 5 times per week, you could use this full body workout with dumbbells to limit the sets on your two strongest muscle groups so you can conserve energy to concentrate on weaker areas.
After training for four weeks, you should consider undergoing a Deload Phase of one week to get rid of any fatigue build up over the cycle.
Warm-Up
Always warm up and warm down before any session to ensure that you do everything possible not to get injured and aid recovery.
Final Thoughts
Don't just sit on this information - Act now and make this your next full body workout with dumbbells.
Click Below For More Articles On this Subject:
1: A Home Dumbbell Workout To Get You Jacked
rdl with dumbbells
Mission Jacked L.L.C
Address: 9407 NE Vancouver Mall Dr
STE 104 #1269
Vancouver, WA 98662 USA
Email: mission@missionjacked.com