Mission Jacked.com
Use the
Seated Face Pull for Stability,
Growth and Bigger Lifts
Why Do Face Pulls?
The Seated Face Pull is an essential exercise for building upper body stability, improving shoulder health, thoracic mobility and posture.
This exercise is immense for rejuvenating your lifts by serving to help offset the mass amount of horizontal and vertical pressing while getting you ready for undertaking big lifts.
More Rear Delt & Shoulder Growing Articles
Best Rear Delt Dumbbell Exercises For a Beefy Rearview Appeal
Use this Rear Delt Fly master class to grow 3D Deltoids - 6 huge variations to add to your exercise arsenal
Try This Rear Deltoid Dumbbell Workout For A Huge Size Advantage
The Best Dumbbell Shoulder Workout For Mass Monster Status
Everything You Need To Know About The Bent Over Rear Delt Fly + 5 Different Variations
Master 5 Versions of The Rear Delt Cable Fly For Stunning 3D Delts
Master True Dumbbell Lateral Raises and the 7 Variations to Develop King-Kong Side Delts
Have You Tried This Muscle Building Rear Delts Workout?
Shoulder Flys – Are Your Delts Getting The Most From This Exercise?
The 5 Best Rear Delt Exercises That You're Not Doing
Use the Incline Rear Delt Raise To Build Incredible 3D Delts
Seated Face Pull Muscles Worked:
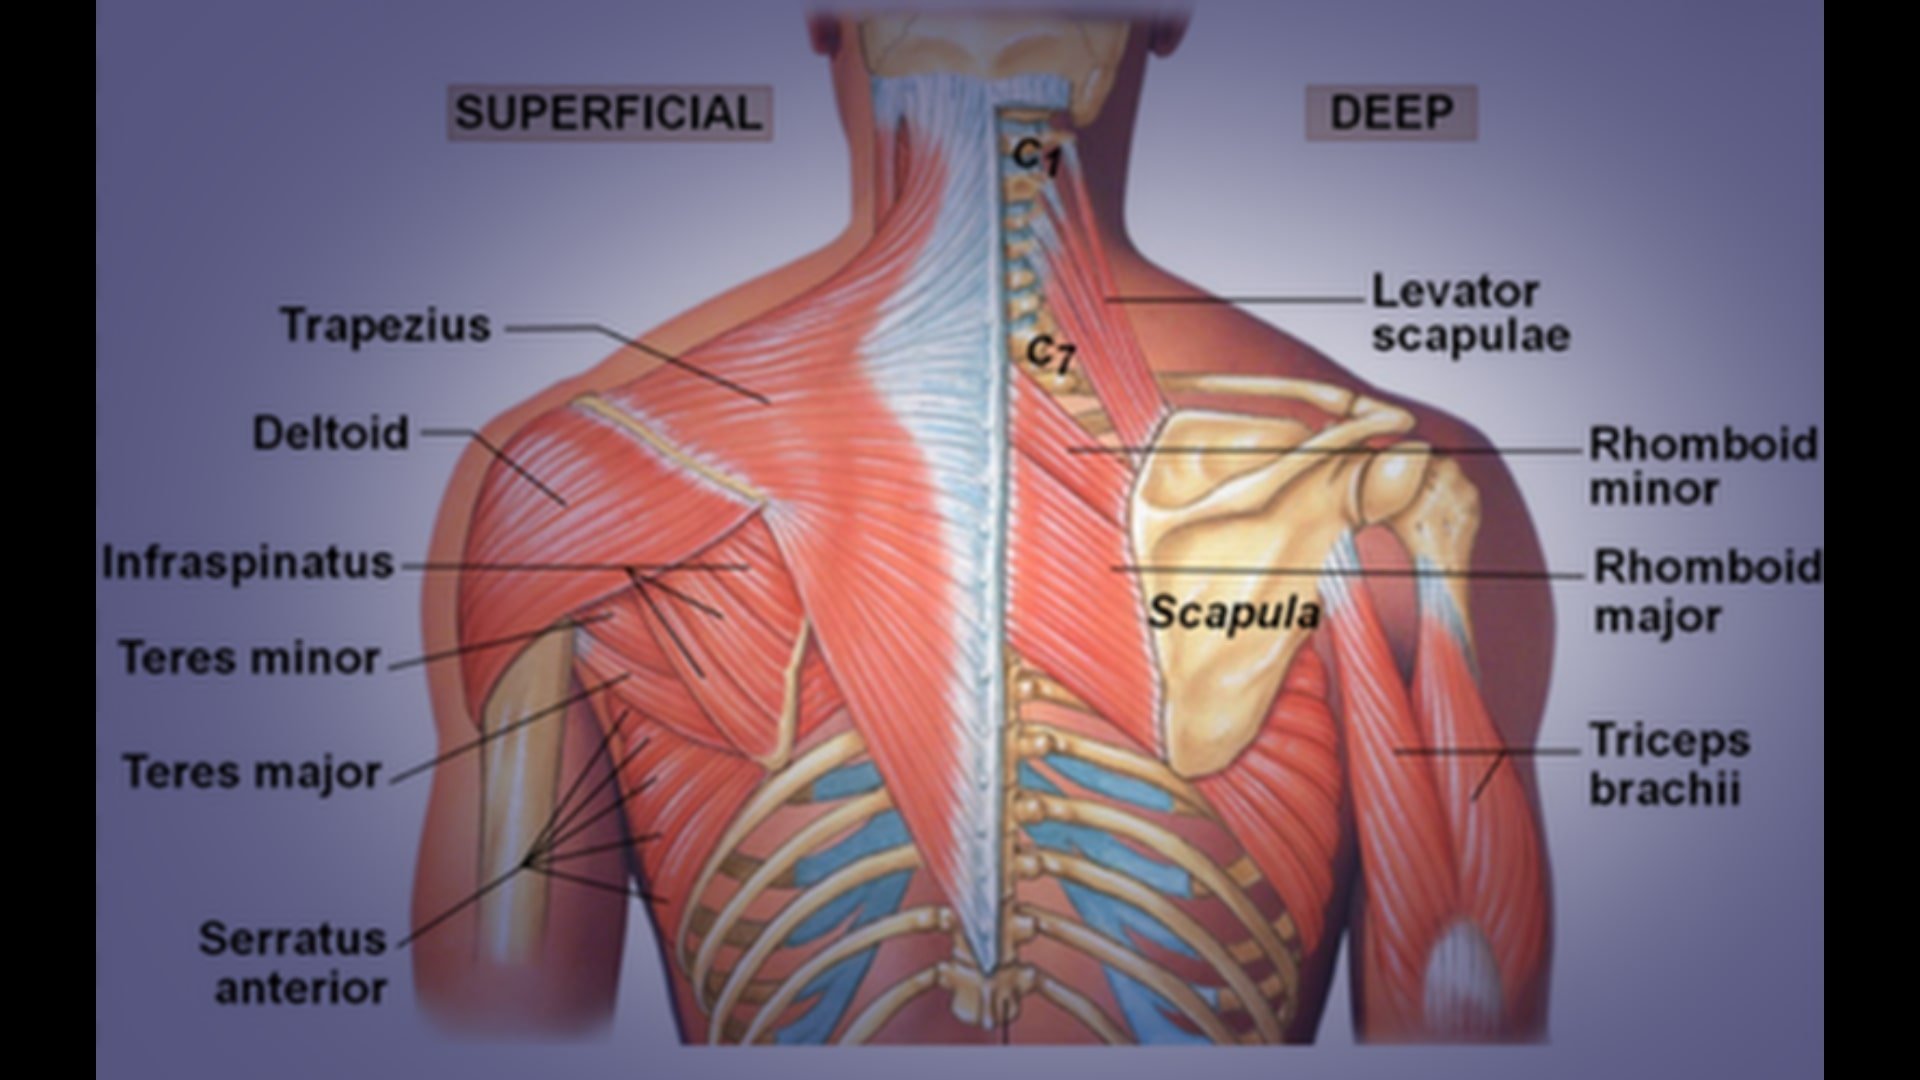
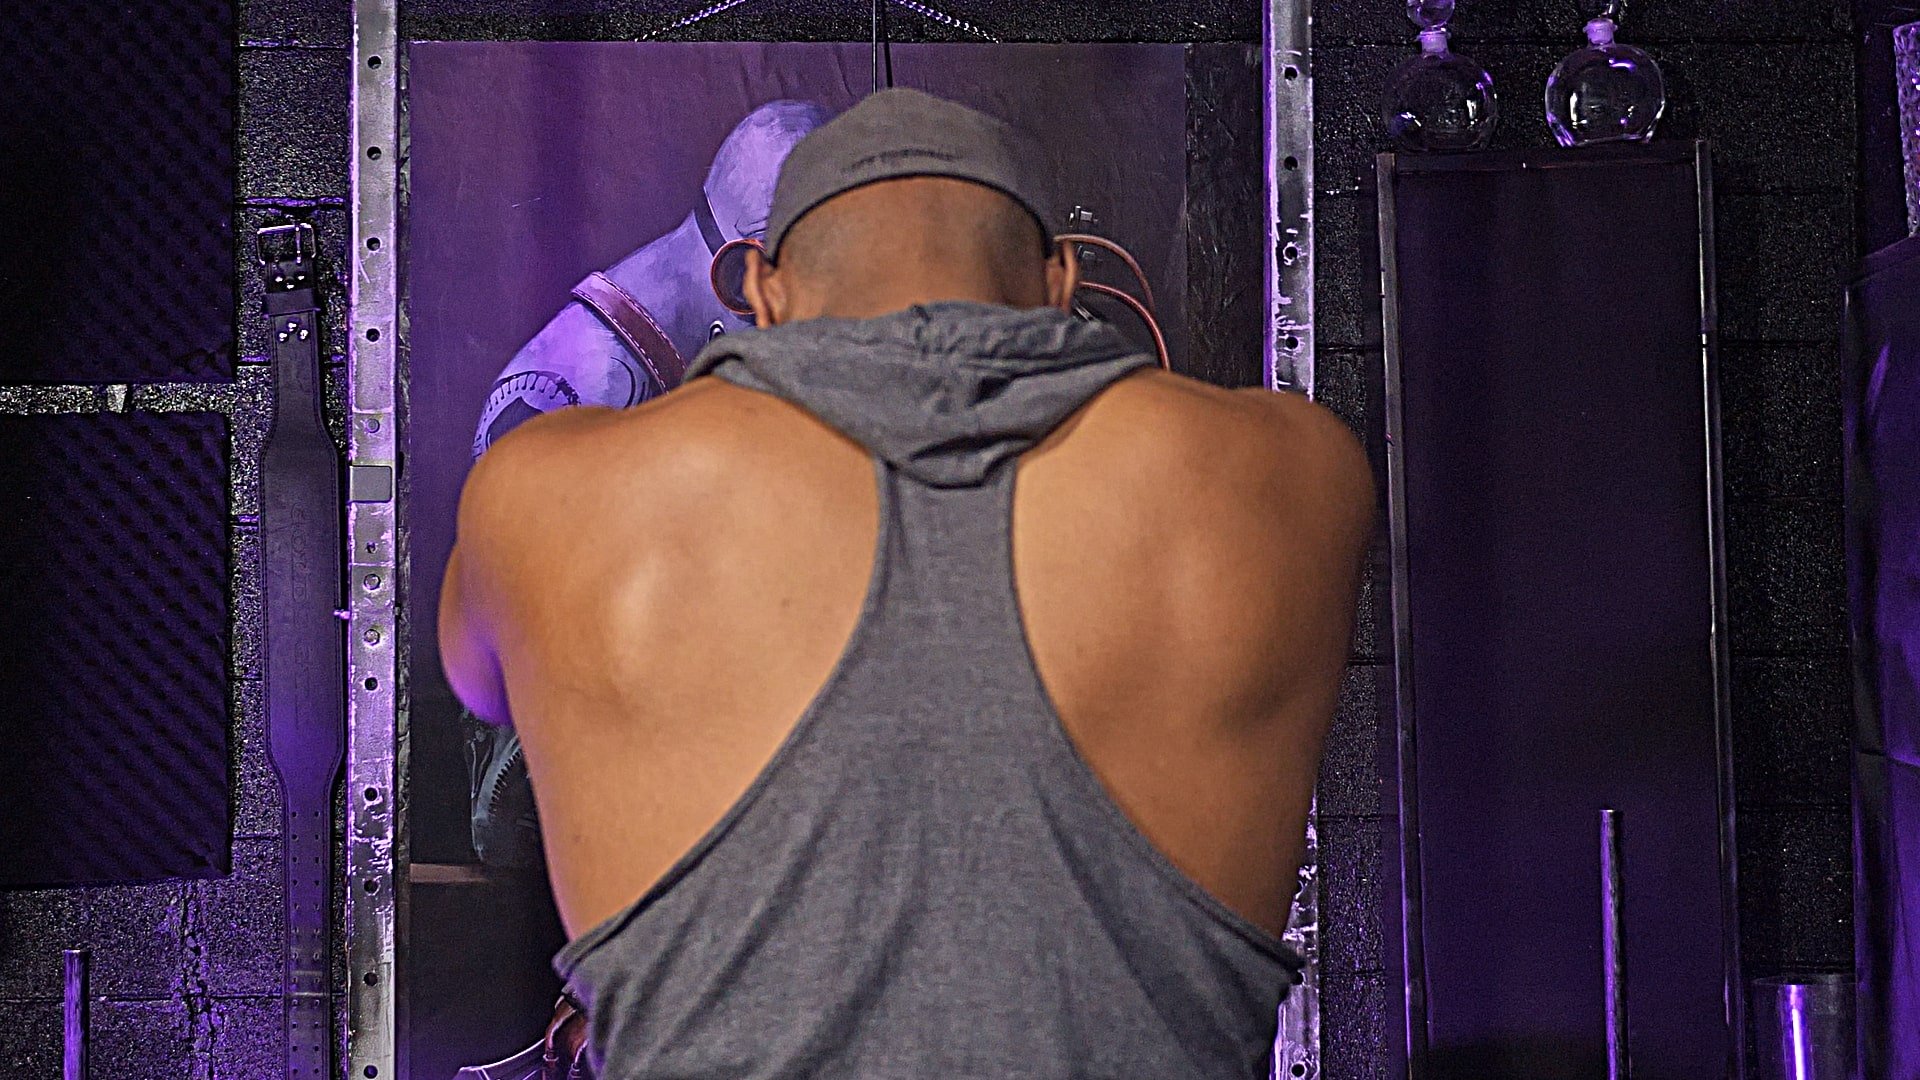
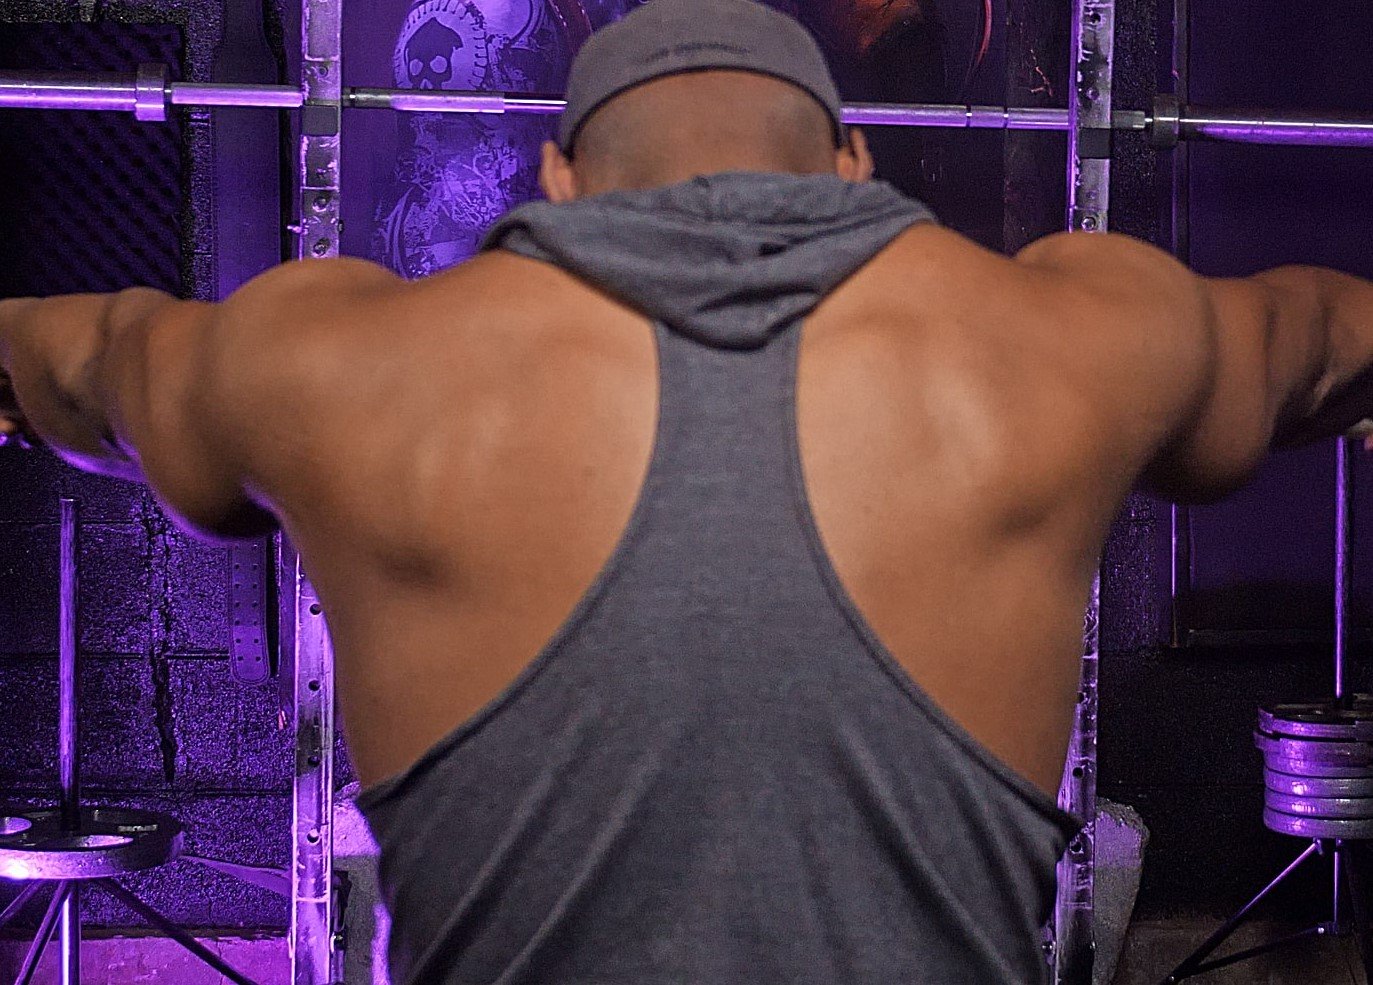
Face pull benefits don't stop there. This fantastic exercise also helps build the muscles in the upper back like the rear delts, traps, lats and the rhomboids. It will also help condition the external rotators.
I would go as far as to say that this exercise can be used every day as part of a warm up for the shoulders and rhomboids, as part of a mobility routine to help the Scapula move and function better. Face pulls can also benefit rear delts and mid traps as part of a muscle building workout.
Who Am I?
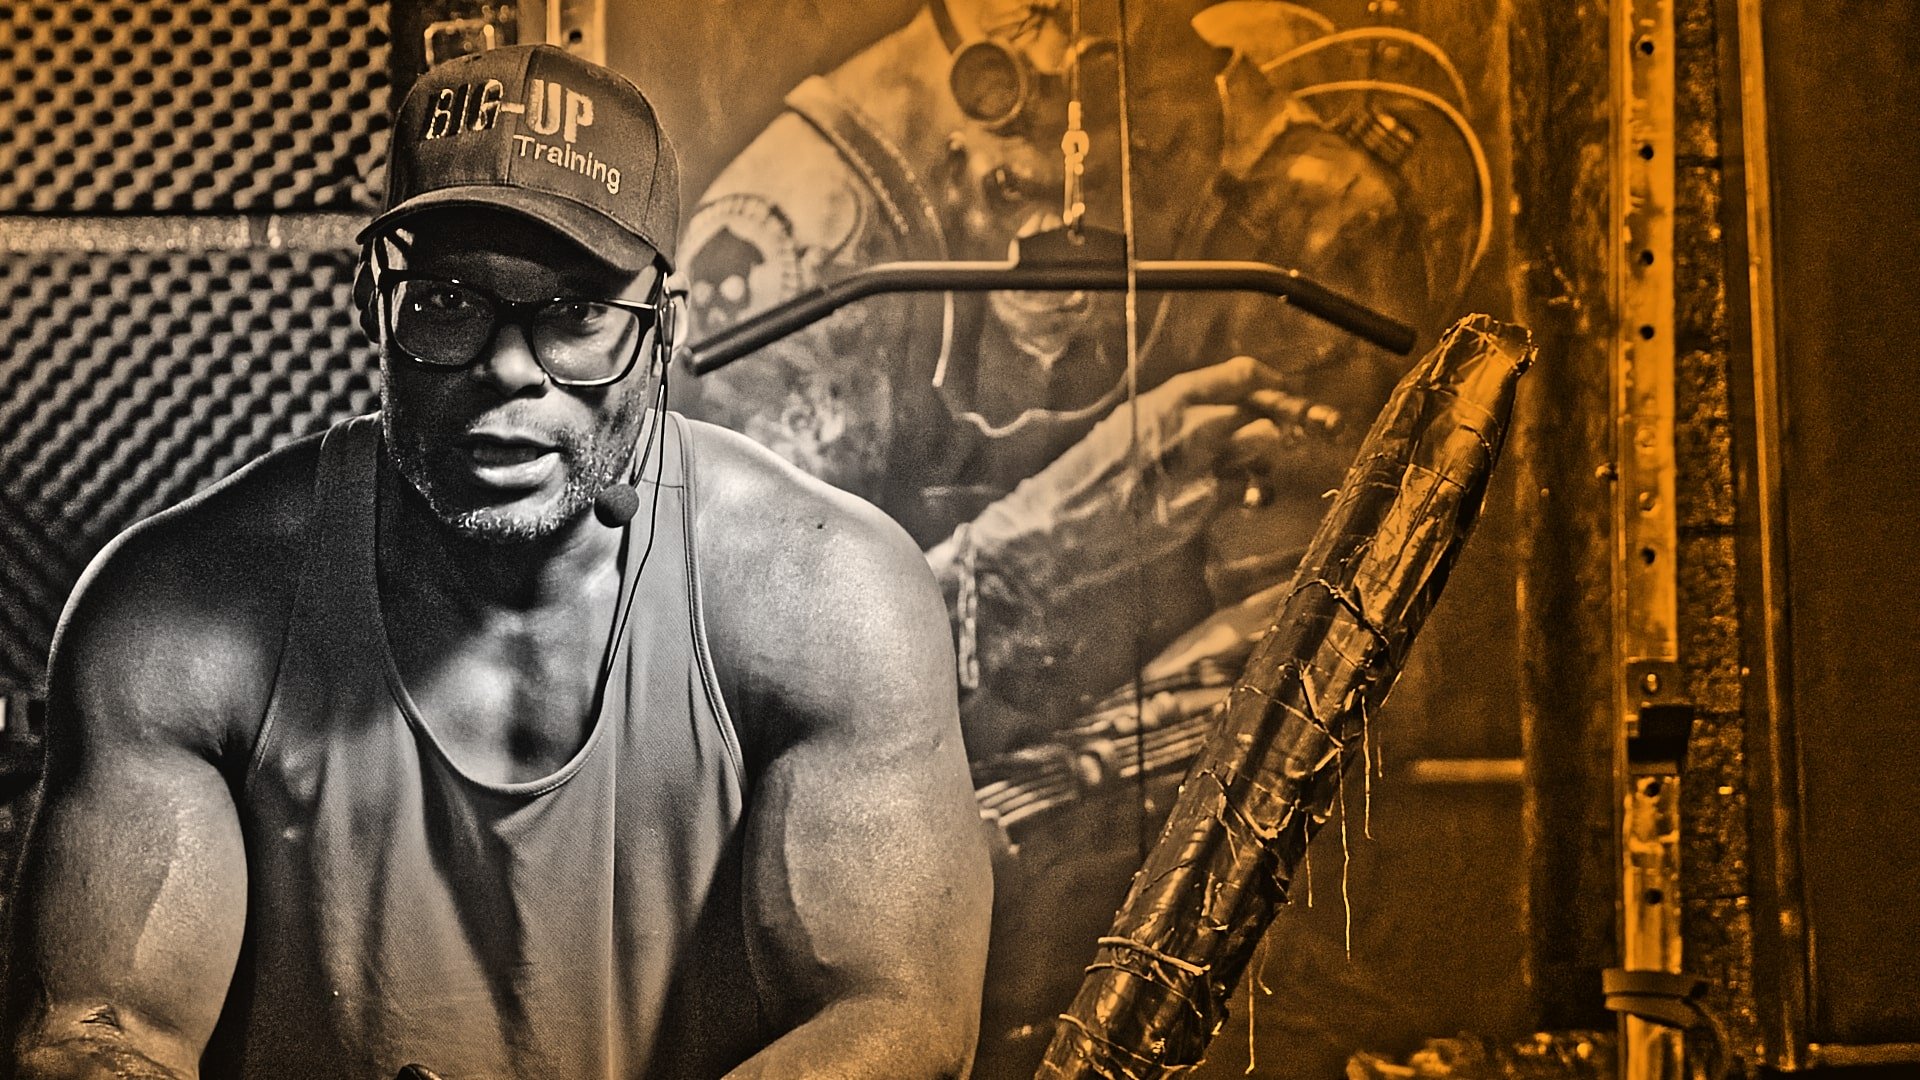
I'm Psymon H., the 50-something year old warhorse making his name by improving physiques and growing natural muscle with minimum equipment. Because I've been clashing with the iron for over 40+ years, you can call me "Mature Muscle."
In this Seated Face Pull master class, I will cover face pulls in its entirety, from equipment, height and hand placement to important cues worth following during the movement. I'll also touch on band face pulls and how to make them more effective if you don't have the luxury of a cable machine rope attachment.
How To Do Seated Face Pulls:
I've seen many different versions of face pulls, most of which use bad form to the point I was surprised they didn't injure themselves. Other variations resembled an upright or seat row where the lifter was using way too much weight and focusing in on different muscles, defeating the whole purpose of performing the exercise in the first place.
For this reason, I've decided to take the exercise down to a seated position. While being in the seated position knocks the ego because you won't be able to use as much weight as standing, it will force you to focus on the movement itself.
Items Needed:
Cable Pulley Machine or cable pulley system, two rope attachments and one flat bench.
Attachment:
Don't use a straight bar; doing so can limit your range of motion. If you're using a cable pulley machine or pulley system, rope attachments are the best handles to use. For this particular variation, use two rope attachments instead of one. The problem with using one rope is that it doesn't allow the hands to come back far enough.
Cable Height:
While this is an upper body pull exercise, the cable height is where people go wrong. If you set the cable up in the lowest position (pulling from low to high), you lose Thoracic extension and the overall amount you can externally rotate. In fact, the exercise starts to resemble a seated upright row instead of a seated face pull.
You want to set your cable up to pull from high to low or at the very least from high to mid high.
Set your cable up and hook the two rope attachments. Make sure to pull both rope attachments through so they become two long ropes. Place your flat bench in front of the station with enough room to perform the exercise.
Weight and Repetitions
If this is the first time performing this exercise, don't get too caught up with how much weight you are using. Shoot for something light that will allow you 10-12 good repetitions. The aim here is to get good at performing each portion of the exercise rather than setting out with the intention to see how much you can lift.
How to Perform the Face Pull Cable Exercise:
Grip: Another area where lifters mess up is with the hand grip. Some lifters will grip the ropes from the inside with their palms facing up. The problem with this is that it promotes internal rotation with elevation of the arms.
Face Pull Form:
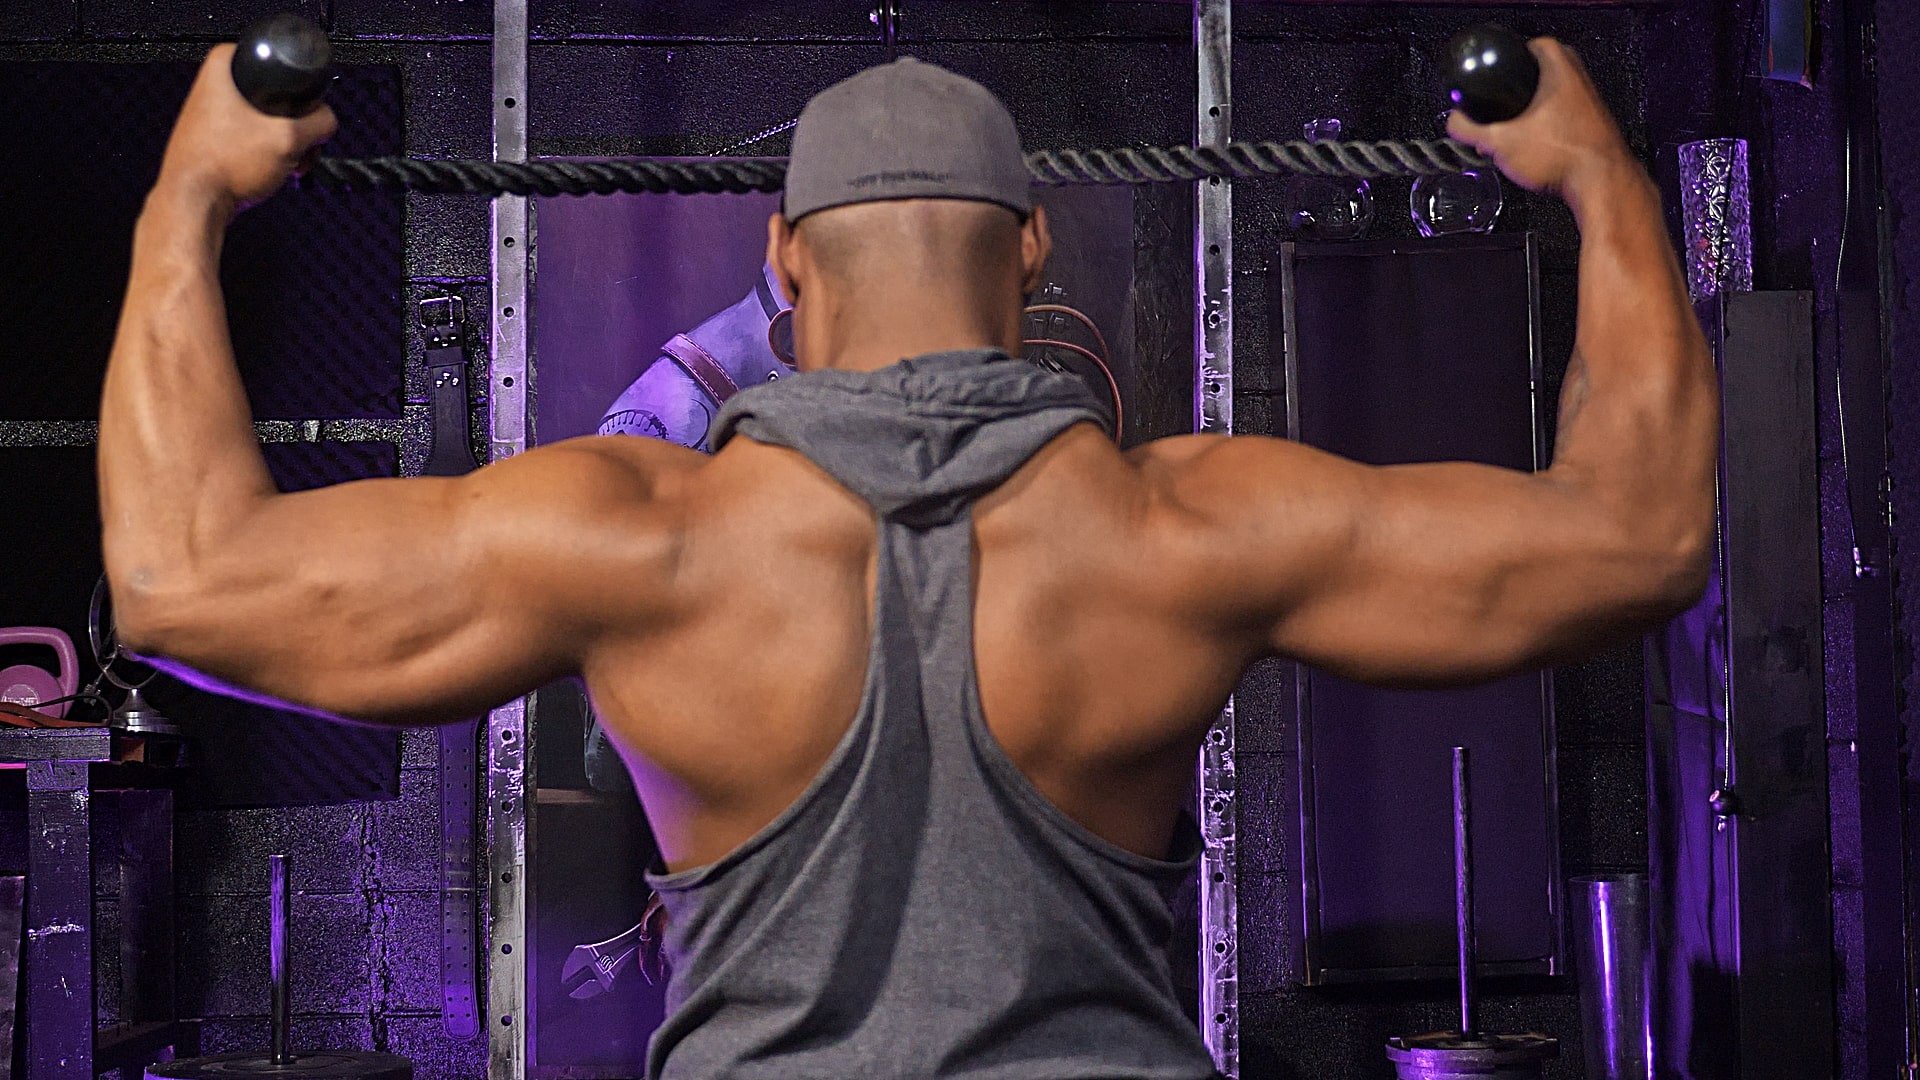
Cue 1: Grip each rope from the outside. Your pinky fingers should be furthest away from you.
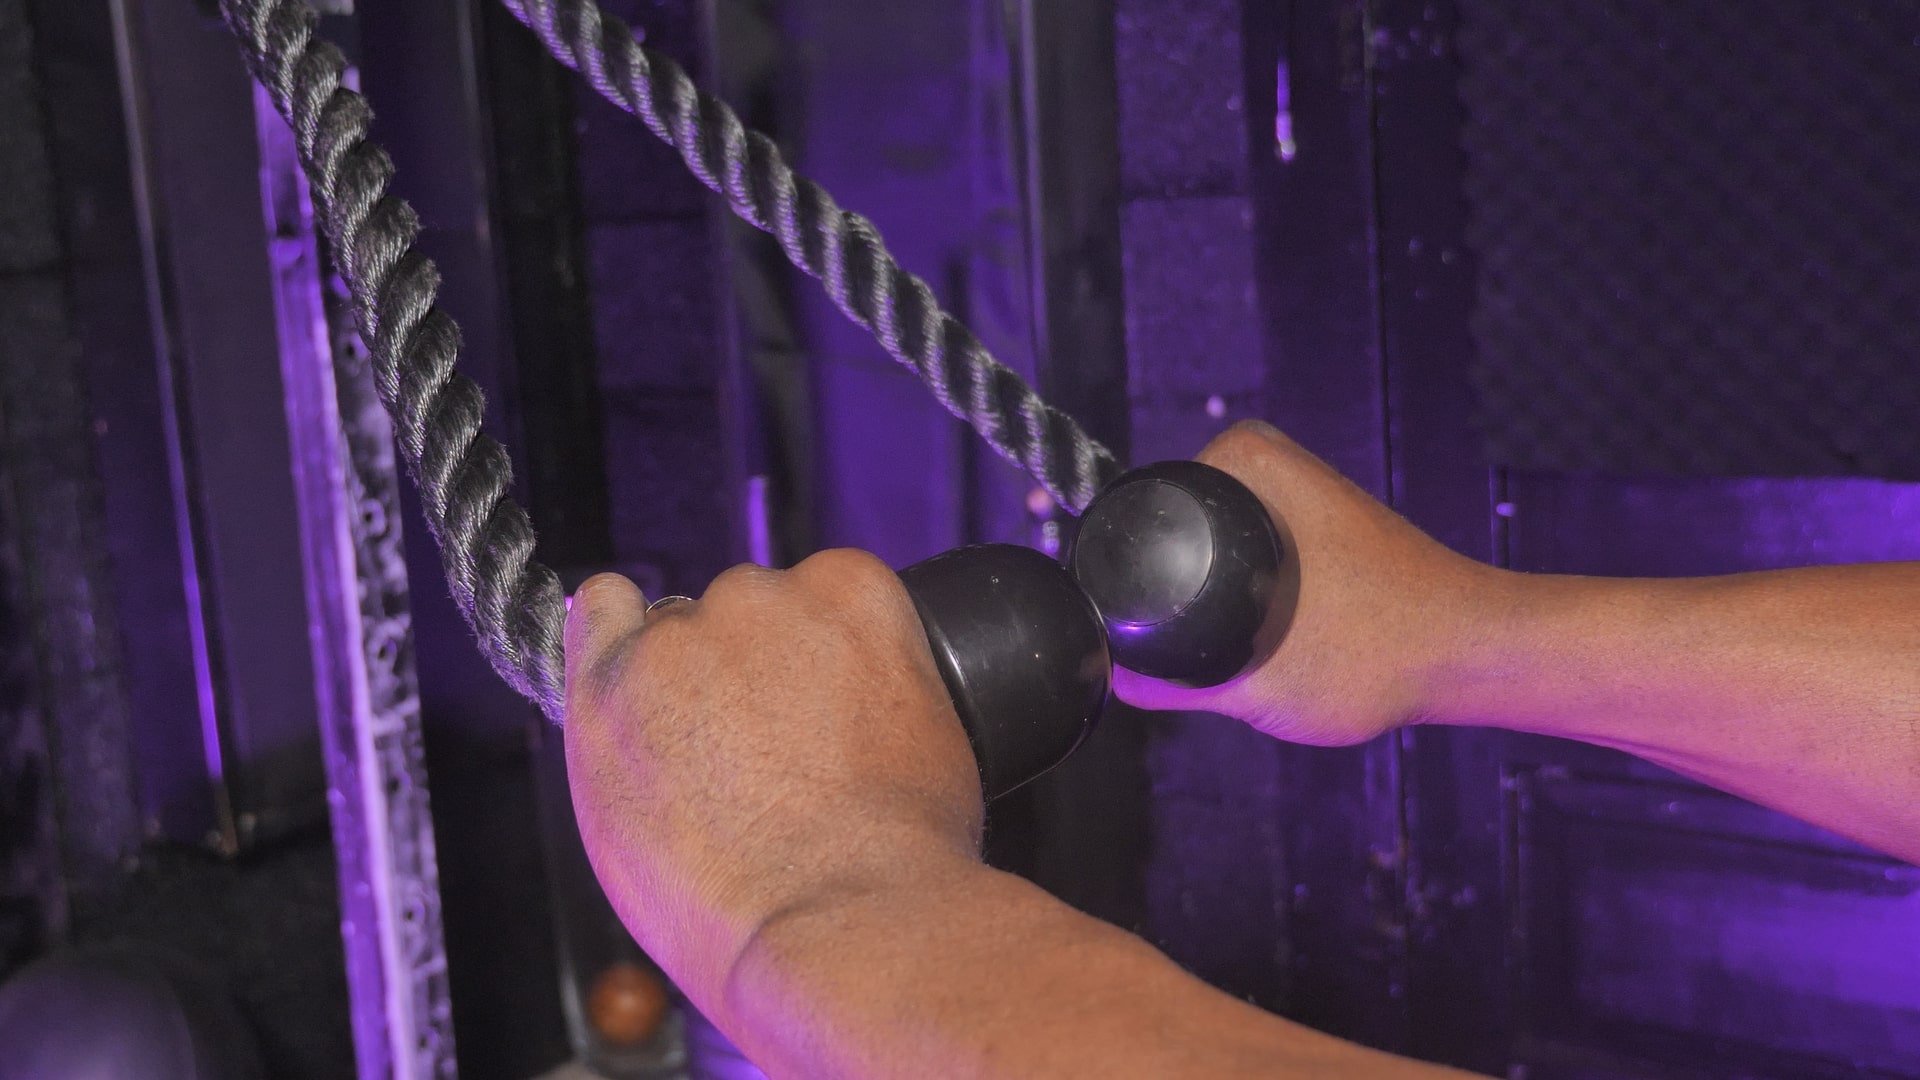
Cue 2: With the ropes in hand, sit upright on your bench facing the station, lift your chest and tense your core.
Cue 3: Start with your shoulders set in a slight pronated position and your arms straight in front of you at shoulder height.
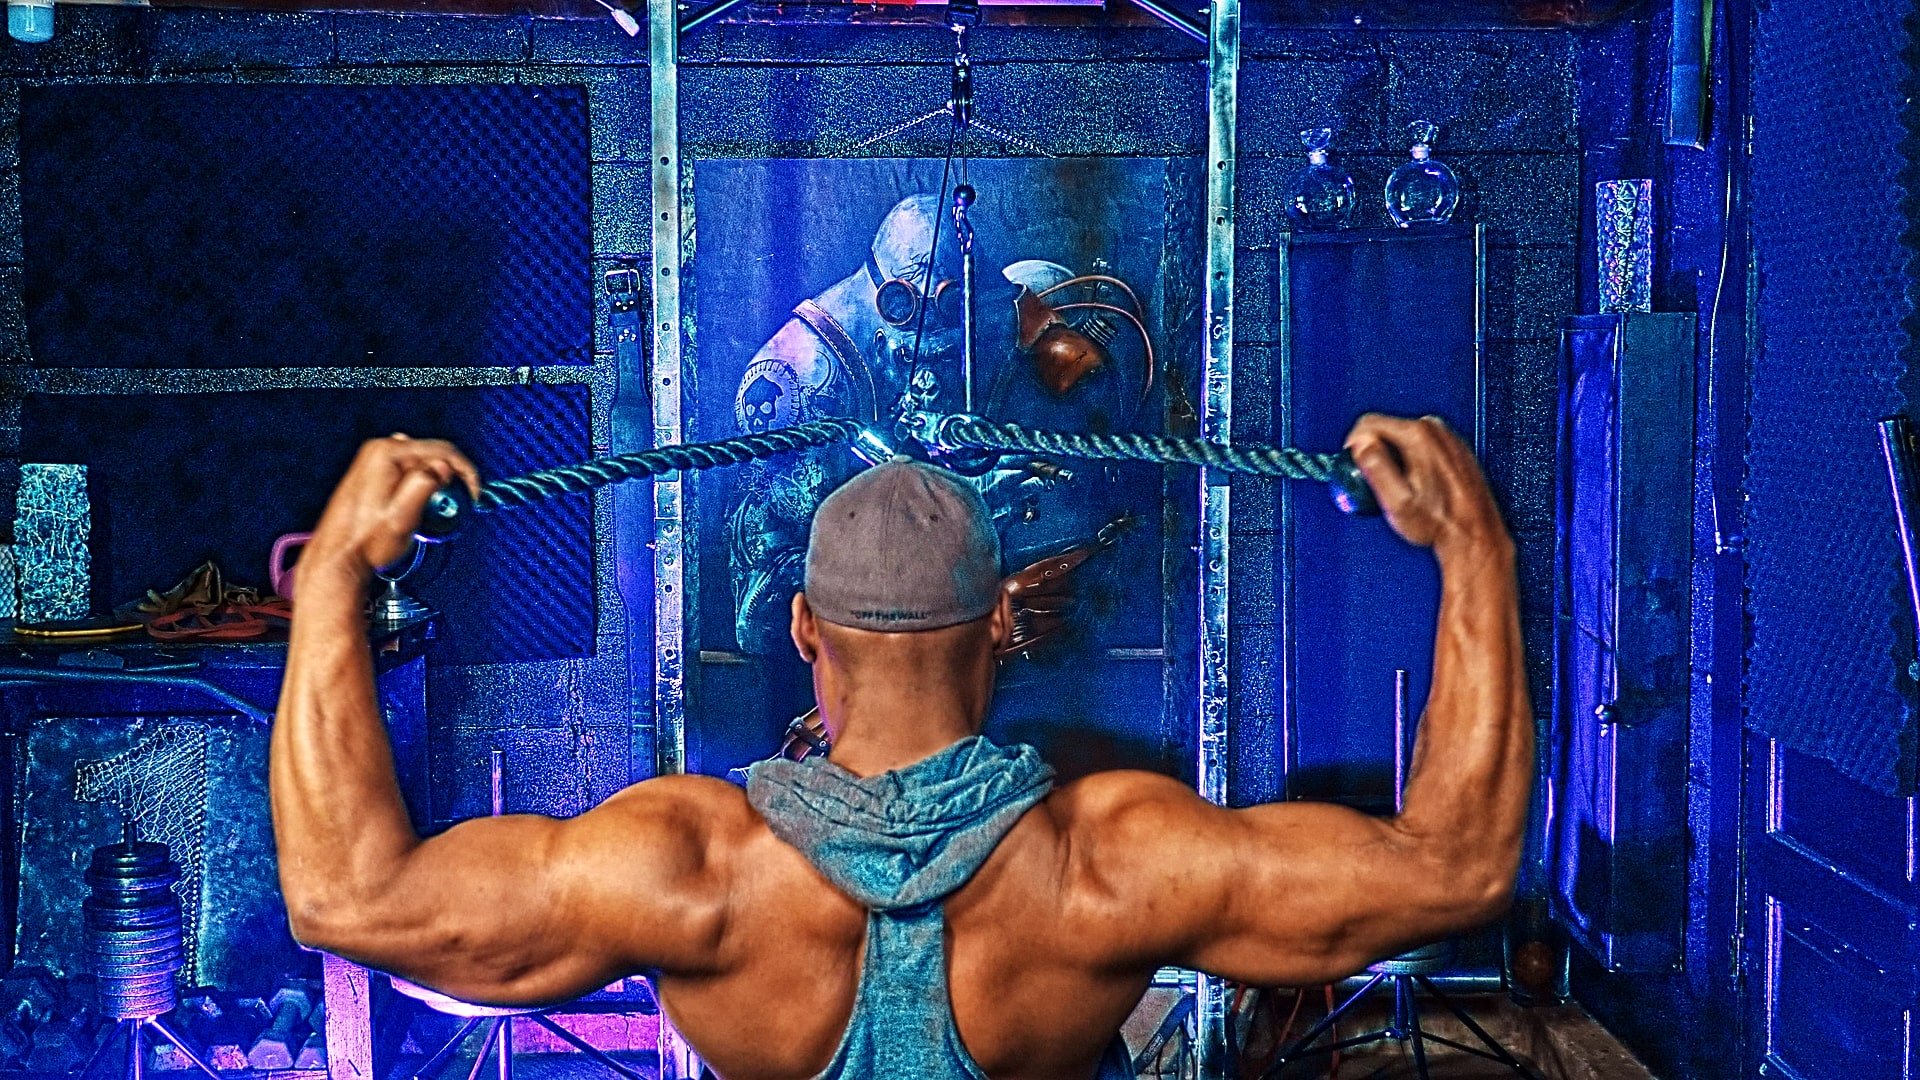
Cue 4: Pull the rope towards your nose while bringing your forearms to a 90-degree angle to your elbow. Aim to have your hands come back further than your elbows.
Most lifters end their seated cable rope face pull right here, but at Mission Jacked we do more to become more.
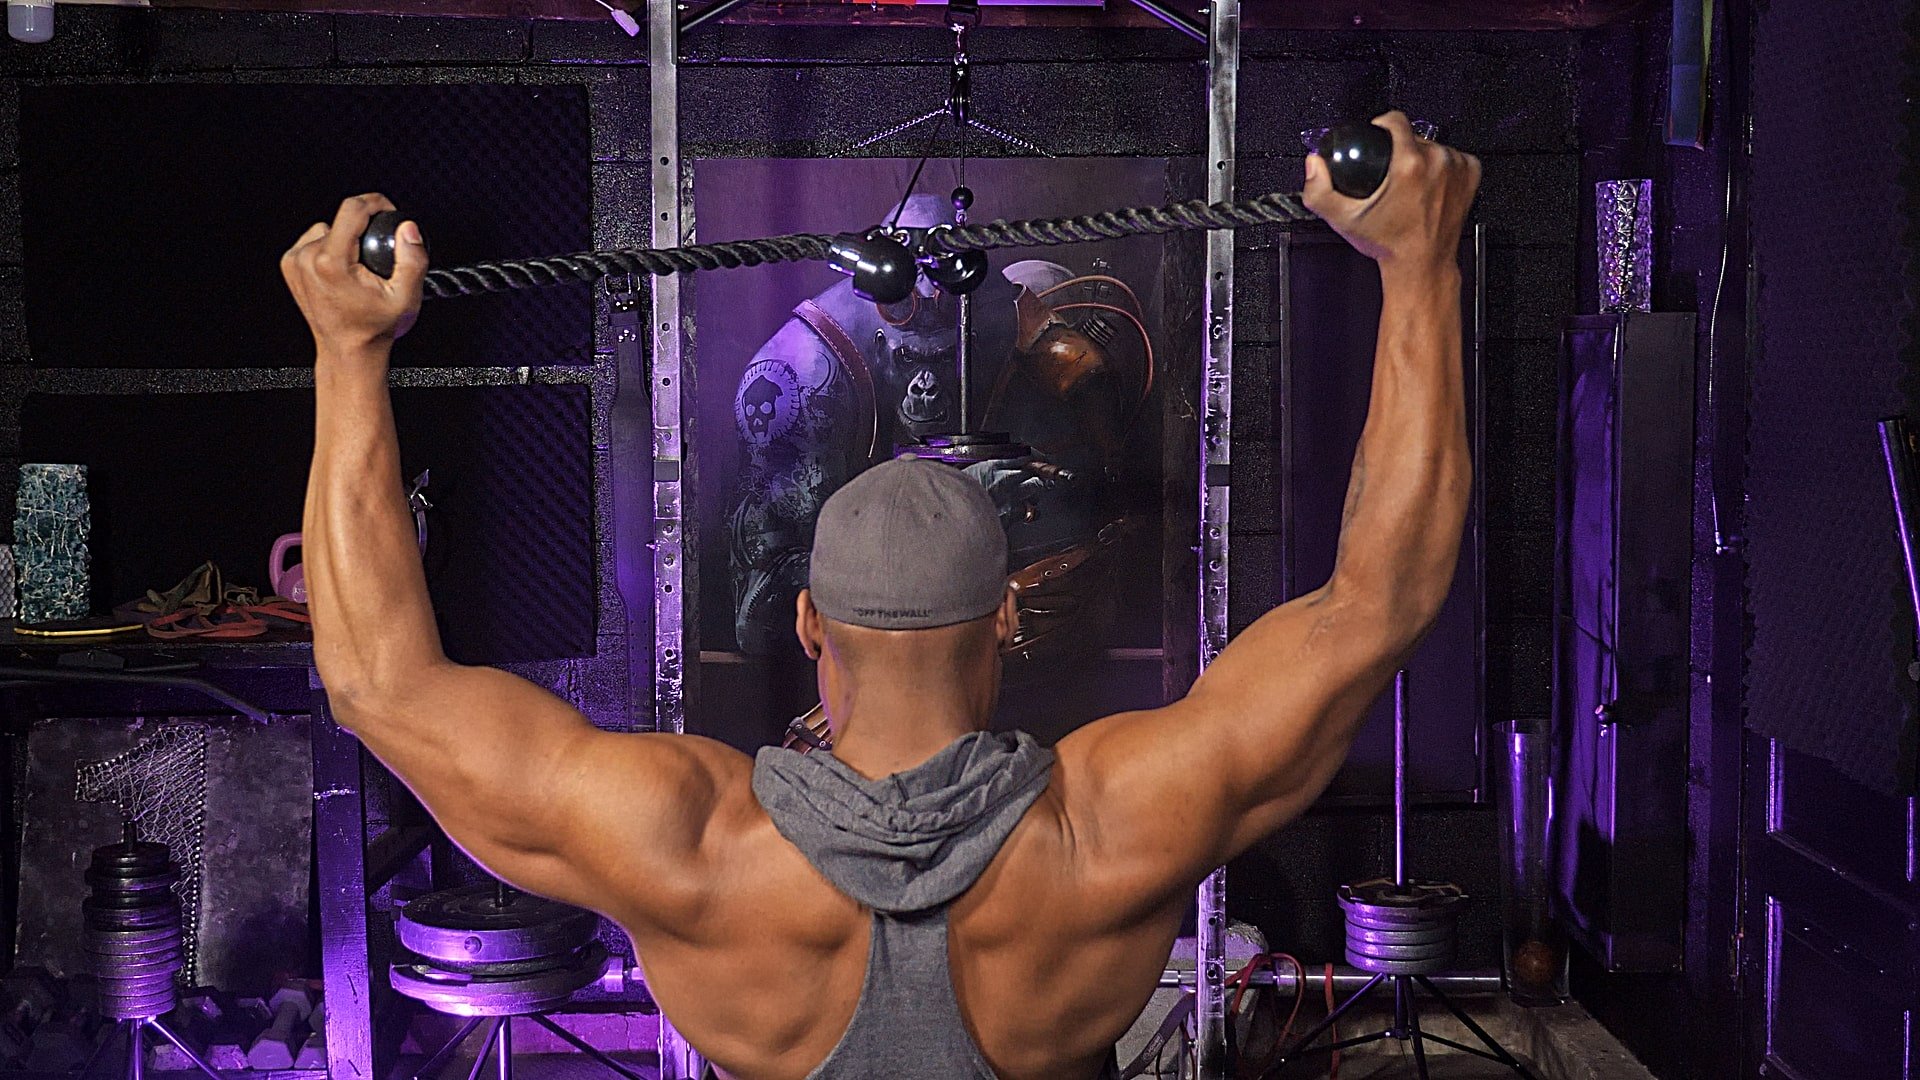
Cue 5: To activate the mid and lower trap muscles, raise your arms directly overhead. Briefly hold before lowering to the previous position and back to the start.
Resistance Band Seated Face Pull:
If you haven't got access to a cable rope face pull, don't fear, the Resistance Band Seated Face Pull is a good alternative if you set up your equipment correctly. Problems often arrive when you can't perform the movement because of the ascending tension that makes it harder towards the end of the exercise.
Personally, I love the resistance band seated face pull and use it almost every day as a shoulder, thoracic and scapula mobility movement. In my opinion, this is the best seated face pull without a machine.
Items Needed:
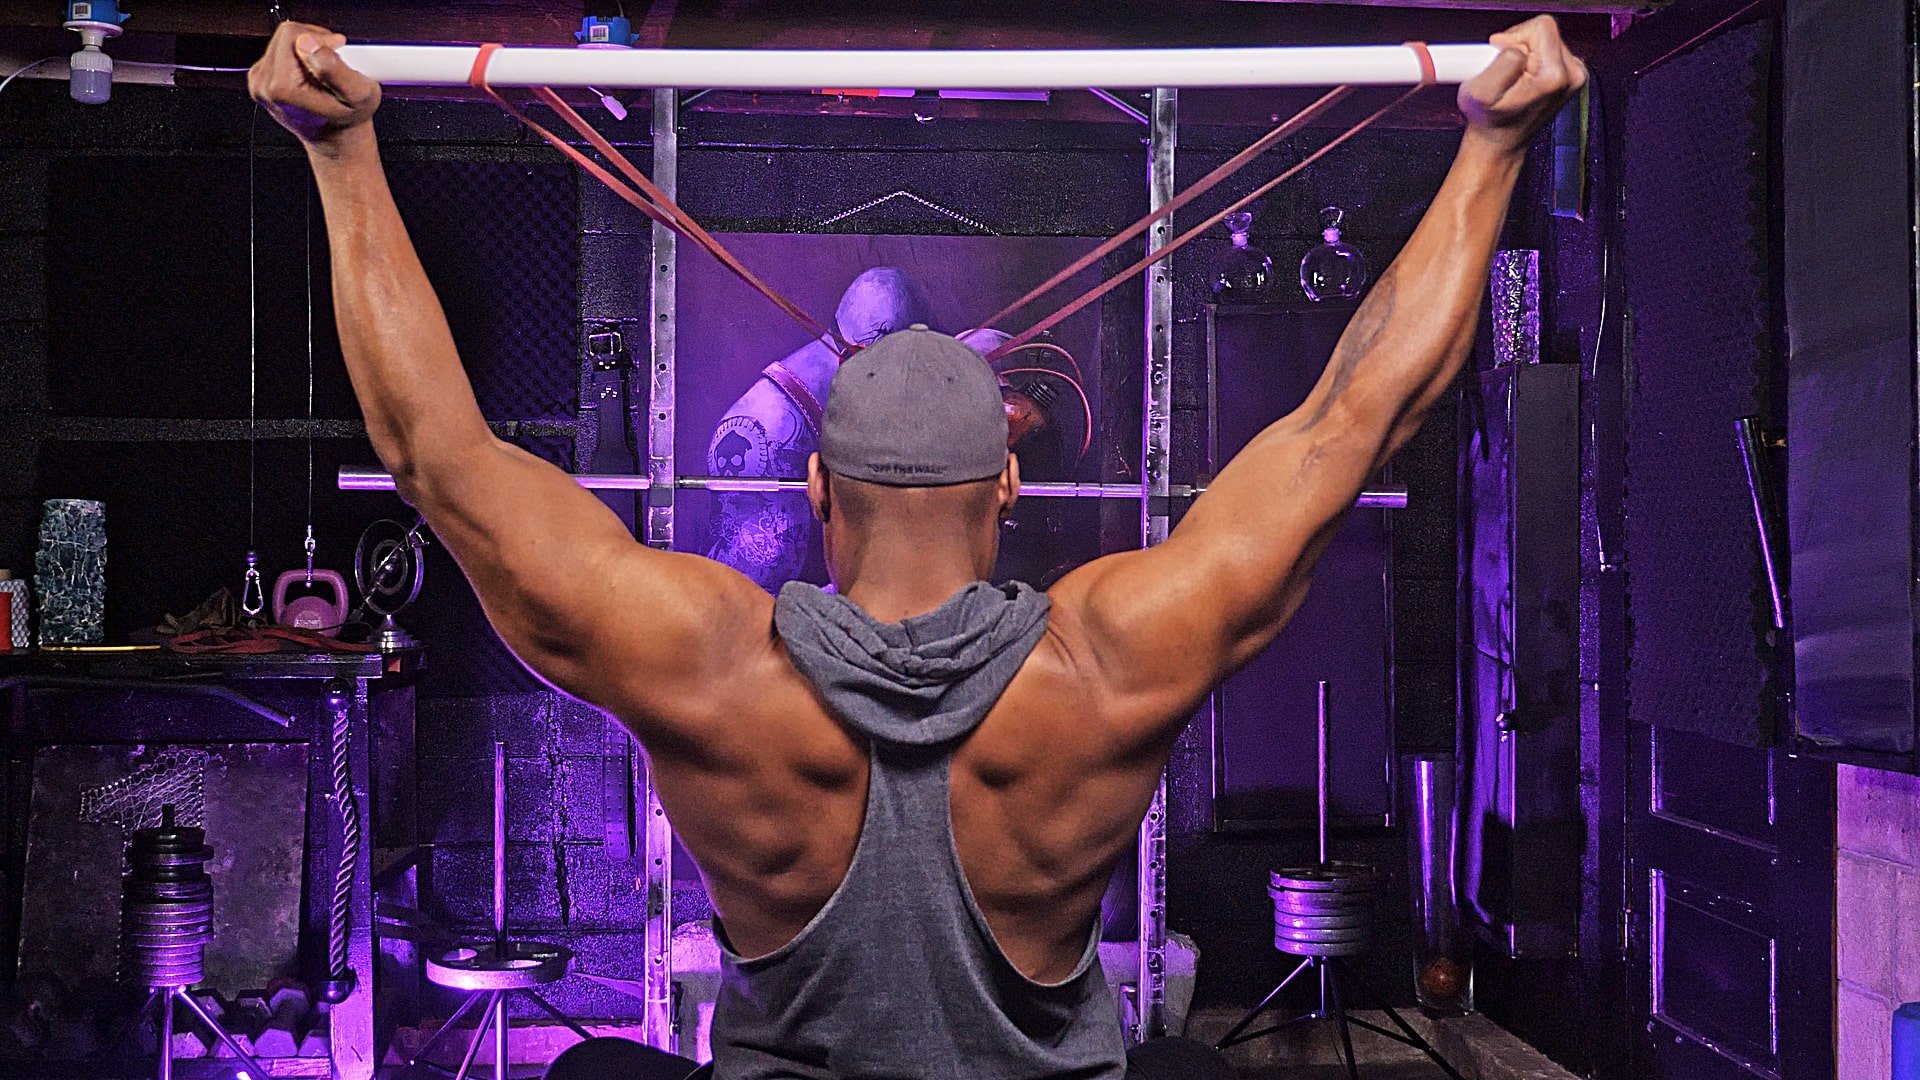
1 flat bench, one medium resistance band, two light resistance bands and one Velcro wrist band. While you can use an upright anchor, I like to loop my bands to a barbell placed behind the rack. You will also need a shoulder-length of PVC piping or broom handle.
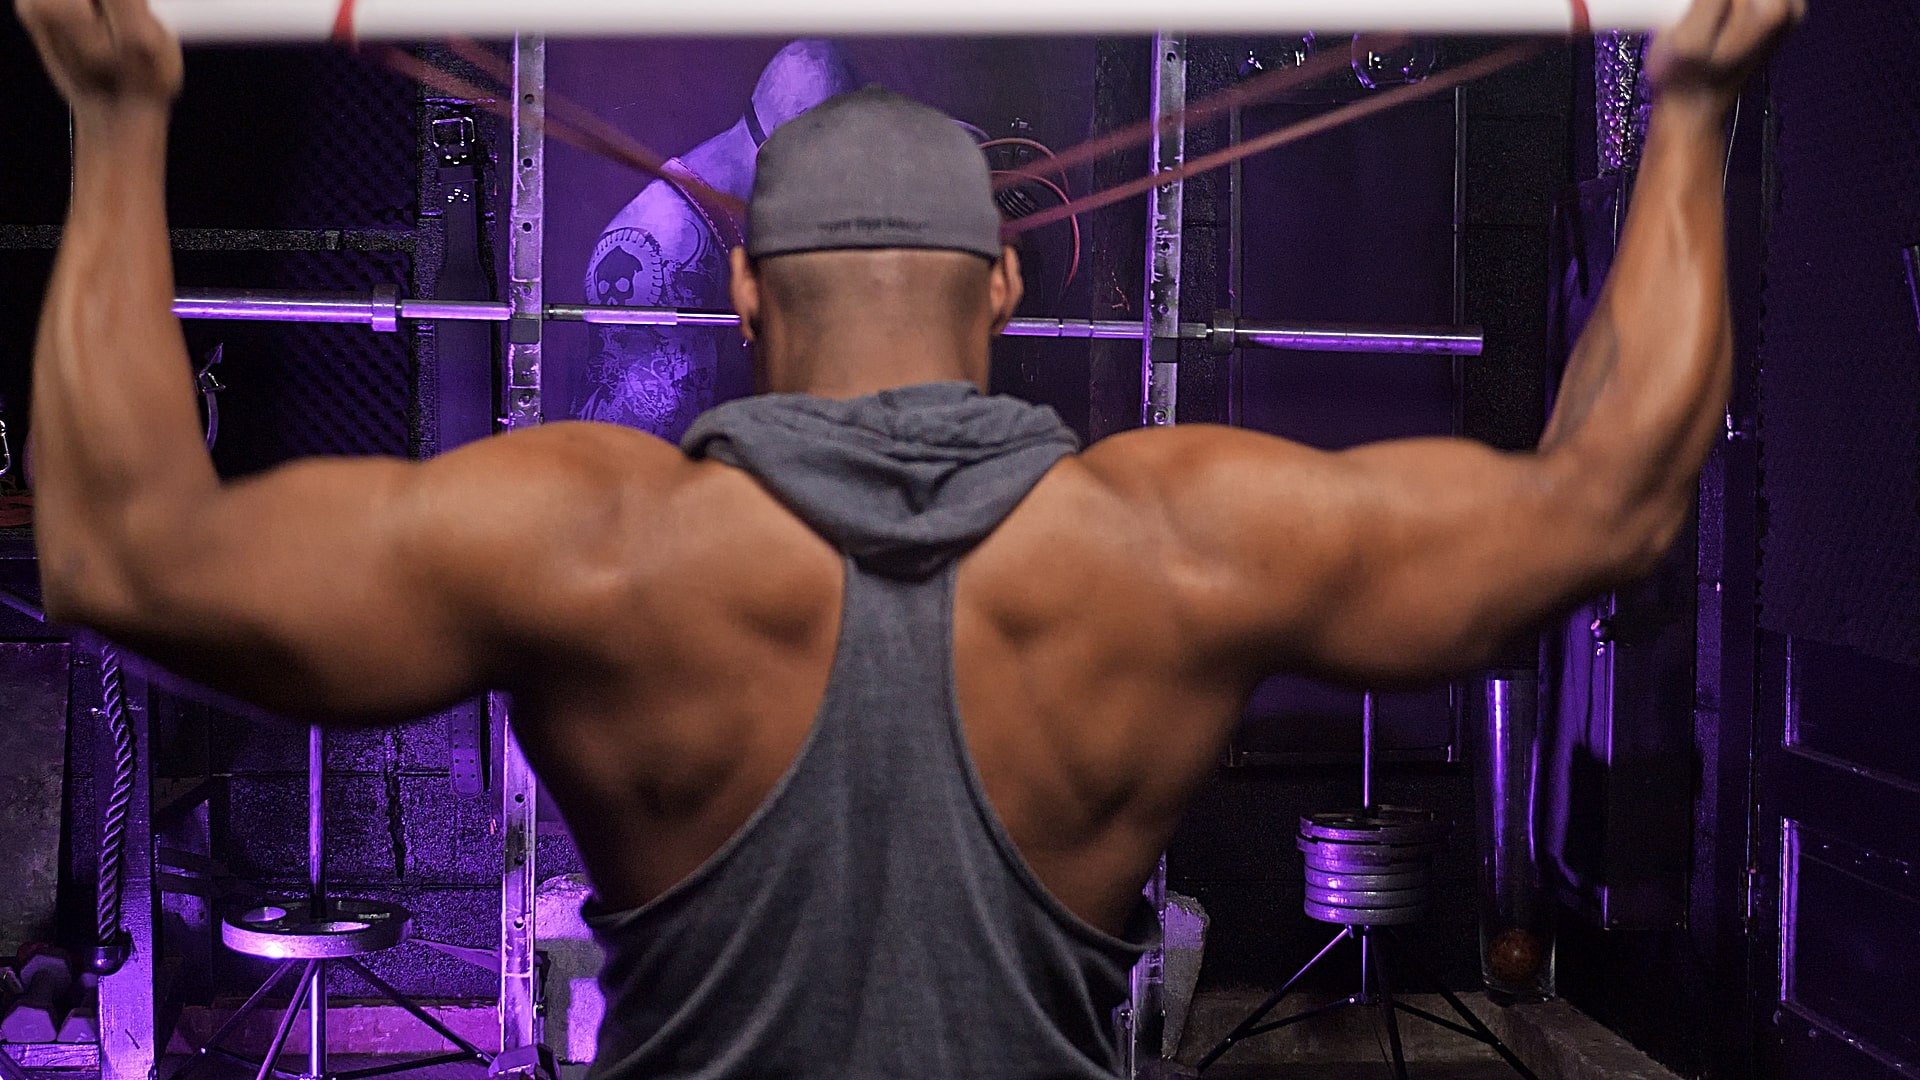
Sometimes when using bands to perform the seated face pull, you can end up not bringing your arms back far enough at the end of the movement. We're going to use the piping as a guide to make sure that we get the hands back behind the line of the head. While this version is much harder and stricter to perform, it will target the rhomboids, rear delts, mid and lower traps while allowing the scapula to move and function better.
The Setup:
1 - Loop the medium resistance band around your anchor at head height. If you're new to this exercise, you can use a light band instead of the medium sized band.
2 - Attach the two light bands to the other end of the medium band using the Velcro strap to create a "Y." If you don't have Velcro, you can loop the two resistance bands to the end of the medium band.
3 - Thread the pipe through the two light resistance bands to create a straight bar.
4 - Set up the bench far enough away from the station to allow you room to feel tension in the bands. You may need to move the bench forward or back after a few trial repetitions.
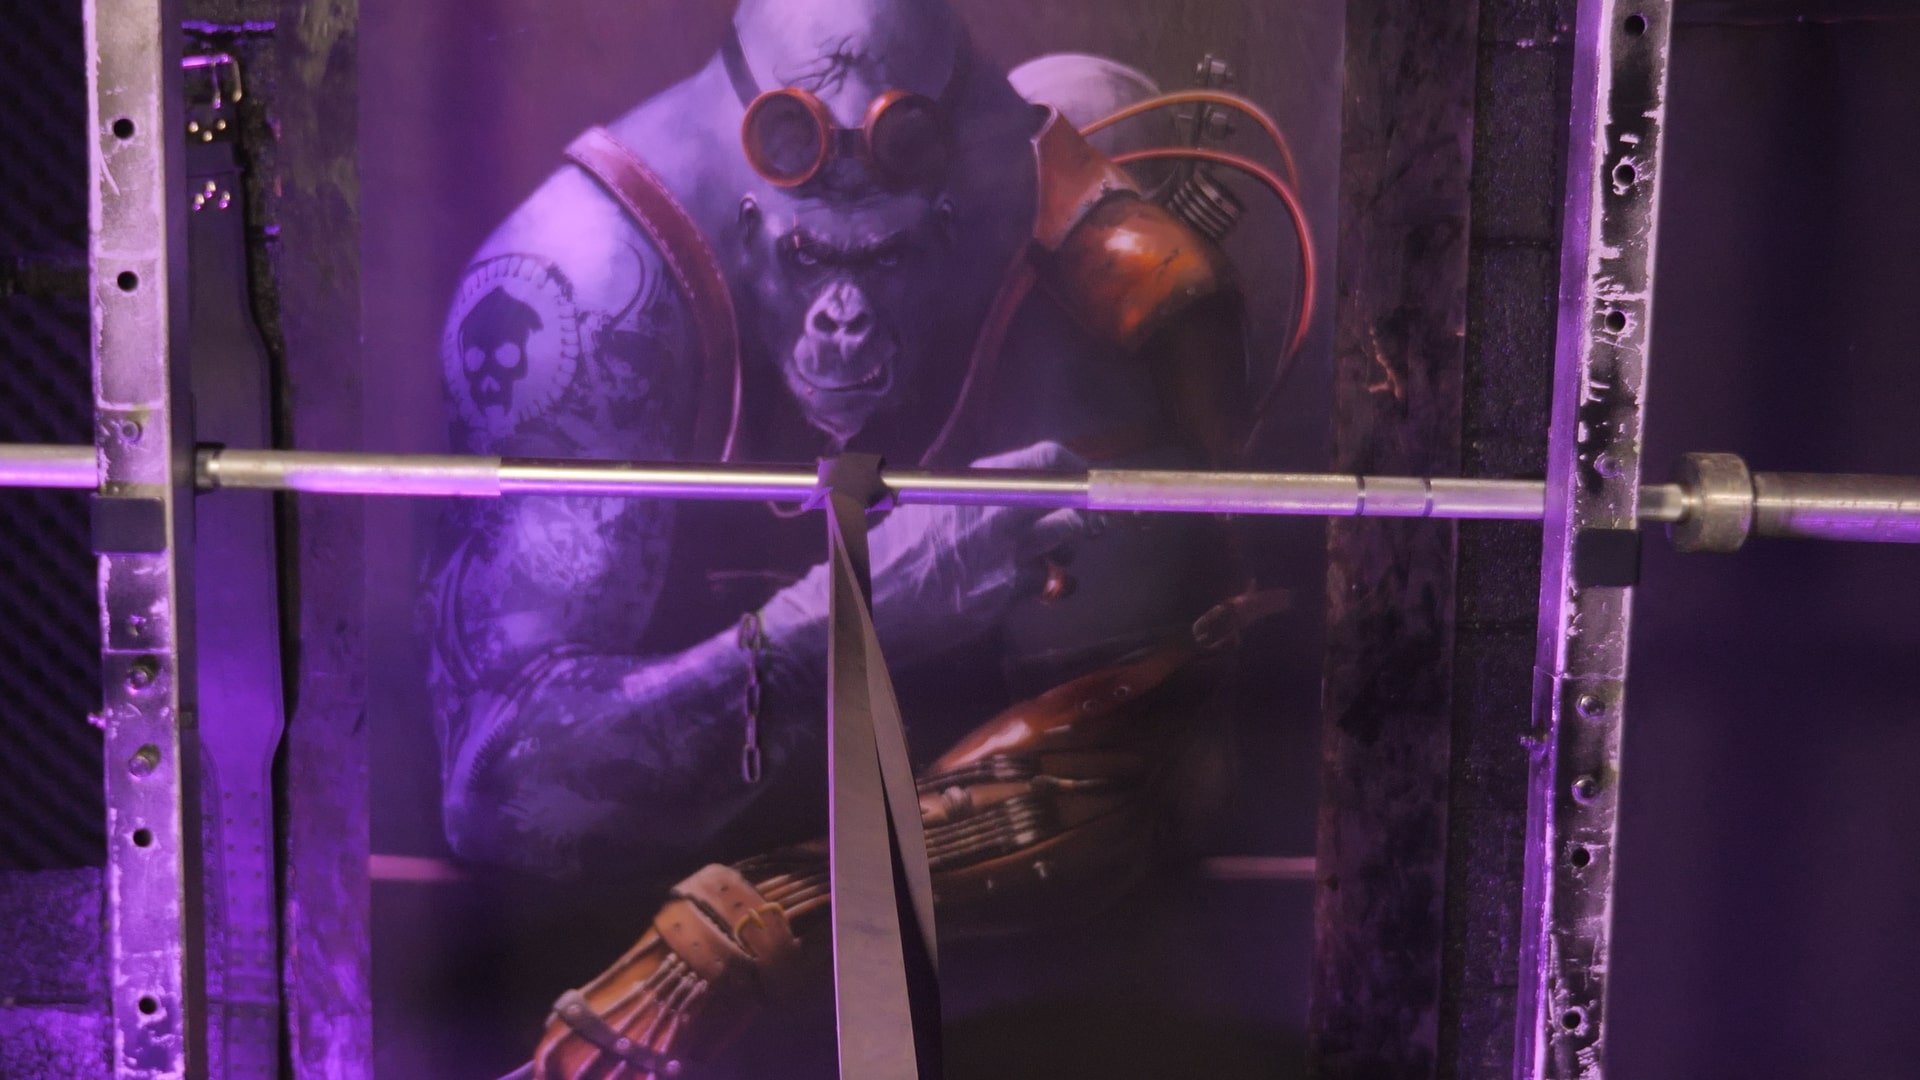 Place the barbell behind the rack for safety
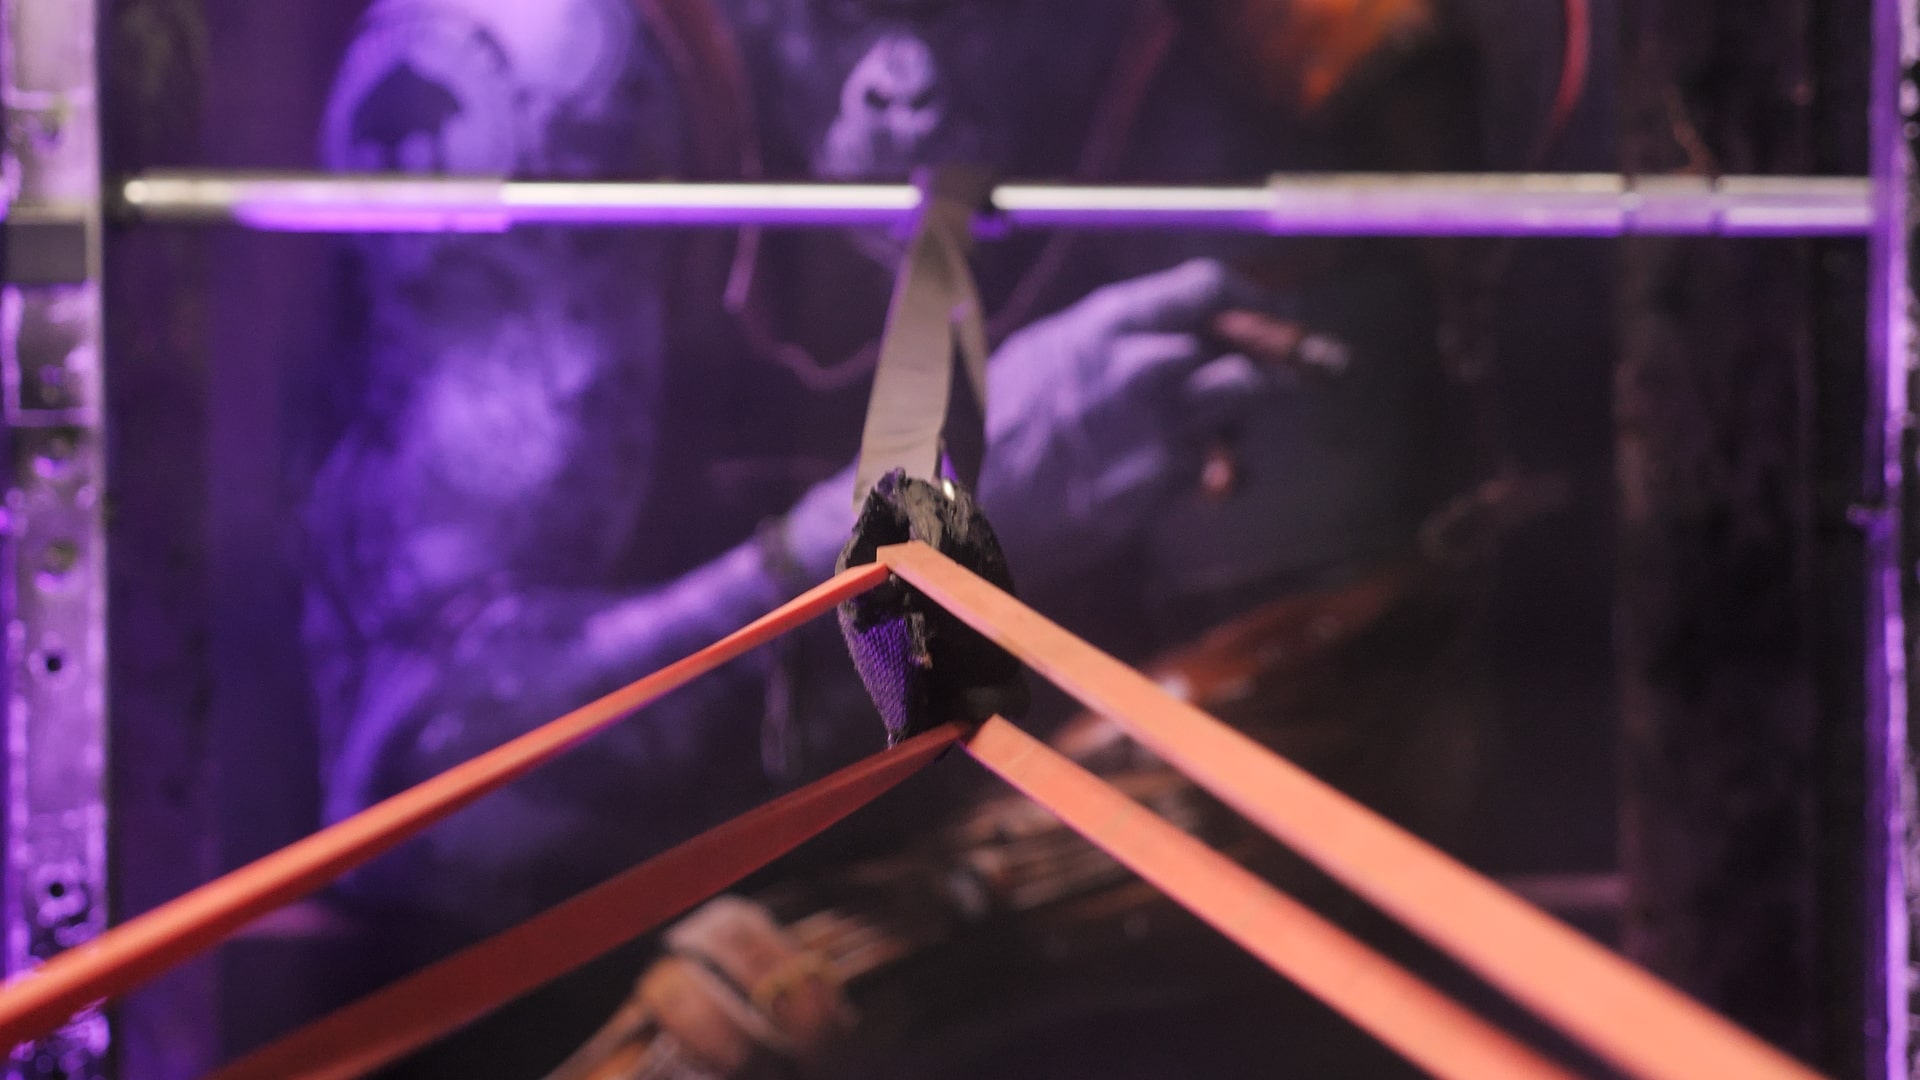 Attach the two light bands to the other end of the medium band using the Velcro strap to create a "Y." If you don't have Velcro, you can loop the two resistance bands to the end of the medium band.
Band Seated Face Pull Form:
Resistance band Seated Face Pull Grip - Cue 1: Place your palms at either end of the pipe and grip it so that your hands are in a neutral position.
Cue 2: Take a seat with an upright posture, high chest and tensed core.
Cue 3: Start with your shoulders pronated and your arms straight in front of you at shoulder height.
Cue 4: Pull the bar towards you so it travels behind the line of your head. Your forearms should be at a near 90-degree angle to your elbows.
Cue 5: Now that the pipe is behind the line of your head, press it up and briefly hold before bringing it back down behind your head.
Cue 6: Bring the pipe back to the start position and repeat for 10-12 repetitions.
Mistakes to Avoid While Doing The Resistance Band Seated Face Pull:
1: Try not to rock back so that you are almost lying down when trying to bring the pipe behind the line of your head. When your posture remains upright, it allows the smaller upper back muscles to get some work.
2: Avoid cranking your neck forward to get the pipe behind the line of your head. If you have trouble getting your arms back far enough, move the bench forward or/and use three light resistance bands instead of one medium and two light bands.
Face Pulls Standing vs. Seated:
The difference between standing face pulls and the seated face pull is the ease of use.
It is much harder to perform the seated face pull as it takes more core strength in the seated position to maintain an upright posture. With the Standing Face Pull, you can put your legs in a straddle position or have them set shoulder-width apart.
Seated Face Pull – aka:
1: Face Pulls
2:Cable Face Pulls
3: Cable Rope Face Pulls
4: Seated Face Pulls
5: Band Face Pulls
6: Band Face Pull
7: Face Pull Cable
8: Band Face Pull Exercise
Other Exercises Under The Spotlight!
Incline Curls
db Reverse Grip Row
Dumbbell Pullovers
Tricep Press Down
Incline Cable Curl
Dumbbell RDLs
Split Squat
Contralateral Split Squat
Cable Underhand Pulldown
Power Your Physique With These Mission Jacked Articles
The Best Muscle Building Program at Home – Everything You Need to Get Jacked: Full Workout Program, Post-workout & Lean Bulk Blueprint.
7 Dumbbell Lat Exercises To Build A Monster Wide Back. Exercise Four Will Bury You!
Best Dumbbell Only Chest Workout For Size If You Train at Home
Best Rear Delt Dumbbell Exercises For a Beefy Rearview Appeal
Try These Quad Exercises at Home With Dumbbells For Size
Try This Dumbbell Hamstring Workout For Size - We've Got Some Great Dumbbell Hamstring Exercises
Mission Jacked L.L.C
Address: 9407 NE Vancouver Mall Dr
STE 104 #1269
Vancouver, WA 98662 USA
Email: mission@missionjacked.com

